To Prepare
We recommend that you familiarise yourself
with the bike parts before assembling. Gather all
required tools. Be sure to work in a clean, dry space
with plenty of room. You might wish to lay down a
tarpaulin or old blanket to protect the bike during
assembly. You may nd it helpful to stand the bike
frame on a block or sturdy box under the battery
housing to work with it in an upright position.
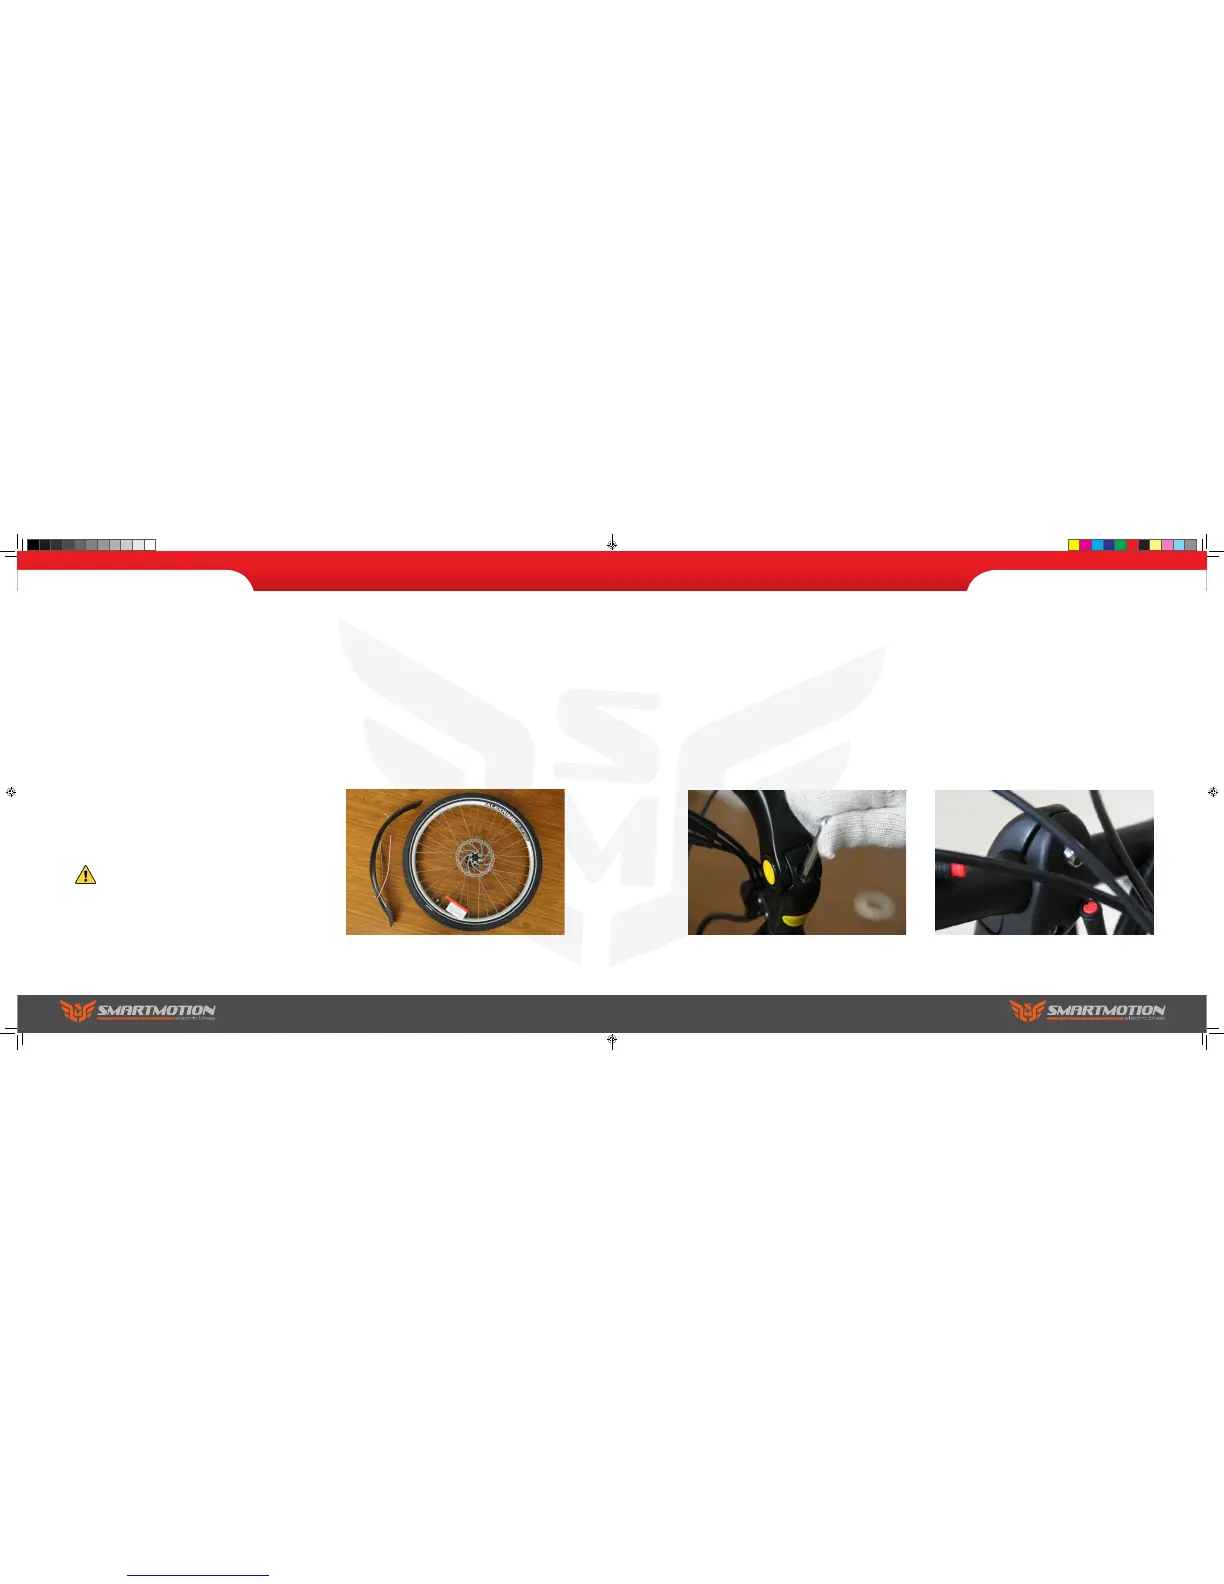
Please watch the balance when installing wheels.
1. Unpack
a. Carefully lift the electric bike out from the carton
(two people recommended for this task). Cut the
nylon zip ties with suitable scissors and remove the
foam protection from the bike.
b. Remove the front wheel and mudguard from the
bike and put them aside. Carefully stand the bike
upright, resting on its forks when installing wheels.
Your electric bike is shipped 85% assembled. Follow
these steps to get it ready and safe for you to ride.
2. Assembly Instructions
eCity & eUrban eCity & eUrban
Do not activate the brakes until the bike is
fully assembled. Squeezing brake levers
while calipers have no disc rotor between
them can damage the brakes.
2. Assembly Instructions
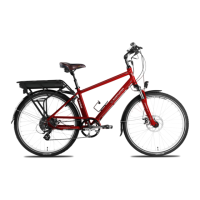
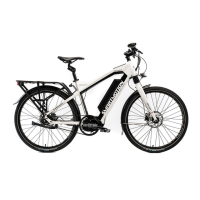
2. Fork
a. Insert the handle bar stem into the steering
tube, turn it to align it with the forks correctly, then
fasten the centre screw using the 6mm allen key to
18-20N.M. This is a quill type stem that if set too
high can cause damage to your bicycle, decrease
your control and cause you to fall. Make sure the
Minimum-insertion mark is within the frame.
b. Loosen the handle bar angle adjusting bolt
(at the pivot point of your adjustable stem) two
or three turns then adjust the stem angle to the
position comfortable for you. Then loosen the 2
handlebar clamp bolts and rotate the handlebar to
make sure the brake lever and lcd display positions
are at the correct angle, then fasten the two bolts to
17-20N.M. Finally fasten the angle adjusting bolt to
17-20N.M
Classic user manual.indd 4-5 7/15/2016 4:57:57 PM