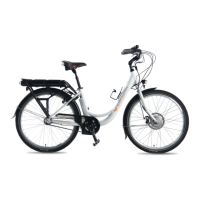
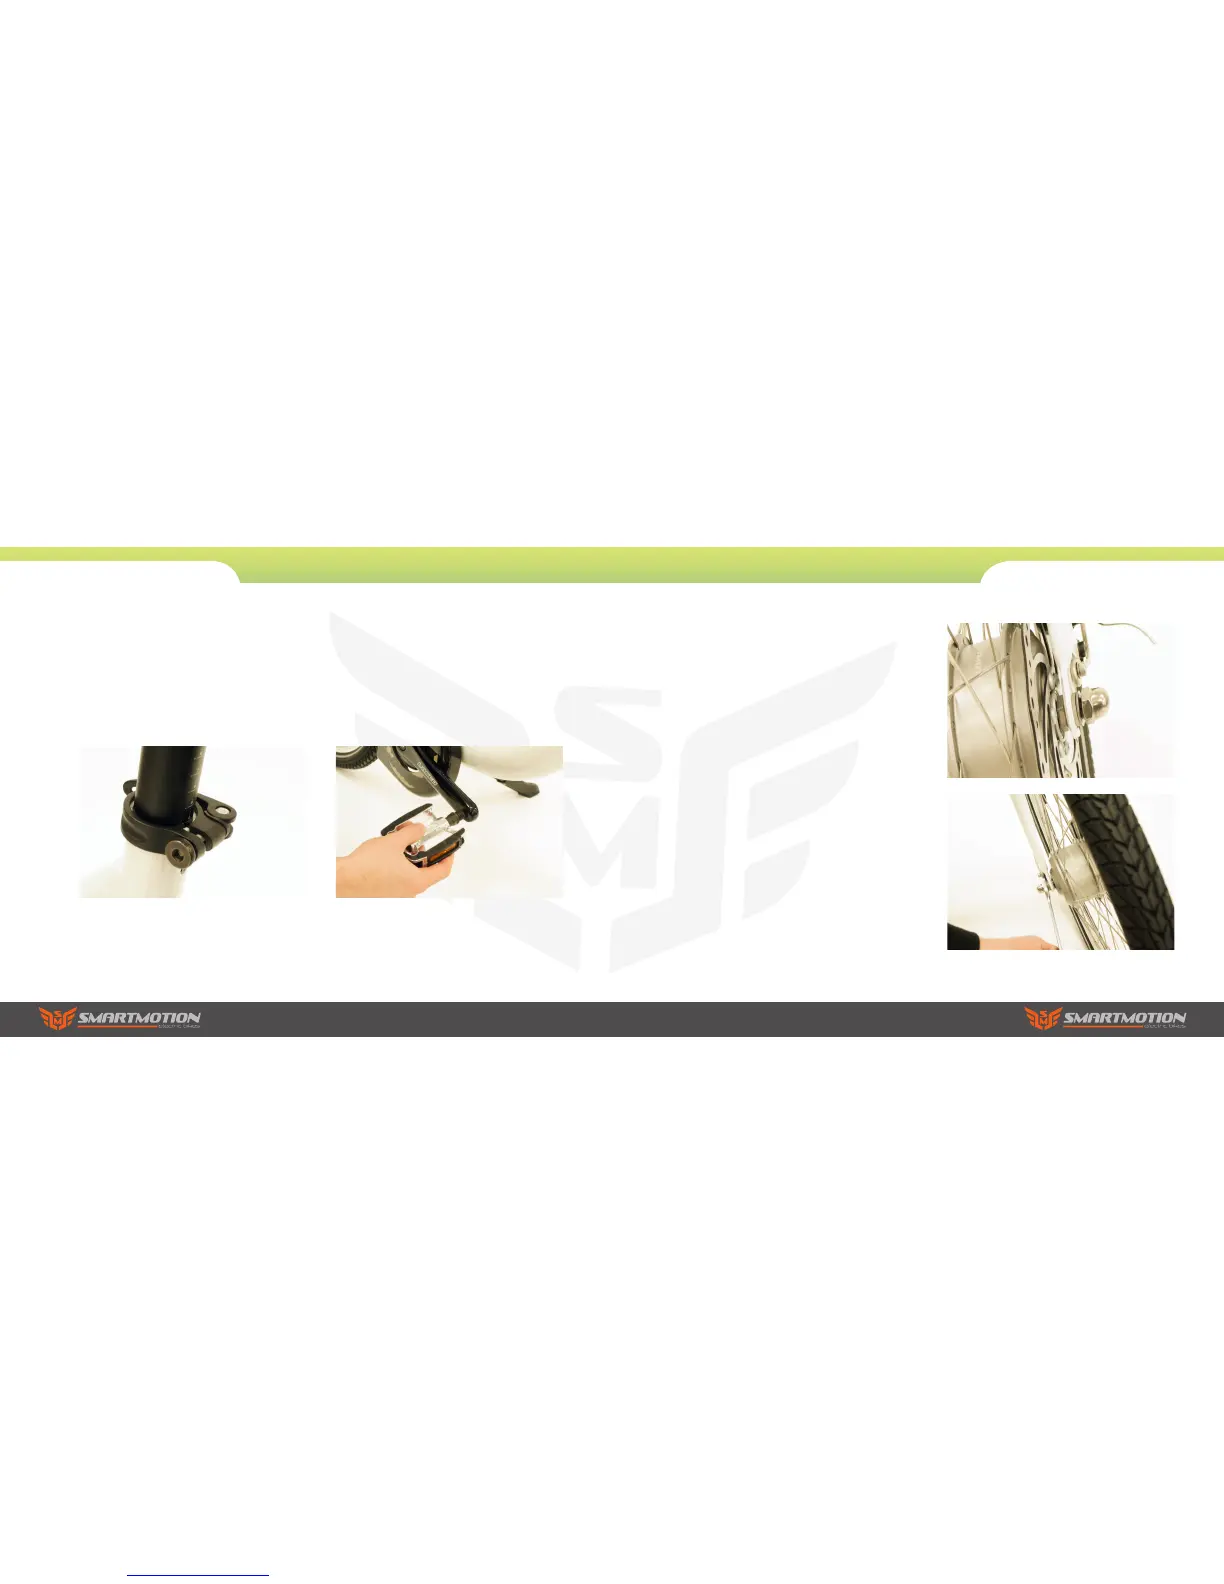
5. Seat
Release the seat post clamp lever and set the
seat post height to the position which is suitable
for you to comfortably reach the ground when you
are sitting on the bike, then refasten the seat post
clamp. The maximum height should be within the
max height markings on the seatpost.
6. Pedals
Attach the pedals to the cranks, paying attention
to the “L” or “R” marked on the pedal axles. Note:
the pedals have opposing threads – screw in the left
pedal counterclockwise and screw in the right pedal
clockwise. Install L pedal counterclockwise and the
right pedal clockwise.
2. Assembly Instructions
Essence
7. Front wheel
Carefully insert the front wheel axle into the front
fork dropout, guiding the disc rotor in between the
disc brake calipers as you do so. Note: you may
prefer to position the bike upside down for this
procedure – but be careful to stabilise the bike if
you do so. Important: make sure the anti-turning
washers are positioned between the motor washer
and the inner side of the fork. Please refer to the
adjacent pictures. Once the axle is fully inserted
and resting on the tops of the dropout (wheel
is correctly aligned inside forks) use the 15mm
spanner to fasten the nut to 70N.M
Important: you must recheck the torque setting
of the motor axle nuts after the first week of use,
then every 3 months after that to ensure correct
tightness. If loose, the motor axle can spin and
break the dropout and cause serious injury.
2. Assembly Instructions
Essence