3. Connect one end of the cable to the ST/SC/WDM port on the
Converter and the other end to the ST/SC/WDM port on the
other device.
Note:
When inserting the cable, be sure the tab on the plug clicks into
position to ensure that it is properly seated.
4. Use DIP switch 4 to select between half and full duplex modes
for the fiber port
5. Check the corresponding port LED on the Converter to make sure
that the connection is valid. (Refer to the LED chart in next
section)
Connecting Copper Cable
The 10/100BASE-TX RJ-45 Ethernet port fully supports
auto-sensing and auto-negotiation.
1. Insert one end of a Category 3/4/5/5e type twisted pair cable
into an available RJ-45 port on the Converter and the other end
into the port of the network node.
2. Check the corresponding port LED on the Converter to be sure
that the connection is valid. (Refer to LED chart in next section)
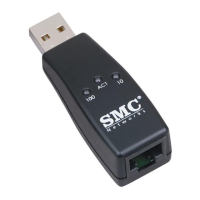
4 LED INDICATORS
This Converter has LED indicators located at the front of the device.
The LEDs have been designed to give easy at-a-glance network
status, and provides ‘real-time’ connectivity information. Please see
below for an interpretation of their functions:
Unit LEDs
LED Condition Status
On (Green) Converter is receiving power
Off Power off or failure
On (Red) Disruption of connection in copper
LFS /fiber segment
Off Copper/fiber segment is ‘OK’
Port LEDs
LED Condition Status
On (Green) Port operating at 100Mbps
Off Port operating below 100Mbps
On (Green) Illuminated when connectors are
attached
LNK/ACT Flashing (Green) Data traffic passing through port
Off No valid link established on port
On (Amber) Port is operating at full duplex
FDX/COL Flashing (Amber) Indicates collision
Off Port is operating at half-duplex
English
English
15 16
100
PWR
 Loading...