WWW.SMITTYBILT.COM
Installation Instructions
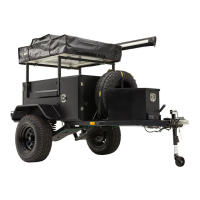
Scout Trailer Kit
Part#87400/87400-01
Assembly
Note: Even though the trailer kit uses lock washers, threadlocker is required on all hardware as an
extra step to prevent hardware from loosening. Assemble pieces with all hardware before tightening
hardware. Wicking ( green) Loctite can be applied after hardware is tightened.
Before taking/ signing for the delivery of trailer kit, do a quick inspection for damage. Note all
damage and notify shipper if any. Smittybilt does not cover shipping damage under the warranty.
Uncrating and assembly can be done with two people, 2-3 floor jacks, 4 jack stands, 2 - 4”x4” pieces
of wood about 12”-16” long (to protect trailer from jack) you may want to use a 6’ piece of 4x4
(optional but makes it much easier to support the front), a metric tool kit ( sockets, wrenches, allen
keys, etc.), various screwdrivers and an electrical tool kit. Tools required my vary due to product
improvements. Use of lifting equipment will aid in the uncrating and assembly.
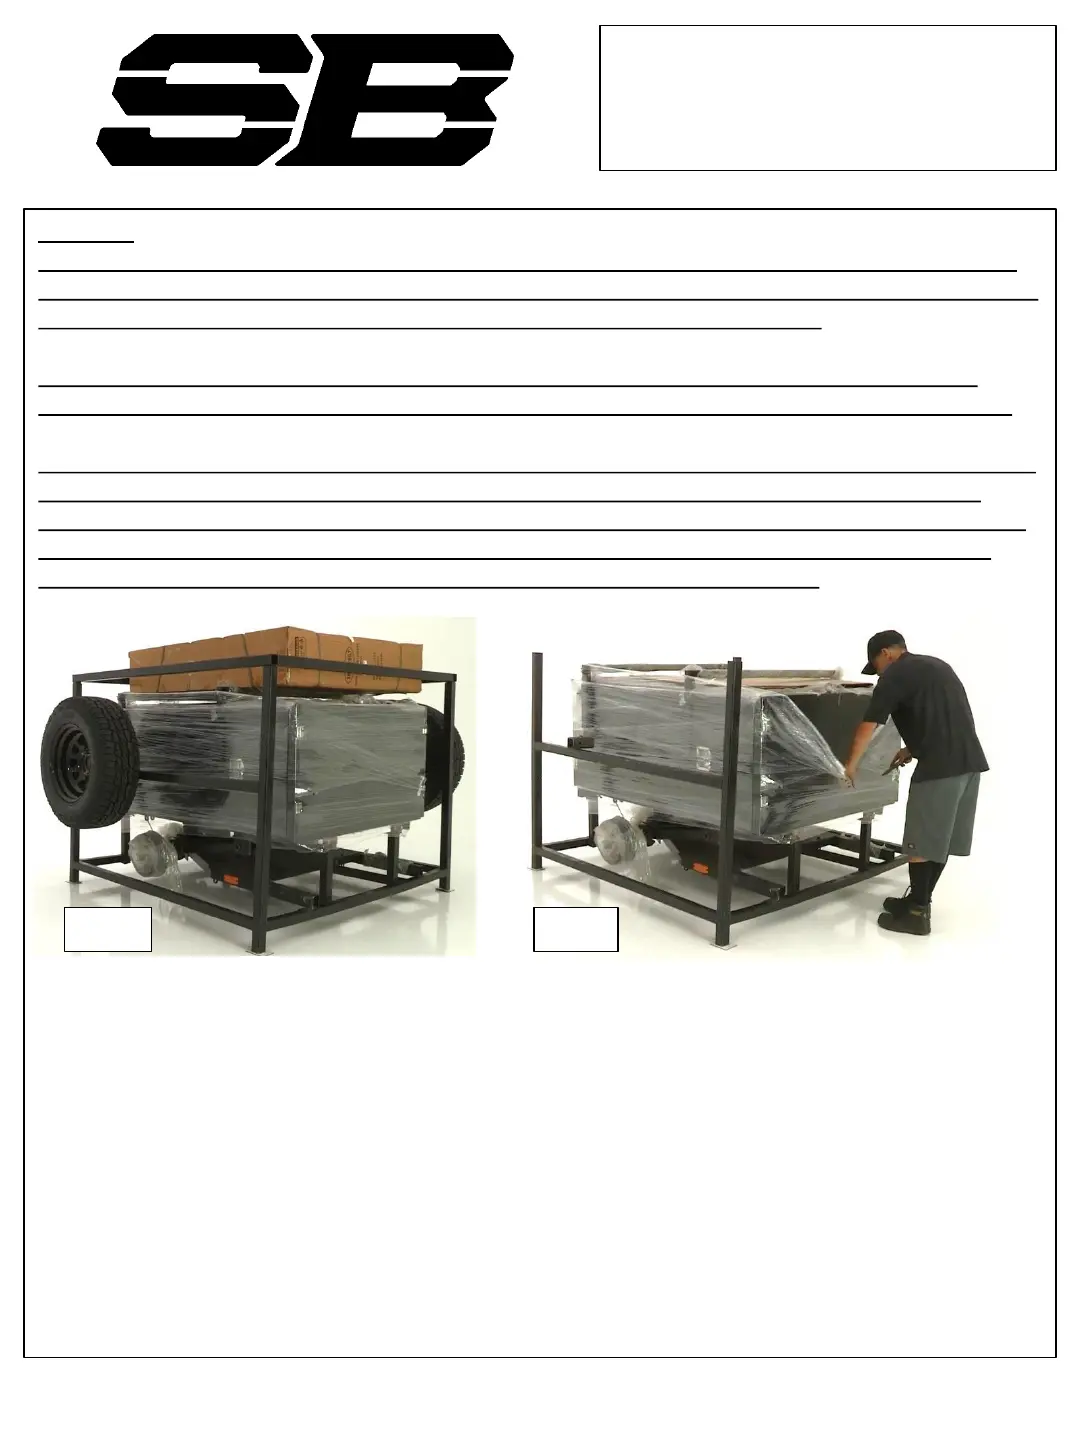
1. If equipped, remove the tires and wheels from the outside of the crate, then unbolt tire mounting
brackets from crate. This will make it easier to maneuver around the crate during unpacking and
assembly. Fig 1.
2. Remove the top halo of the crate by tapping it up evenly till the post are removed from the main
crate. This must be done evenly to prevent the legs from binding and becoming difficult to
remove. Remove tent if purchased and/or packed with the trailer kit. There may be bolts securing
the top halo to the uprights. If so remove bolts. Then remove the removable upright.
3. Carefully remove shrink wrap. Take care to not scratch the trailer when unwrapping.
4. Remove contents of the main compartment. Unpack and lay out all pieces for easy assembly. Take
inventory of all parts.
Fig 1 Fig 2
13
 Loading...