WWW.SMITTYBILT.COM
Installation Instructions
Scout Trailer Kit
Part#87400/87400-01
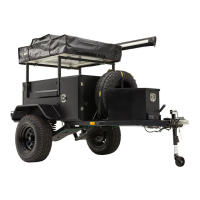
5. Using jacks and 6’ 4x4, support the front end of the trailer. Once supported, remove the supports that
attach the trailer body to the crate. Fig 3. Support front of trailer with jack stands. You will position the 4x4
right behind the side tire mount. Support the rear of the trailer. Position jacks so they are on the outside of
the crate. Lift trailer body slightly to take load off the mounting bolts. Then remove the mounting bolts
securing the trailer to the crate. Then remove rear mounting brackets. Unbolt tongue from crate and carefully
remove from crate. Take care to avoid damaging parking brake and trailer wiring. Now that the trailer is
detached from the crate, slide the crate away from the trailer. You will have to re-position the front jacks to
completely remove the trailer body from the crate. Once the crate is removed , use 4 jack stands to support
the trailer body.
6. Remove hardware kit from side door.
7. Loosely attach tongue to trailing arm bracket
using M16 bolts, flat washers, lock washers
and nuts.. Do not tighten hardware at this
time. hardware. Fig 5.
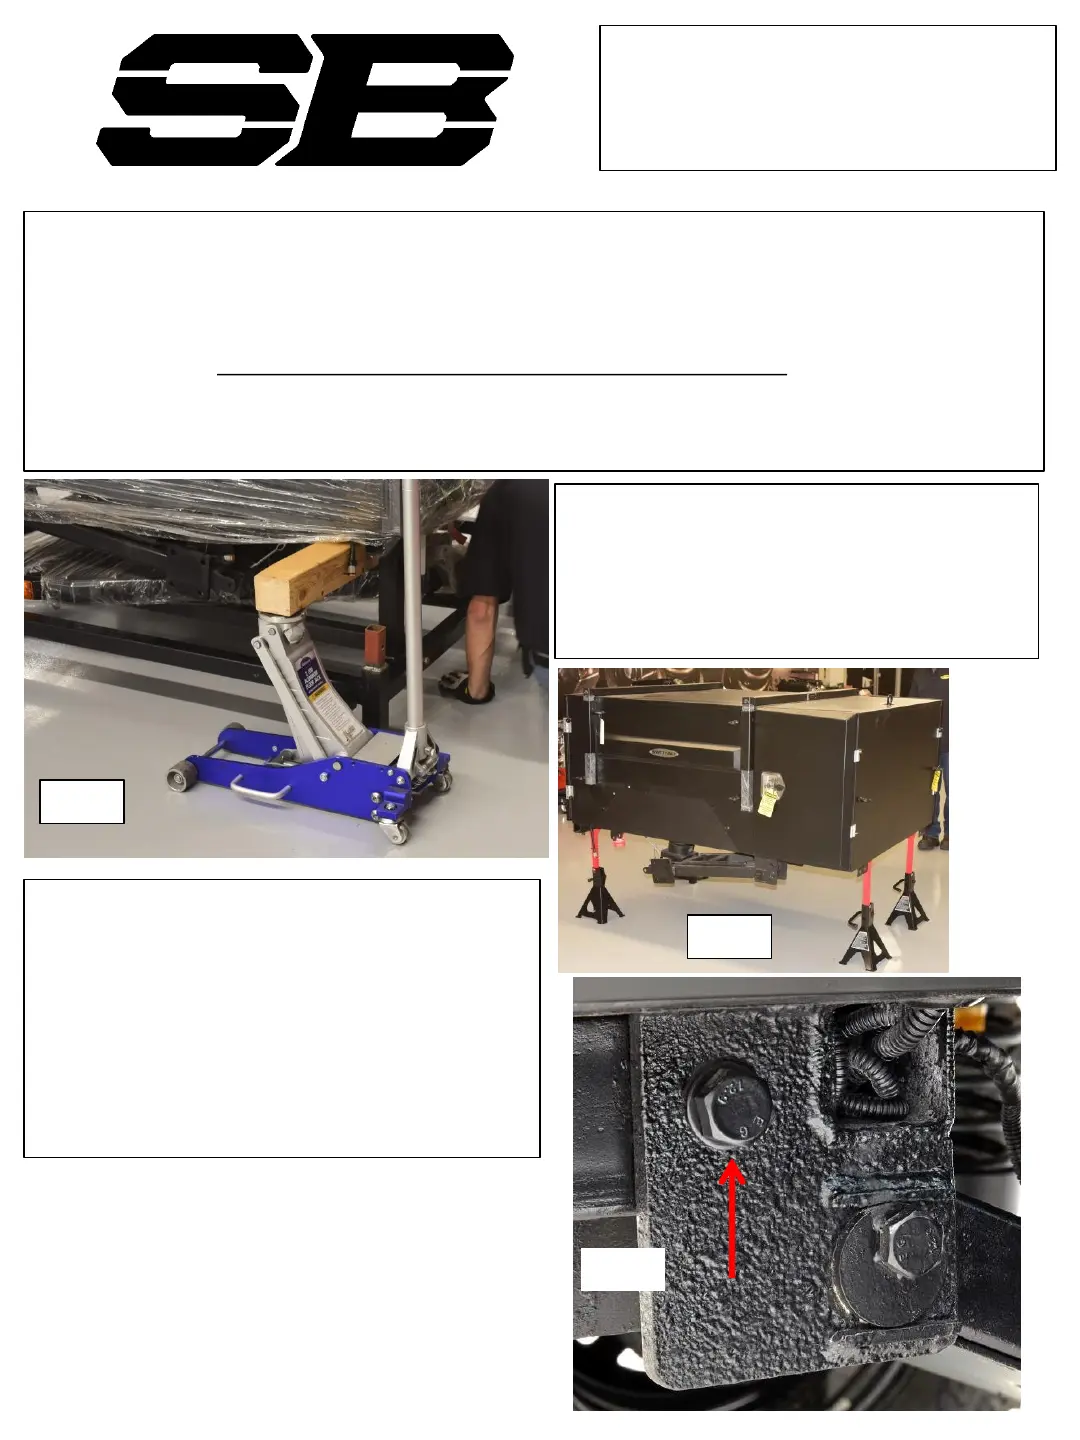
8. Attach jockey wheel mount to the tongue using
M12 hardware. Once all hardware is in place, use
thread locker and torque to 78 ft/lb. Fig 6. you
may also use one of the shorter rear jacks to help
lift the tongue.
9. Have helper lift up on the tongue, while tongue is
raised put the jockey wheel on the mount and
secure with pull pin so you can use the jockey
wheel to lift the tongue into place.
Fig 3
14
Fig 5
Fig 4
 Loading...