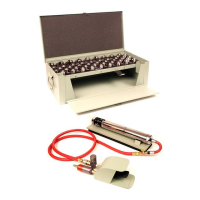
ATI520J – Portable Cable Terminal Swager Operating and Maintenance Manual
Page 3 of 12
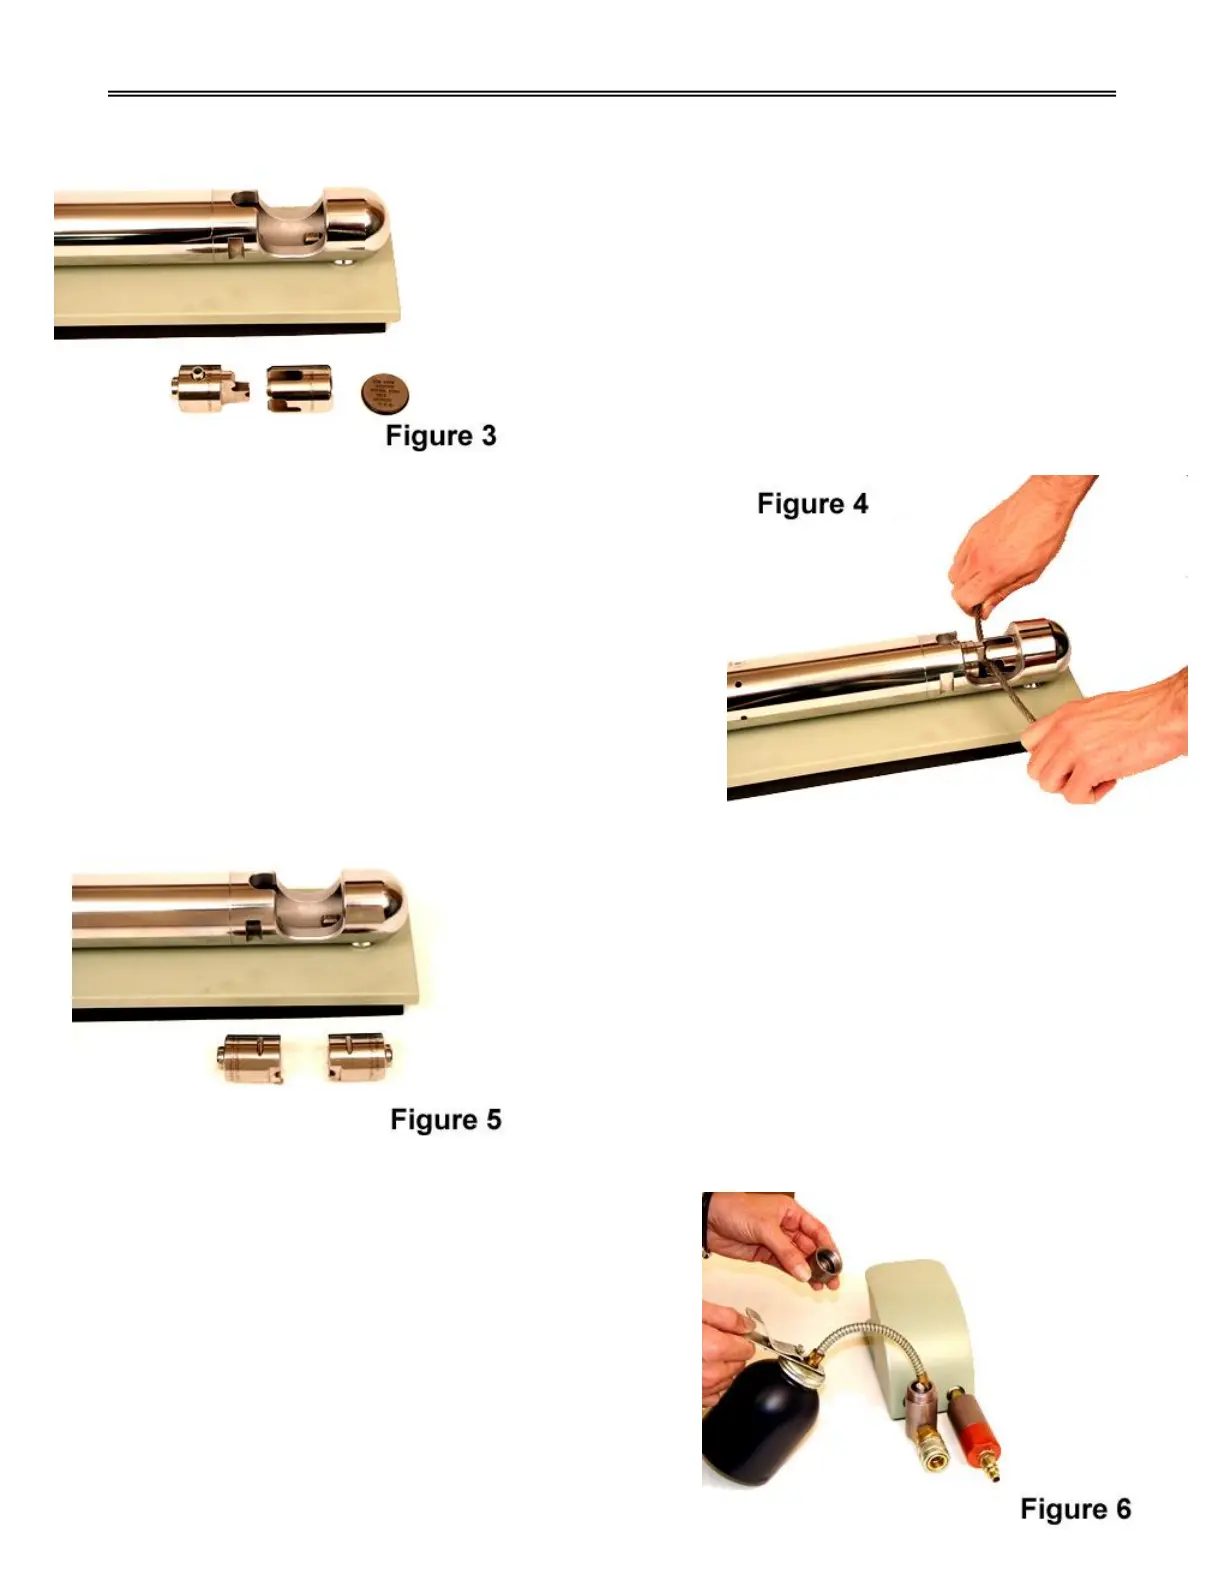
CABLE CUTTING DIE INSTALLATION
1. Hold the ATI520CP cutter so that the blade is in the vertical
position. Insert it, blade end first, into the yoke opening and
slide it back to the face of the power unit.
2. Position the spacer (ATI520SP) in the forward end of the
yoke cavity. The spacer keeps the cutter and the die
engaged to prevent damage to the cutting edges.
3. Place the ATI520CD die into the yoke opening so that the slot
engages the blade of the cutter. Push the die back against
the spacer.
CABLE CUTTING OPERATION
To cut cable; separate the dies, drop the cable into the slot
between the dies, position it at the desired cutoff point and depress the
foot valve firmly for a maximum of one second. When trimming ball end
terminals; separate the dies, firmly seat the ball and excess cable into
the die cavity and depress the foot valve for a maximum of one second.
Note: The safety guard has been removed for clarity and
should be in place during operation.
SWAGING DIE INSTALLATION
1. Insert either die through the yoke opening and into the die
cavity, with the keyway down and shank facing toward the
rear of the swager.
2. Slide the die back in order to clear the opening for insertion
of the mating die.
3. Insert the mating die, with the shank facing forward and
slide it to the forward position.
LUBRICATION
Unscrew the cap on the oiler and fill it with air tool lubricant
oil after every eight hours of operation. Check oil level frequently to
prevent premature failure of the swager.
 Loading...