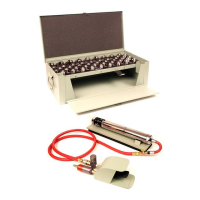
ATI520J – Portable Cable Terminal Swager Operating and Maintenance Manual
Page 8 of 12
SWAGING TOOL DISASSEMBLY PROCEDURE
1. Clamp the entire tool assembly in a vise.
2. Using a torch with non-oxidizing type gas, heat the area of the housing where the yolk / cap is seated. The
internal temperature needs to be high enough to soften the LOCTITE on the threads. If this step is not taken,
you may severely damage the tool.
3. Remove the yoke as outlined in Figure 12.
4. Remove the cap as show in Figure 13.
5. Remove Power unit as directed in Figure 14.
6. Disassemble Power unit as show in Figure 15.
7. Clean and check all detail parts of the Power Unit for excessive wear.
8. Replace defective or worn parts as needed.
9. Lubricate all internal working parts with air tool oil.
10. Reassemble as outlined on Page 9.
YOKE DISASSEMBLY
Remove the yoke by clamping the housing in a vise as
shown in Figure 12. Notice the 3/8” square blocks used to prevent
damage and rotation. Heat the unit in the area indicated here to
soften the LOCTITE and, using a 2 1/4” open-end wrench, turn the
yoke counter-clockwise to loosen.
CAUTION: Do not crush the housing in the vise.
CAP DISASSEMBLY
Remove the cap by clamping the housing in a vise as
shown in Figure 13. Notice the 3/8” square blocks used to prevent
damage and rotation. Heat the unit to soften the LOCTITE and,
using a 2 1/4” open-end wrench, turn the cap counter-clockwise to
loosen.
CAUTION: Do not crush the housing in the vise.
 Loading...