30
ASSEMBLY & INSTALLATION
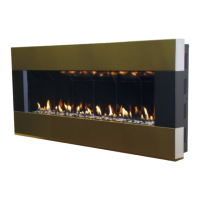
Installing the Outer Panels
1. The four outer decorative panels are secured to the fireplace with
philips head screws. The top and bottom panels are secured to the
fireplace mounting plate with sheet metal screws. All other screws
are philips head machine screws.
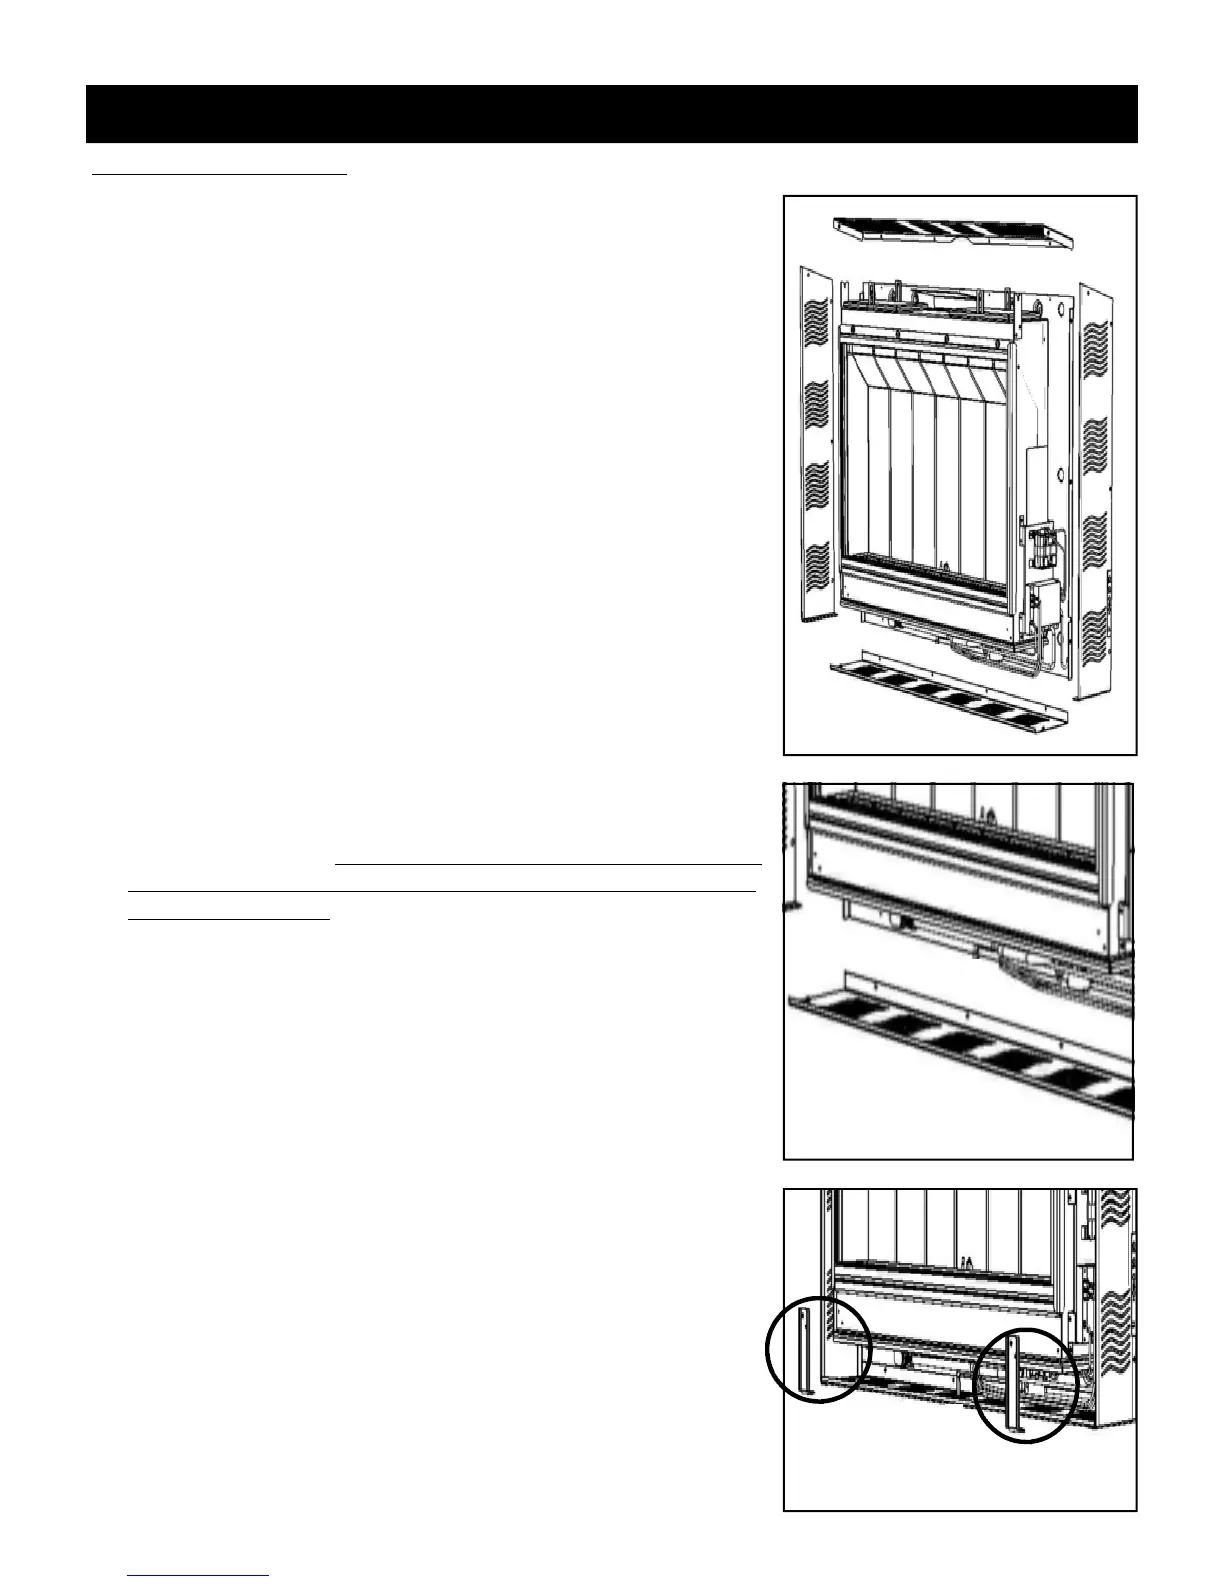
2. Install the top panel first. Align the six holes along the rear edge of
the panel with pilot holes along the top edge of the fireplace
mounting plate.
3. Insert and tighten the six sheet metal screws. A magnetic nut
driver is helpful.
4. Install the left side panel next. Align the three holes along the rear
edge of the panel with the PEM nuts along the edge of the fireplace
mounting plate. Insert the three philips head screws but do not
fully tighten.
5. Locate the fastener hole at the top front edge of the left side panel
and align with the PEM nut in the front of the top panel. Insert the
philips head screw.
6. Make sure the edges of the panel are aligned with the edges of the
top panel and mounting plate and tighten all four philips head
screws.
7. The right side panel has the manual control touch pad mounted
along the rear edge. Before the panel can be installed, the touch
pad must be connected to the touch pad cable (5 Pin connector).
You will find this next to the electronic control module. Hold the
side panel up near the fireplace and connect the cable end to the
touch pad connector. Note that arrow on the on the cable end con-
nector must align with the #5 on the touch pad connector in order
to function correctly.
8. Route the cable through the cutout in the fireplace mounting plate
flange and position the right side panel so it aligns with the three
PEM nuts on the mounting plate and the front PEM nut on the top
panel. Align the rear and top panel edges with the adjoining parts
and insert and tighten the four philips head screws.
9. Install the bottom panel next. Guide the rear flange on the panel
upward until the mounting holes in the flange line up with the pilot
holes in the mounting plate.
11. Attach the panel to the mounting plate using sheet metal screws
along the back edge of the panel. Note: It may make installation
of the sheet metal screws easier if you remove the two lower sur-
round mounting brackets from the front of the fireplace. A mag-
netic nut-driver will also be helpful.
12. Attach the bottom panel to the side panels by aligning the fastener
holes in the bottom panel with the PEM nuts in the front corners
of the bottom flanges on the side panels. Insert and tighten the
two philips head screws.
13. Reinstall the lower surround brackets if you removed them by in-
serting and tightening the two sheet metal screws in each bracket.
LOWER SURROUND BRACKETS