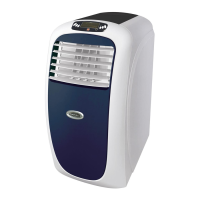
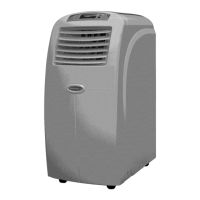
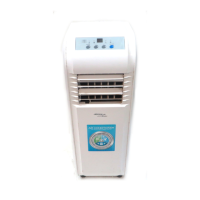
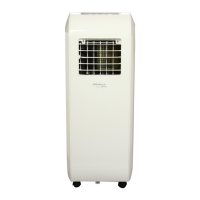
This document provides operating instructions for the Soleus Air Portable Air Conditioner, available in 8,000, 10,000, and 12,000 BTU models. The manual covers installation, operation, maintenance, and troubleshooting for these portable air conditioning units.
Function Description
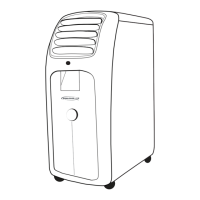
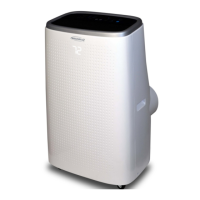
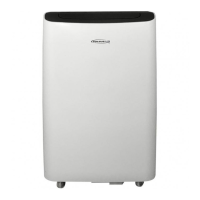
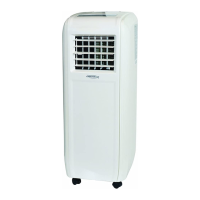
The Soleus Air Portable Air Conditioner is designed to provide cooling, dehumidification, and fan-only operation for indoor spaces. It is a portable unit, equipped with casters for easy movement. The primary function is to cool a room by drawing in indoor air, processing it, and exhausting hot air outside through a venting kit. In dehumidifier mode, it removes excess moisture from the air, and in fan-only mode, it circulates air without cooling. The unit features a self-evaporating system for condensate, minimizing the need for manual draining, though an emergency condensate tank is included for situations where evaporation cannot keep up with moisture collection.
Usage Features
The portable air conditioner is controlled via a control panel on the unit itself and a remote control.
Control Panel Features:
- Power On/Off Button: Manually turns the unit on or off.
- Mode Selection Button: Cycles through Air Conditioner, Dehumidifier, Fan Only, and Auto modes. An icon on the control panel illuminates to indicate the selected mode.
- Temperature Adjustment Buttons (Up/Down): Used to set the desired temperature in Air Conditioner mode. The temperature display flashes during adjustment and then shows the set temperature. The unit can display temperature in Fahrenheit or Celsius, switchable by holding the Mode button for 20 seconds in standby.
- Auto-Swing Button: Activates automatic louver oscillation for wider air distribution.
- Fan Mode Button: Adjusts fan speed.
- Indicators: Separate indicators for Fan Mode, Sleep Mode, Auto Mode, Fan Speed, Dehumidifier Mode, Air Conditioner Mode, and Timer.
- "Ft" (Full Tank) Indicator: Displays when the internal emergency condensate tank is full, requiring manual drainage.
Remote Control Features:
The remote control offers similar functionality to the control panel, allowing users to operate the unit from a distance.
- Power Button: Turns the unit on or off.
- Timer/Temp Increase/Decrease Buttons: Adjusts temperature and sets the timer.
- Mode Button: Cycles through operating modes (Air Conditioner, Dehumidifier, Fan-Only, Auto). An arrow on the remote's LCD display indicates the selected mode.
- Fan Speed Button: Cycles through High, Medium, Low, and Auto fan speeds. An arrow on the remote's LCD display indicates the current fan speed.
- °C/°F Button: Switches the temperature display between Celsius and Fahrenheit.
- Sleep Button: Activates Sleep mode, which runs the fan on low and gradually increases the set temperature by 1°F over the first two hours, maintaining it for six hours before switching to standby.
- Swing Button: Activates the louver oscillation for left and right airflow direction.
Operating Modes:
- Air Conditioner Mode: Requires the exhaust hose and window kit to be installed to vent hot air outside. Users can set the desired temperature and fan speed.
- Dehumidifier Mode: Also requires the exhaust hose and window kit. The unit operates at a low fan speed and slightly cools the room while removing moisture. It will not operate if the room temperature is below 61°F.
- Fan Mode: Does not require the exhaust hose or window kit. It simply circulates air at a selected fan speed.
- Auto Mode: Requires the exhaust hose and window kit. The unit automatically switches between Fan mode (below 73°F) and Air Conditioner mode (above 73°F) based on room temperature.
Installation:
The unit comes with an exhaust hose and a window kit designed for sliding windows and glass doors up to 4.6 ft long. Installation involves connecting the exhaust hose to the unit and the window kit, then securing the window kit in the window opening to vent hot air outdoors. The window kit assembly guide details how to adjust the panels to fit various window widths and secure them with screws.
LCDI Power Cord and Plug:
The unit is equipped with a Leakage Current Detection and Interruption (LCDI) power cord and plug for safety. This cord will cut power if a current leakage is detected. It includes TEST and RESET buttons to verify proper function. Users are instructed to plug in, press TEST (which should trip the circuit), and then press RESET to restore power. A variant with an LED light indicates power status.
Maintenance Features
Regular maintenance is crucial for the optimal performance and longevity of the Soleus Air Portable Air Conditioner.
- Air Filter Cleaning/Replacement: The air filter should be cleaned every two weeks or as needed, especially if airflow reduces due to dust blockage. To clean, remove the filter, wash it gently in warm water with a neutral detergent, rinse, and dry thoroughly away from direct sunlight before re-installing. If the filter is damaged, a replacement can be ordered.
- Unit Housing Cleaning: The exterior of the unit should be cleaned with a damp cloth and dried with a soft towel. It's important to keep the unit out of direct sunlight to prevent color fading.
- Condensate Drainage: The unit has a self-evaporating system, but if the emergency condensate tank fills up (indicated by "Ft" on the display), it needs to be manually drained. This involves unplugging the rubber plug from the drain hole at the bottom back of the unit and allowing water to drain into a pan. The supplied drainage hose can be used to facilitate this. The rubber plug must be re-installed after draining. Continuous drainage is not advised when room temperature exceeds 90°F.
- Storage: For extended storage or transport, the unit should be unplugged, and any excess water in the condensate tank must be drained. The unit should then be stored in a cool, dry place.
Troubleshooting:
The manual includes a troubleshooting guide for common issues such as the unit not powering on, working for a limited time, emitting unpleasant smells, or not restarting. It also explains self-diagnosis system malfunction codes (Lt for low temperature/frost prevention, PF for probe failure/sensor damaged, and Ft for full tank) and their corresponding solutions.