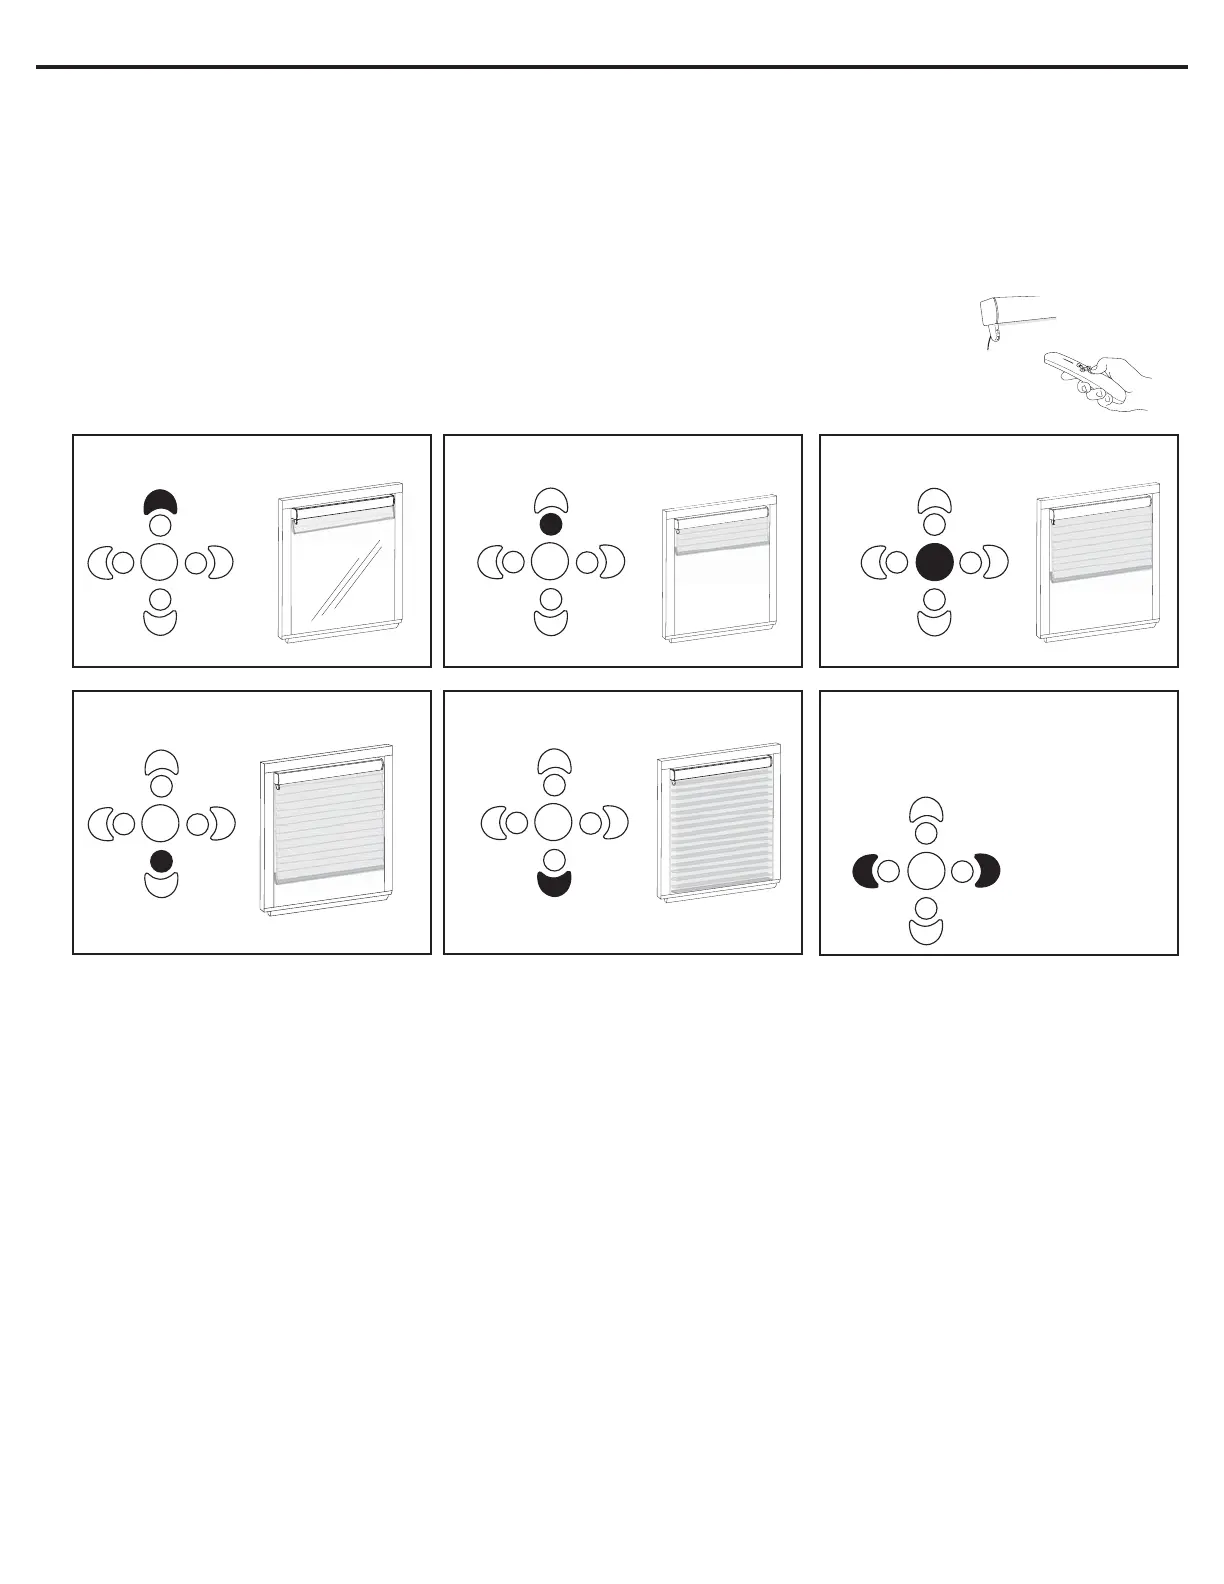
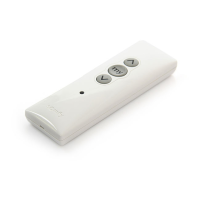
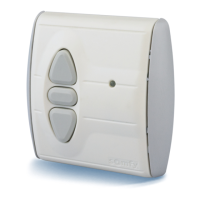
Operation Of Remote Control
There are 5 preset limits already programmed into the System II motor once the upper and lower
limits have been set. As well there is the “preferred position” allowing for up to 6 programmed limits.
Point the remote control at the motor and select desired limit based on the guide below:
Continued from front Programming & Operation Instructions ~ System II IR Remote Control
HSYS-7029 © Harmonic Design, Inc. 3/2005
Set to desired
position.
Step 9 - Setting Intermediate Position (IP)
(optional)
1. Using a small paperclip depress the “MODE BUTTON” located on the back of the remote control. The red
indicator light on the front of the remote control should start flashing in a single-flash pattern.
2. Hold down the “MIDDLE” button on the front of the remote control till you get a double-flash pattern.
3. Using the “UP” or “DOWN” buttons, set your shade to the desired position.
4. Press and hold the “OUTER LEFT and/or RIGHT” button(s) till you receive a “jog” confirming the IP.
5. Using a small paperclip depress the “MODE BUTTON” located on the back of the remote control. The red
indicator light on the front of the remote control should stop flashing. Programming complete!
Upper Limit 1/4 Limit Middle Limit
3/4 Limit Lower Limit Preferred Position
-
use the OUTER LEFT, RIGHT or
LEFT & RIGHT button(s) to reach preferred
position.
Additional Feature - Step Tilting
- Position the shade at the lower limit and hold the DOWN button for 1.5 seconds. The shade will “step” backwards
allowing for tilting of vanes in horizontal sheer products. Release when desired position has been reached.
Option 1 - Reset Upper/Lower Limit
- Using the UP or DOWN button, move to limit to be changed.
- Using a small paperclip depress the “MODE BUTTON” located on the back of the remote control. The red
indicator light on the front of the remote control should start flashing in a single-flash pattern.
- Hold down the MIDDLE button until you see a double-flashing pattern on the indicator light.
- Hold down the UP or DOWN button (depending on which limit being changed) for 1.5 seconds until LED blinks
- Move the shade to new desired limit
- Hold down the MIDDLE button until the shade jogs, confirming new limit
- Using a small paperclip depress the “MODE BUTTON” located on the back of the remote control. The red
indicator light on the front of the remote control should stop flashing. Programming complete!
Option 2 - Reset Intermediate Position (IP)
- Using a small paperclip depress the “MODE BUTTON” located on the back of the remote control. The red
indicator light on the front of the remote control should start flashing in a single-flash pattern.
- Hold down the MIDDLE button until you see a double-flashing pattern on the indicator light.
- Using the “UP” or “DOWN” buttons, set your shade to the desired position.
- Press and hold the “OUTER LEFT and/or RIGHT” button(s) till you receive a “jog” confirming the IP.
- Using a small paperclip depress the “MODE BUTTON” located on the back of the remote control. The red
indicator light on the front of the remote control should stop flashing. Programming complete!