10
If shelf mounting, attach the four included feet by
screwing them into the threaded openings, no tool is
Installation Steps With A Single Audio Source
Once mounted in a rack or on a sturdy shelf, make
Decide on the appropriate Power Sensing Mode:
Set the Sense DIP
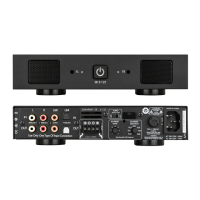
If using the voltage trigger feature, connect a two-
conductor wire from the 12 volt output of a zone
Connect a pair of RCA cables from the single source
Set the Input Assignment DIP switches to the Bus A
inputs, alternating between left channel and right
If using the Bus Inputs along with a passive woofer/
subwoofer (ex: VP85RW) in a zone, connect a single
See section ‘Using The Subwoofer Line-Level Output
Connect 14/4 speaker wire from the remote zones to
their dedicated Speaker Output Block Connector on
With the source volume turned down to a low,
Follow the steps in the chapter entitled, ‘Protecting
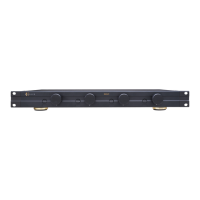
Figure 12: Rack Ear Front Mounting 8-50
SIDE VIEW RIGHT
FRONT VIEW
head screws found on each side of the left and right
Rack Ear Conguration Options
accept mounting of the ears in the designated locations:
Front: Standard rack mounting
Middle Up: Under side mounting applications
After mounted in a rack or on a sturdy shelf, make
Decide on the appropriate Power Sensing Mode:
Set the Sense DIP
If using the voltage trigger feature, connect a two-
conductor wire from the 12 volt output of a zone
Connect a pair of RCA cables from each stereo
Set the Input Assignment DIP
paging or door chimes are not used, proceed to step
If providing doorbell chimes and/or paging into the
also providing paging, run a line level cable from
DIP switches to
DIP switch setting will
If using the Bus Input source along with a passive
woofer/subwoofer (ex: VP85RW) in a zone, connect a
driving the woofer does not have to perform this
Connect 14/4 speaker wire from the remote zones to
For example, if the audio source for the kitchen is
connected into channels one Left and one Right RCA
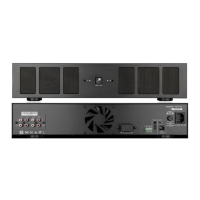
Figure 13: Rack Ear Middle Up Mounting 8-50
 Loading...