Subwoofer Wire Connection
The subwoofer features a dual voice coil driver with 4 wires, one
pair for each of the amplifier channels. Red (+) and Black (-) are
used for the right channel, White (+) and Green (-) for the Left
channel. The subwoofer can be connected at any point along the
daisy chain e.g. beginning, middle, end or anywhere in-between.
However, locating the subwoofer mid-way in the daisy chain will
produce an equal amount of bass for the speakers on either side
of the sub. The subwoofer needs to be connected in the same
manner as the satellites speakers. (See Figure 5.)
IMPORTANT: The subwoofer uses a dual voice coil woofer, it
is critical that the positive and negative wires be connected
correctly for both channels. If either channel is connected
incorrectly no low frequency sound will be produced.
After all satellites and subwoofer connections are completed,
connect the wires to your receiver or amplifier. See Figure 2 (on
page 3) & Figure 4 for reference.
IMPORTANT: Be sure not to let any stray’+’ and’-’ strands
touch each other. Touching strands will cause a short-circuit
which could damage your amplifier.
Turn your receiver or amplifier ‘On’ and test the system with your
favorite music. If the speakers are operating properly, refill the
wire trench and enjoy your new speakers.
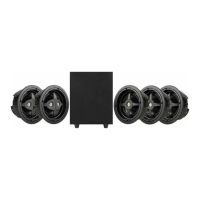
Figure 4
Figure 5
7