1
Introduction
Thank you for purchasing SONOS IN-CEILING by SONANCE
Speakers. When properly installed, your new speakers will give
you years of entertainment pleasure. SONOS IN-CEILING by
SONANCE speakers also feature exclusive audio enhancements
designed for Sonos Amp. See “Unlocking Sonos Audio
Enhancements” for instructions.
Box Contents
(2) SONOS In-Ceiling Speakers
(2) Paintable Grilles
(2) Mounting Cut-out Templates
Speaker Placement
Stereo Speaker Placement (2-Channel System)
• Place the left and right speakers anywhere from 6 - 10 feet
(1.8m – 3m) apart, with the main listening position as close to
midway between the speakers as possible.
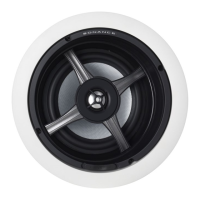
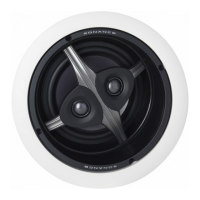
• (For 6.5” In-Ceiling only) In some cases pivoting the woofer and
tweeter assembly of each speaker directly towards the main
listening position will help maximize the stereo soundstage.
Use the left and right speaker placement in Figures 2 and 3, on
the left side of image, as a guide.
NOTE: CONSULT LOCAL BUILDING CODES BEFORE RUNNING SPEAKER WIRES THROUGH CEILINGS.
Figure 1: Distributed Audio Speaker Spacing
Coverage Area Coverage Area
Speaker
Spacing
Distributed Audio System Speaker Spacing
Standing Listener Seated Listener
8 Foot Ceiling 5’7” (1.7m) apart 9’5” (2.9m) apart
10 Foot Ceiling 9’7” (3m) apart 13’5” (4.1m) apart
12 Foot Ceiling 13’7” (4.2m) apart 17’5” (5.3m) apart
14 Foot Ceiling 17’7” (5.4m) apart 21’5” (6.6m) apart
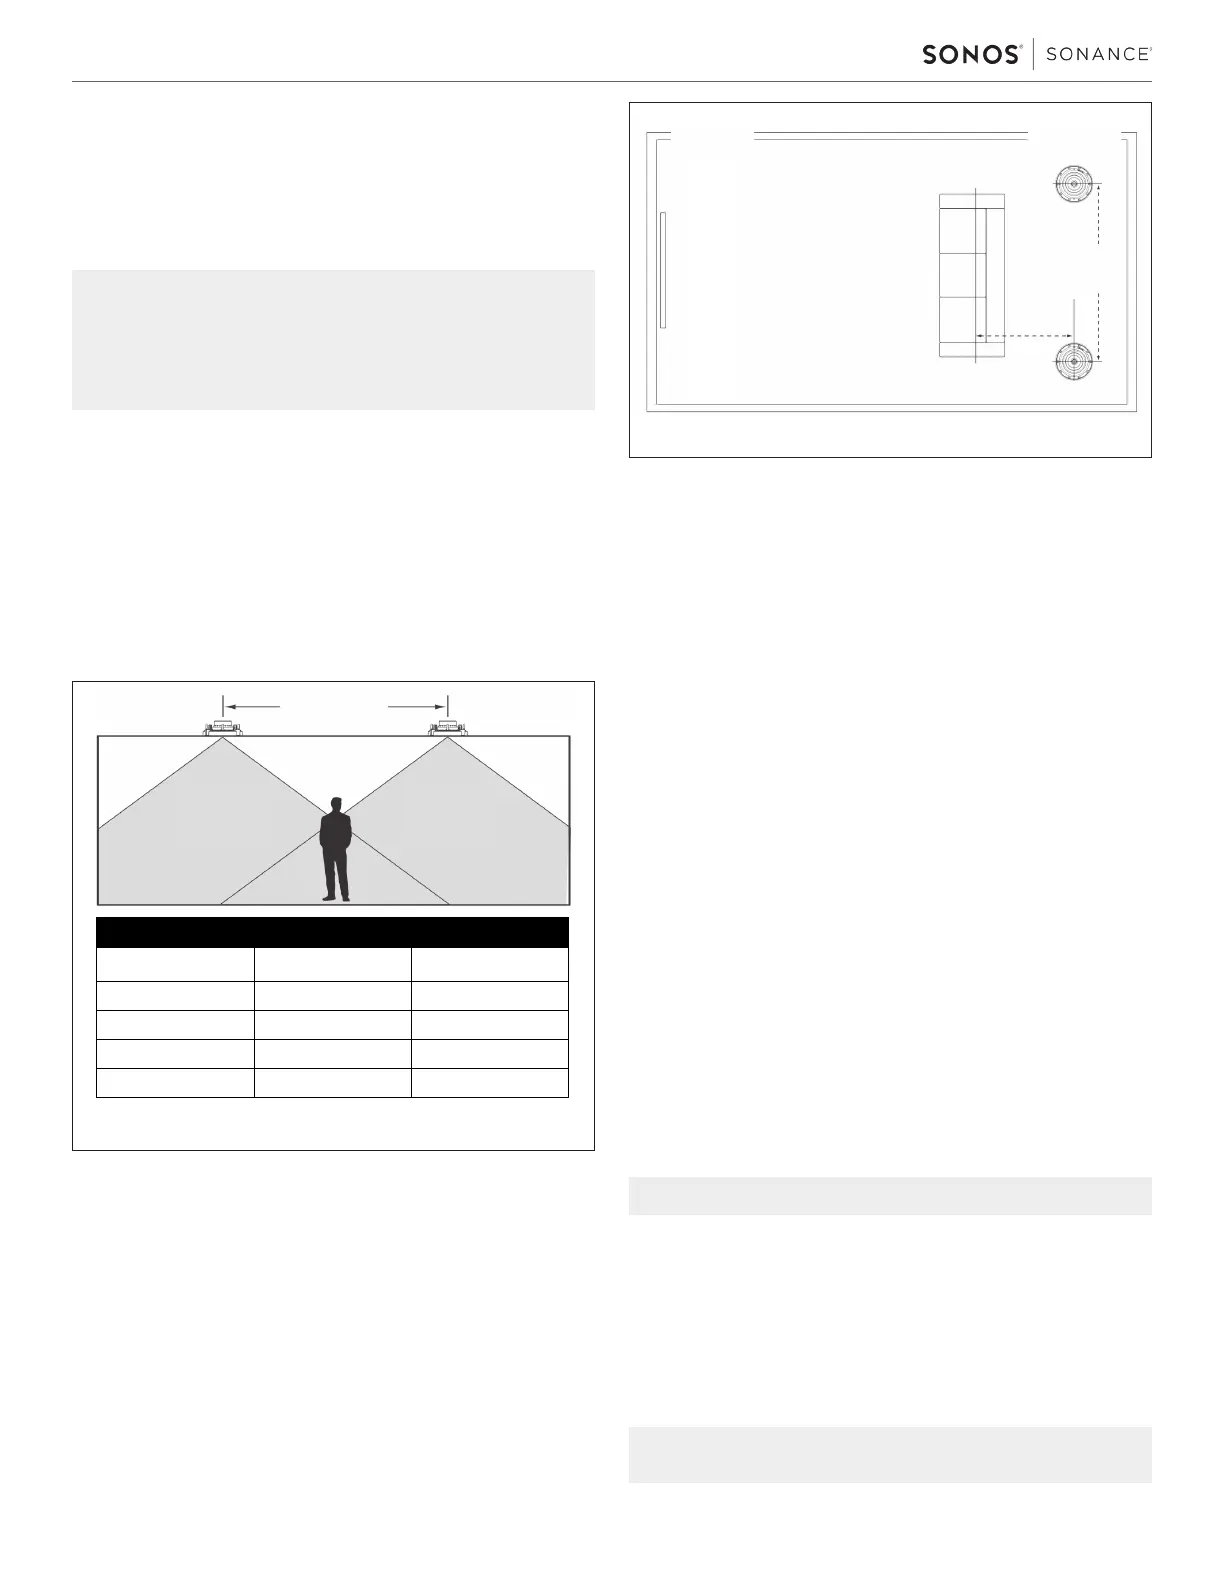
Figure 2: Surround Speaker Placement
Sonos
Soundbar
or Sonos Amp
Left & Right
Surround
Speakers
6’-10’
(1.8-3m)
apart
2’-6’
(0.6-1.8m)
apart
Home Theater Speaker Placement
Surround Speakers
• Locate the left and right surround speakers 2 – 6 feet (0.6
– 1.8m) behind the listening position. The speakers should be 6
– 10 feet (1.8 – 3m) apart (see Figure 2).
TV
Before Installation
1. Determine the location for the speaker (see Speaker
Placement above).
2. Perform an obstruction survey using a stud finder to be certain
that there are no studs, conduit, pipes,heating,ducts, pocket
doors or air returns in the ceiling cavity that will interfere with
the speaker. If you are unsure about obstructions, drill a small
hole in the center of the outline and insert a coat hanger wire
into the hole to feel around for possible obstructions.
3. Cut the mounting hole using a keyhole or drywall saw, and run
the speaker wires from the mounting hole to the amplifier
location.
Installation
SONOS In-Ceiling by Sonance features integral Roto-Lock®
mounting system for quick mounting directly into
existing ceilings.
1. Strip 1/4 – 1/2” (6 – 12mm) of insulation from each speaker
lead. Twist the strands or tin the exposed wire with solder to
ensure that there are no stray strands.
NOTE: STRAY STRANDS THAT TOUCH EACH OTHER CAN CAUSE A SHORT-CIRCUIT THAT CAN DAMAGE
THE AMPLIFIER.