3
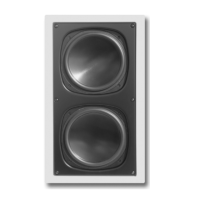
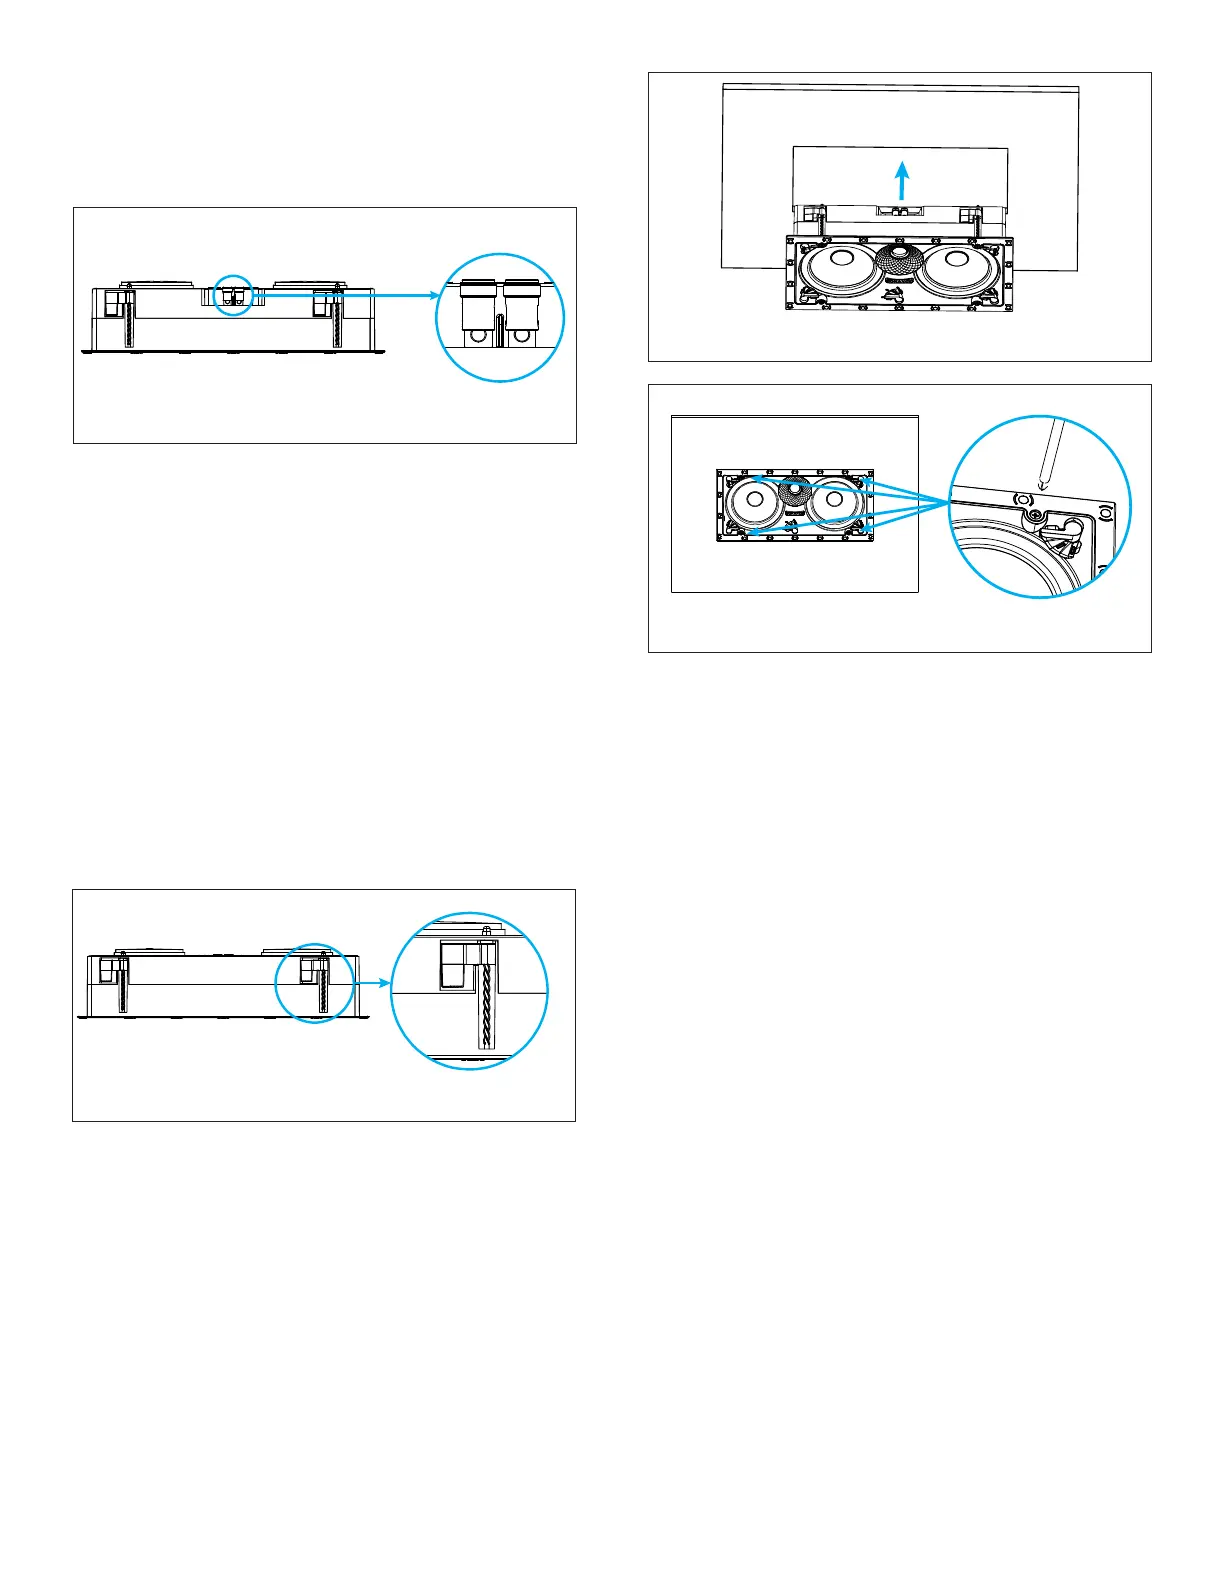
6. Insert the speaker into the mounting hole (see Figure
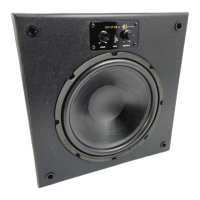
4) and tighten the ve screws on the front of the
speaker bafe (see Figure 5).
NOTE: Visual Experience LCR speakers can be
positioned as Front Left, Front Center, and Front
Right for in-wall surround sound congurations. The
user may decide to install the Left and Right speaker
in either a vertical orientation with the tweeter and
waveguide positioned inward, closest to the display,
or outward, away from the display. For slightly wider
stereo imaging, the Left and Right speaker may be
oriented with the tweeter and waveguide pointed
outward from the display.
7. The Roto-Lock clamps will automatically rotate into
position and begin clamping the speaker.
IMPORTANT: Always use low-torque settings when
using a screw gun and go slowly; never over tighten.
Figure 4: Tightening the Roto-Lock Screws
Figure 3: Inserting the Speaker into the Mounting Hole
IMPORTANT: Adjusting the tension of the Roto-Lock
Clamps to help the speaker sit at with the surface will
help ensure proper grille contact all the way around
the speaker.
8. Test audio playback by turning on the amplier and
source to play a signal to the speakers.
9. The VX grille is held in place by several small,
powerful magnets on the speaker frame. Place the
grille against the speaker and the magnets will hold
it rmly in place. When properly installed, the grille
ange should make contact with the surface all the
way around the speaker.
PAINTING THE GRILLES
Sonance Visual Experience Series speaker grilles
completely cover the exposed speaker frame, so only the
grilles (not the speakers themselves) require painting.
1. Remove and save the scrim cloth from the back of
the grille.
2. Prime the grille with a metal primer/bonder in
a spray can. Carefully follow the manufacturerʼs
directions on the can.
3. We recommend using water-based latex paint on
the grilles. Thin the paint with a proper thinning
agent to a ratio of 1:1 paint-to-thinner, and strain it
through a standard mesh strainer to remove any
lumps.
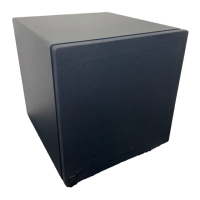
Figure 2: Roto-Lock Toggle Feet Retracted
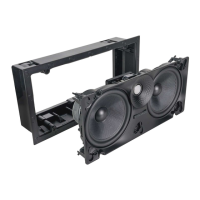
2. The speaker’s connector posts are spring-loaded.
Push the top of each connector post down to open
the connector and insert the exposed wires into the
holes in the posts. The speaker terminals are located
on the back, in the top, center of the speaker (see
Figure 1).
Figure 1: Connection Terminals
3. The speaker’s positive post is labeled with a red dot;
the negative post is labeled with a black dot.
4. After making all connections, double-check that you
connected amplier “+” to speaker “+” and amplier “–”
to speaker “–”.
Sonance Visual Experience Series Speakers feature an
exclusive integral RotoLock® mounting system for quick
mounting directly into existing walls and ceilings.
IMPORTANT: New Superspeed RotoLock Toggle
System fully clamps in only one second. Set your drill
to the lowest torque setting and turn very slowly and
carefully to prevent damage.
5. Make sure all the Roto-Lock toggle feet are retracted
so that the speaker can t within the mounting hole
(see Figure 2).
 Loading...