2
VISUAL EXPERIENCE SPEAKERS
VX62LCR | VX66LCR
TABLE OF CONTENTS
2 Box Contents
2 Introduction
2 Important Safety Information
2 Installation
3 Grille Painting
5 Technical Specications
6 Warranty
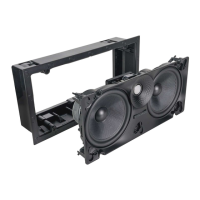
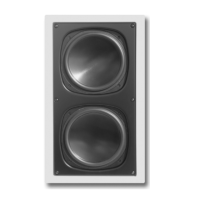
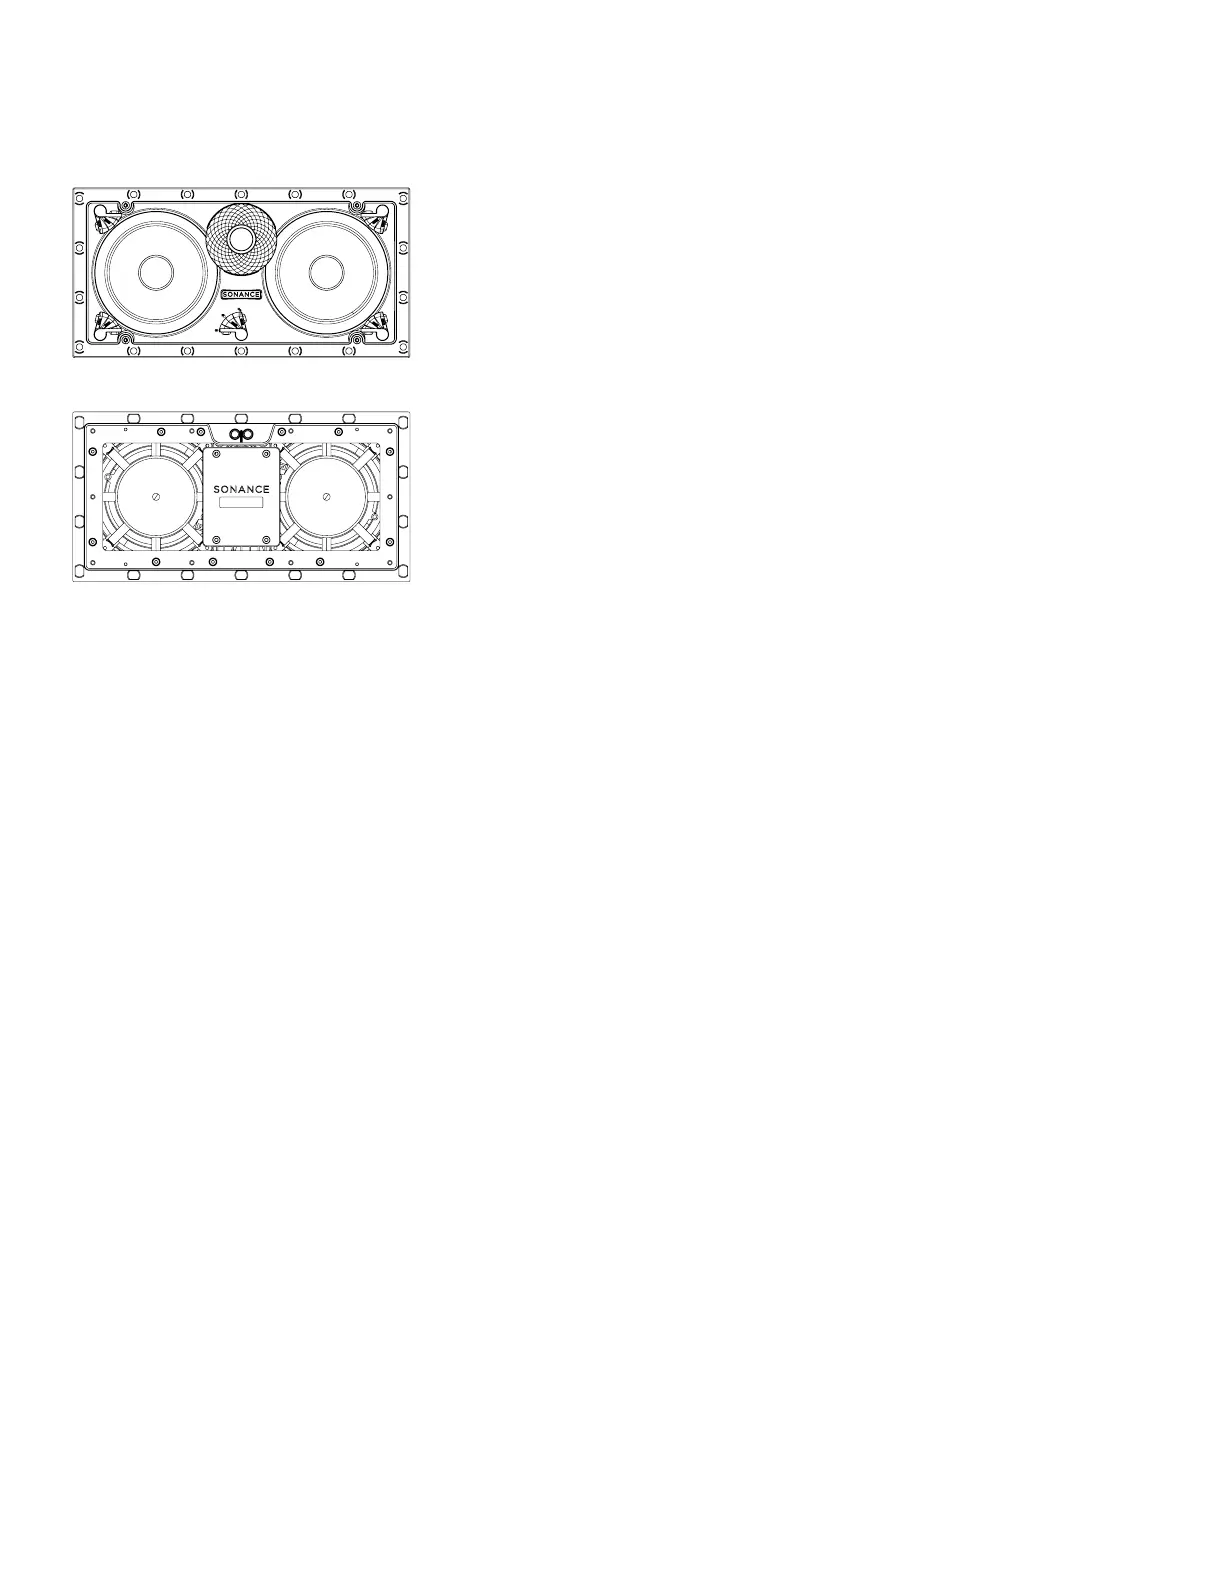
FRONT VIEW
BACK VIEW
BOX CONTENTS
(1) Cutout Template/Quickstart Guide
(1) 6” VX LCR Speaker
(1) Paintable Micro Trim Grille
INTRODUCTION
Thank you for selecting Sonance Visual Experience Series
Speakers. Sonance has over four decades of experience
in premium distributed audio. Please take the time
to carefully read through the manual and study the
illustrations. This extra time can lead to trouble-free
operation and continued musical enjoyment.
IMPORTANT: Read this section in its entirety before
attempting use of speaker.
IMPORTANT SAFETY INSTRUCTIONS
Always follow these basic safety precautions when using
your speakers to reduce the risk of re, electric shock,
and injury to prople or objects.
1. Read all the safety and operating instructions before
operating the speaker and retain them for future
reference.
2. Adhere to all warnings and precautions listed on the
speaker and in the operating instructions.
3. Follow all operating instructions.
INSTALLATION
1. Determine the location for the speaker.
2. Perform an obstruction survey to be certain that
there are no studs, conduit, pipes, heating ducts,
pocket doors, or air returns in the wall cavity that will
interfere with the speaker.
3. Position the included cutout template where the
speaker is to be located and pencil an outline on the
wall or ceiling. If you are unsure about obstructions,
drill a small hole in the center of the outline and
insert a coat hanger wire into the hole to feel-around
for possible obstructions.
4. Cut the mounting hole using tools appropriate for
the construction, and run the speaker wires from the
mounting hole to the amplier location.
IMPORTANT: Consult local building codes before
running speaker wires through walls.
IMPORTANT PRODUCT FEATURE
Sonance Visual Experience speakers can be installed
using a one-stage or two-stage installation process
thanks to the innovative Flex Frame mounting system.
Read through the installation steps for each to help
decide which process works best for you, then follow the
appropriate steps to install your VX product.
ONE-STAGE INSTALLATION
Leave the Sonance VX LCR speaker module Flex Frame
latches in the LOCKED position as supplied out of the
box. This will ensure that your VX speaker remains a
single piece forthe one-stage installation process. The
Flex Frame latches are in the locked position when
clicked parallel with the longest edges of the speaker
(see Figure 1).
1. Strip 1/4” – 1/2” (6mm – 13mm) of insulation from each
speaker lead. Twist the strands or tin the exposed
wire with solder to ensure that there are no stray
strands.
IMPORTANT: Stray strands that touch each other can
cause a short-circuit that can damage the amplier.
 Loading...