5 Setup Options
Setup using Local Management
Set up and manage your NSa by connecting it to
a management computer via Ethernet cable.
To minimize scrolling, set your screen resolution
to at least 1920 x 1080 pixels.
Setup using Cloud Management
Use SonicWall Capture Security Center (CSC)
and Network Security Manager (NSM) with
Zero Touch to manage and configure your NSa
from the cloud.
Setup using SonicExpress App
Use SonicWall SonicExpress on your
smartphone to register and configure your NSa.
NOTE: After initial setup, be sure to download the latest
firmware from MySonicWall and upgrade your NSa. Your
appliance must be registered to download firmware from
MySonicWall.
6 Initial Setup and Registration
Using Local Management
1 Configure your computer with an IP address in the
192.168.1.x subnet, such as 192.168.1.100, and set the
network mask to 255.255.255.0.
2 Using the provided Ethernet cable, connect the MGMT
interface to your computer.
The MGMT interface is a dedicated 1 Gigabit Ethernet
port for appliance management and SafeMode access.
3Navigate to https://192.168.1.254 in your web browser
and log in with the default credentials:
Username: admin
Password: password
4 Launch the Setup Guide wizard or manually configure
the NSa to configure your WAN interface, change the
admin password, and select other settings.
5 After completing the setup wizard, reconfigure your
computer to automatically obtain an IP address and
DNS server address, or set it to the appropriate static
network settings.
6 Connect your computer to the LAN or WAN network
and log into SonicOS/X. The LAN provides a DHCP IP
address to your computer. The default LAN IP address is
https://192.168.168.168.
7Click Register and enter your MySonicWall credentials
to register your NSa.
NOTE: You cannot reach the internet or other external
destinations while connected to the MGMT interface
without first configuring a default gateway in its interface
settings.
TIP: Registering the appliance from SonicOS/X requires
that DNS settings are configured for the WAN interface.
For DHCP WAN type, DNS is set automatically.
7 Cloud Management
Use CSC to access MySonicWall and NSM to
manage and configure your NSa.
1Log into CSC at cloud.sonicwall.com
using your MySonicWall credentials.
2 Select the MySonicWall tile to register your NSa.
3 Enable Zero Touch and NSM licensing on your NSa in
MySonicWall.
4 Select the Network Security Manager tile in CSC to
manage your NSa from the cloud.
NOTE: This option requires a Cloud Management license.
8 SonicExpress App
Use SonicExpress on your smartphone to
register and configure your NSa.
1 Download and launch the SonicExpress
App on your iOS or Android device.
2Tap Login and log in with your MySonicWall credentials.
3 Select the Tenant for the NSa. Tenants can contain
multiple SonicWall appliances.
4 Connect your iOS/Android device to the NSa with the
smartphone USB cable. This cable is not supplied with
the NSa.
5Use the Setup Guide to register the NSa, synchronize
service licenses, change the password, and configure
essential interface settings.
NOTE: Use the USB cable from your mobile device.
9 SonicWall Secure SD-Branch
SD-Branch combines SD-WAN, SD-LAN, unified security
and centralized management for distributed enterprises.
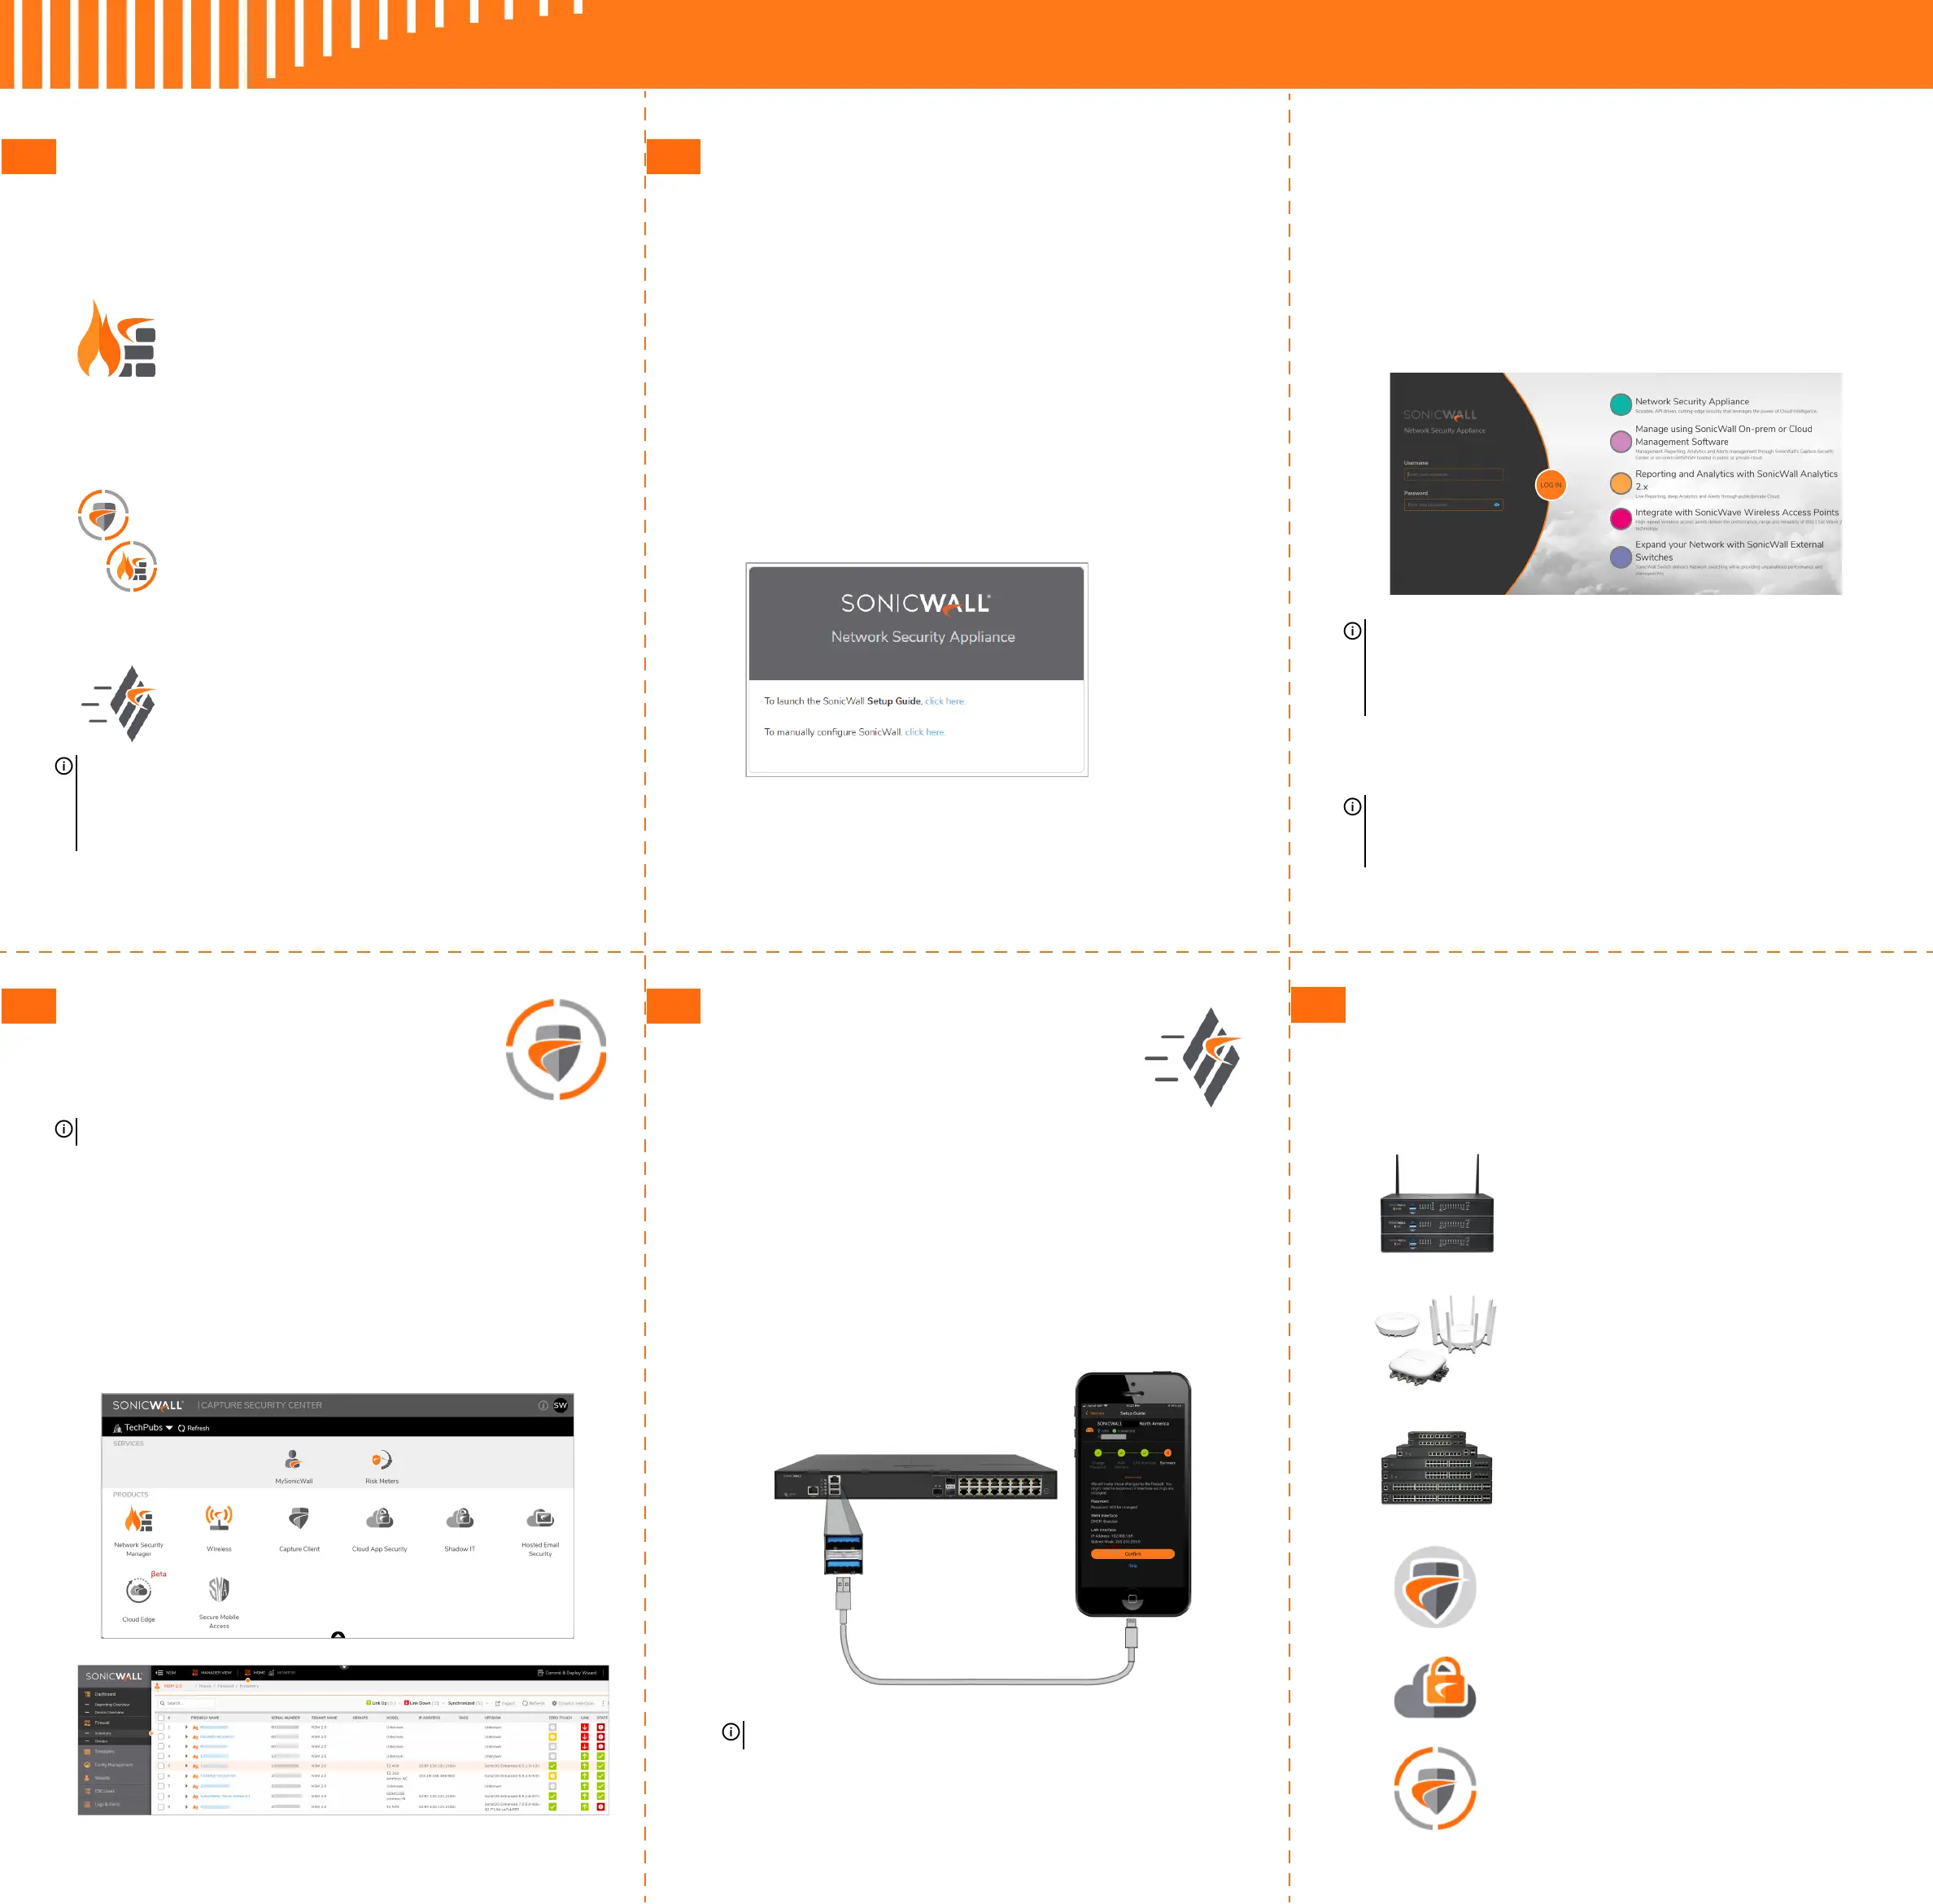
Related Products
TZ, NSa, NSsp Series
Next-generation Firewalls with Integrated SD-WAN
SonicWave APs
Wireless Access Points
SonicWall Switch
Network Access Switch
Capture Client
Endpoint Security
Cloud App Security
Secure Cloud Applications
Capture Security Center
Single-pane-of-glass Management with
Zero-Touch Deployment