Do you have a question about the Sony BDV-HZ970W and is the answer not in the manual?
Unit remains connected to AC outlet when plugged in, even if off. Connect to accessible outlet.
Warnings about installation, ventilation, heat, and securing the unit.
Covers Class 3R/1 laser warnings and eye exposure hazards.
Do not expose apparatus to rain or moisture.
Comprehensive list of 14 safety instructions for installation and operation.
Warns that unauthorized modifications can void operating authority.
Caution against unauthorized modifications affecting operation authority.
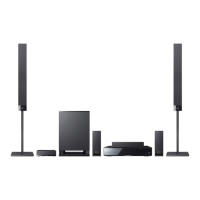
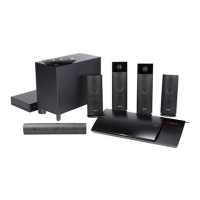
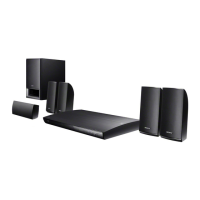
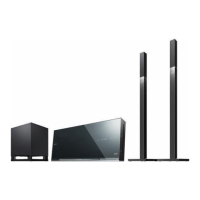
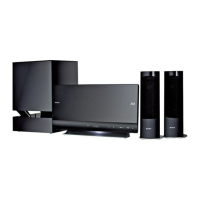
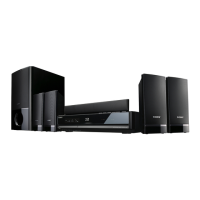
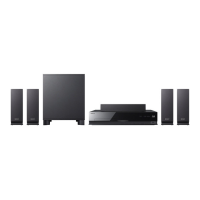
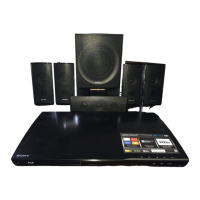
Guidance on optimal speaker placement for surround sound experience.
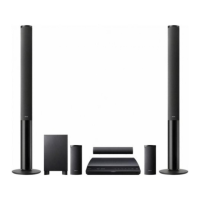
Instructions and diagram for positioning optional surround back speakers for 7.1 sound.
Instructions on connecting speaker cords and safety for wall mounting.
Diagrams showing screw placement for wall mounting different speakers.
Visual guide on how to hang speakers on wall-mounted screws.
Color-coded guide for connecting speaker cords to the main unit and surround amplifier.
Explains three methods (HDMI, Component, Video cord) for connecting to a TV.
Details TV audio connection via optical cord and explains ARC.
How to connect components with HDMI OUT using an HDMI cable.
Connecting components without HDMI OUT using digital coaxial or audio cords.
How to insert the wireless transceiver into the main unit and surround amplifier.
How to connect the system to a network using a LAN cable.
How to access the Easy Setup menu again to change settings.
How to choose the input source for playback using the FUNCTION button.
How to choose surround sound modes via the SYSTEM MENU.
Details the effects and sources for various surround sound settings.
How to connect to a network wirelessly using a USB Wireless LAN Adapter.
Steps to configure the S-AIR system for wireless sound transmission.
Guide to perform initial system adjustments like turning on the TV and connecting the calibration mic.
How to synchronize audio and video if they are out of sync.
How to select different sound modes (AUTO, MOVIE, MUSIC, etc.) for optimal audio.
How to tune into radio stations manually using the remote.
How to store up to 20 radio stations for quick access.
Explains what S-AIR main units and sub units are.
How to manually configure speaker connections, distances, and levels.
How to use the calibration mic to automatically set speaker levels and distances.
Allows configuration of speaker connections, distances, and levels.
Automatically calibrates speaker settings using a test tone and microphone.
Resets system settings to factory defaults.
General safety advice regarding liquids, wet hands, and placement.
Solutions for power-related issues like the unit not turning on or error messages.
Solutions for incorrect video output, aspect ratio issues, and color irregularity.
Solutions for surround speaker sound issues, radio tuning, and disc playback problems.
Solutions for wireless transmission not activating or poor sound quality with S-AIR.
Solutions for system connection issues and PC internet access problems.
Advice on unplugging the unit and handling the power cord.
Solutions for problems with the remote or the system not working normally.
Solutions for no sound, low sound, or unbalanced/reversed audio issues.
Solutions for radio tuning, disc playback, and general operation errors.
Solutions for poor picture/sound quality with internet video content.
Solutions for network connection issues with the USB adapter.
Guidance on ventilation, heat, magnets, and avoiding inclined positions.
Solutions for issues like no picture, incorrect 3D images, or poor picture quality.
Solutions for file name display issues, resume play, auto playback, and language settings.
Solutions for USB device recognition and connection problems.
| power output - surround | 167W x 2 (RMS 10%THD) |
|---|---|
| power requirements | 120V AC, 60Hz |
| power consumption (in standby) | 0.3W |
| total power output | 1000W Total (RMS) |
| center power output | 167W |
| surround power output | 167W |
| woofer power output | 165W |
| front power output | 60W |
| hdmi connection input(s) | 2 Inputs |
|---|---|
| hdmi connection output(s) | 1 Output |
| optical audio input(s) | 1 (TV) |
| analog audio input(s) | 2 (AUDIO TV) |
| coaxial audio input(s) | 1 (Sat/Cable) |
| component video (Y/Pb/Pr) output(s) | 1 |
| composite video output(s) | 1 |
| speaker terminal | 2 (Front); 1 (Center); 2 (Surround); 1 (Subwoofer) |
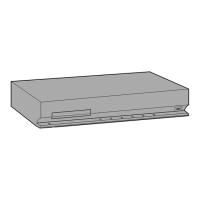
| amplifier dimensions | 17 in × 3 3/8 in × 14 1/8 in (430 mm × 83 mm × 355 mm) |
|---|---|
| front speakers without stands dimensions | 3 in × 24 1/16 in × 2 7/8 in (75 mm × 610 mm × 70 mm) |
| front speakers with desktop stands dimensions | 9 7/8 in × 28 5/8 in × 9 7/8 in (250 mm × 727 mm × 250 mm) |
| front speakers with floor stands dimensions | 9 7/8 in × 39 3/8 in × 9 7/8 in (250 mm × 1000 mm × 250 mm) |
| surround speakers dimensions | 3 in × 8 7/8 in × 2 7/8 in (75 mm × 225 mm × 71 mm) |
| center speaker dimensions | 11 1/2 in × 1 15/16 in × 1 15/16 in (290 mm × 49 mm × 49 mm) |
| subwoofer dimensions | 10 7/8 in × 16 in × 10 7/8 in (275 mm × 405 mm × 275 mm) |
| amplifier weight | 10 lb 10 oz (4.8 kg) |
| front speakers weight | 2 lbs (0.9 kg) |
| surround speakers weight | 1 lb (0.45 kg) |
| center speaker weight | 10 oz (0.28 kg) |
| subwoofer weight | 16 lb 12 oz (7.5 kg) |