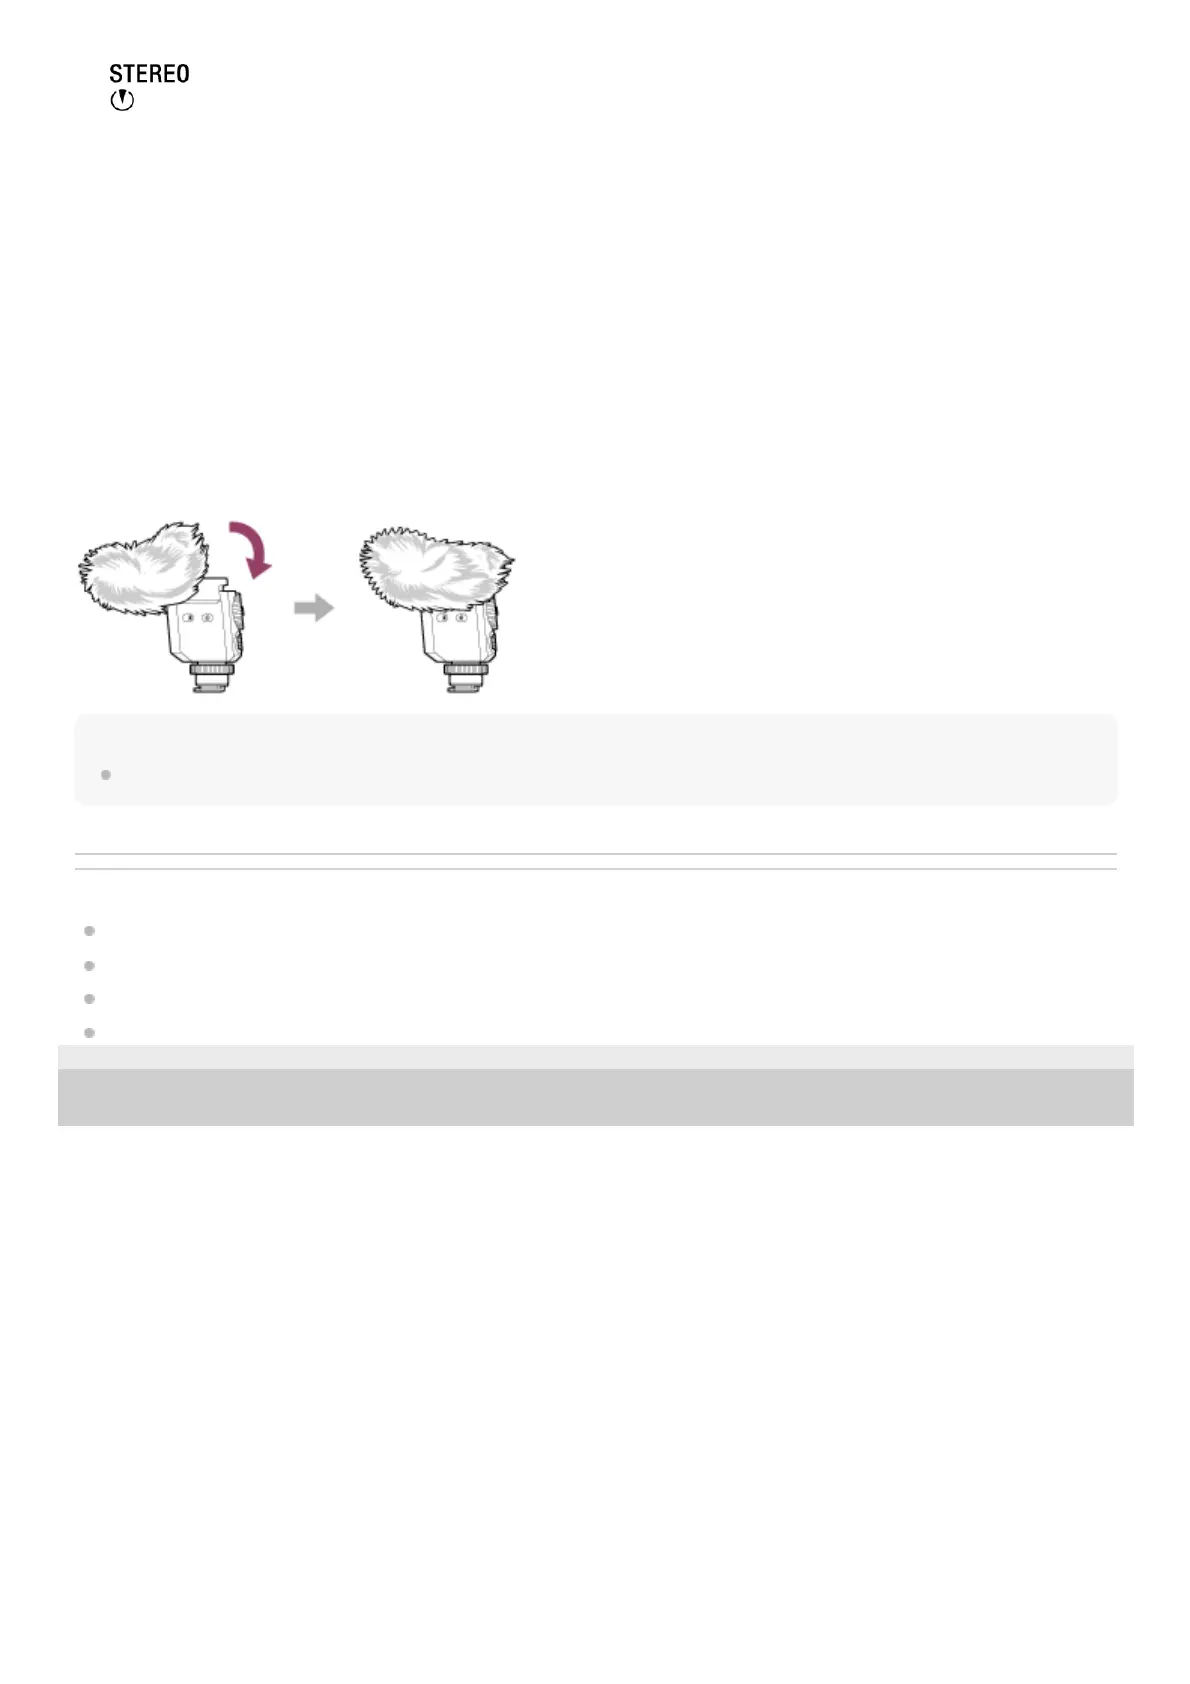
About the wind screen
By fitting the wind screen over the microphone of the unit, you can minimize the noise caused by the wind or breath
hitting the microphone to be included in the recording.
Note
If the wind screen is exposed to rain and wet, remove it from the unit and let it dry in the shade.
Related Topic
Attaching/removing to/from the camera
Selecting the directivity
About the pickup pattern and the frequency response
About the output channels
5-053-132-11(1) Copyright 2023 Sony Corporation
: Stereo
: Ultra-directional
Lock button
Pressing this button locks/unlocks the directivity mode dial.
4.
AUTO/MAN switch
AUTO: The recording volume level is automatically adjusted.
MAN: Adjust the recording volume with the AUDIO LEVEL dial.
5.
AUDIO LEVEL dial
The recording volume level can be adjusted manually for fine tuning when the AUTO/MAN switch is set to “MAN.”
It is recommended that you adjust the level while monitoring the volume level meter on the camera or the audio
recording volume with headphones.
6.