Do you have a question about the Sony Handycam CCD-TR3400 and is the answer not in the manual?
Record model and serial numbers for dealer reference.
Important safety warnings regarding fire, shock, and proper handling of batteries.
Explains how buttons and settings are shown in the manual for clarity.
Guidelines for protecting the camcorder from moisture, heat, and damage.
List of included accessories to verify upon purchase.
Step-by-step guide to charge and install the battery pack before first use.
Instructions on how to properly insert a video cassette into the camcorder.
Guide on how to start and perform basic video recording operations.
How to use the zoom controls to adjust the subject's magnification during recording.
Tips for holding the camcorder and positioning for optimal hand-held shots.
How to review recorded footage using the EDITSEARCH function.
Connecting the camcorder to a VCR or TV for viewing recorded tapes.
Instructions for playing recorded tapes and using the remote commander for playback.
Exploring different playback options like slow motion, double speed, and frame-by-frame.
How to display recorded date and time information on the screen during playback.
Options for powering the camcorder using batteries, house current, or car battery.
Instructions for using the battery case with alkaline batteries.
How to connect and use the camcorder with a car battery charger.
Customizing camcorder settings via the menu system for optimal performance.
Adding date or time overlays to the recorded video footage.
Applying smooth transitions to the beginning or end of recordings for a professional look.
Creating gradual scene transitions by overlapping the end of one scene with the start of another.
Using wipe effects to transition between scenes, revealing the next picture from the center.
Capturing still images or superimposing them onto moving video.
Using flash motion to record a series of still pictures at set intervals.
Replacing parts of a still image with a moving video using luminance key.
Inserting new footage into an existing recorded tape by erasing and re-recording.
Choosing between CINEMA or 16:9 FULL aspect ratios for recording.
Utilizing special recording modes like 5 SEC or ANTI GROUND SHOOTING.
Adding preset or custom titles to video footage during recording.
Creating and storing custom titles with up to 22 letters.
Verifying tape head and cassette condition for optimal picture quality.
Turning the camera-shake compensation feature on or off.
Overview of manual controls for focus, aperture, shutter speed, gain, and white balance.
Situations where manual focus adjustment yields better results than autofocus.
Selecting automatic exposure modes like Aperture Priority, Shutter Priority, or Twilight.
Situations requiring manual control over aperture, shutter speed, and gain for creative exposure.
Adjusting shutter speed for low-light recording or to capture motion blur.
Explains exposure measurement (EV) and how aperture, shutter, and gain affect it.
Using the BACK LIGHT function to compensate for subjects against bright backgrounds.
Modifying picture brightness using the AE SHIFT function via the menu.
Choosing the correct white balance mode (one push, outdoor, indoor) for different lighting conditions.
Locating specific recording dates using the Date Code function.
Using the ZERO MEM function to return to a previously marked tape position.
Adding index markers to tape for easy location of specific scenes.
Adding RC time code to recorded tapes for precise editing and playback reference.
Connecting the camcorder to a VCR and setting up the editing mode.
Transferring video content from a VCR or TV to the camcorder tape.
Procedure for replacing the internal lithium battery that maintains settings.
Setting the camcorder's internal clock and date for accurate recording information.
Information on compatible Hi8 and 8mm cassettes and playback mode settings.
Recommendations for carrying extra batteries and optimizing battery life.
Steps to prevent and address moisture buildup inside the camcorder and on the lens.
How to clean video heads to ensure clear pictures and normal recording.
General maintenance advice for the camcorder body, lens, and avoiding dust.
Precautions for charging the battery pack using the AC power adaptor.
Considerations for using the camcorder internationally, including power sources and color systems.
Troubleshooting steps for power-related problems like the unit not turning on.
Solutions for operational problems such as recording stopping or buttons not working.
Diagnosing and resolving problems related to picture clarity, color, and display.
Troubleshooting the AC power adaptor and charging lamp indicators.
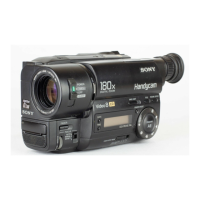
Technical details of the camcorder's system, recording capabilities, and components.
Technical details of the AC power adaptor, including power requirements and dimensions.
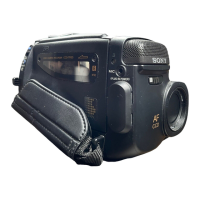
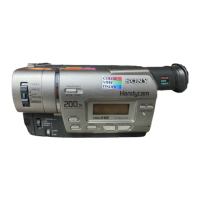
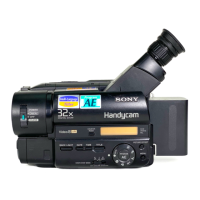
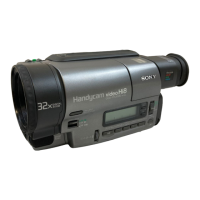
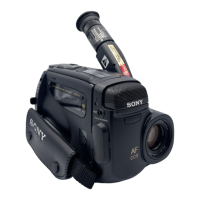
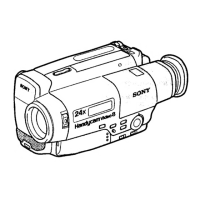
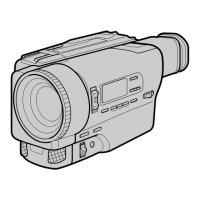
Identification and page references for various buttons and components on the camcorder body.
Location and function of input/output connectors like S-Video, Audio, and MIC jacks.
Identification of tape transport controls and special function buttons like FADER/OVERLAP.
Identification of key indicators, switches, and the demonstration mode feature.
Identifying buttons on the remote commander and how they correspond to camcorder functions.
Important notes on battery life, usage, and remote control direction for the commander.
Step-by-step guide on how to attach the shoulder strap to the camcorder.
Visual guide to various indicators displayed on the camcorder's viewfinder and screen.
Explanation of flashing indicators and their meaning for troubleshooting potential issues.
| Type | Analog Camcorder |
|---|---|
| Image Sensor | CCD |
| Recording Media | Video8 |
| Viewfinder | Color |
| LCD Screen | 2.5 inches |