Do you have a question about the Sony Handycam DCR-HC32E and is the answer not in the manual?
Lists all items included with the camcorder.
Instructions on how to charge the camcorder's battery.
Steps to power on the device and proper handling.
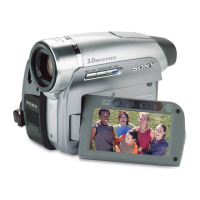
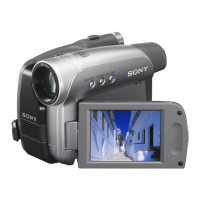
Guides on adjusting the screen and viewfinder for optimal viewing.
Instructions for navigating and interacting with the touch screen interface.
Procedure for setting the camcorder's internal clock.
How to insert recording media (tape or Memory Stick).
How to choose between wide and standard aspect ratios.
Simplified operation mode for quick recording and playback.
Detailed steps for recording video and still images.
Instructions on how to play back recorded content.
Explains various functions during recording and playback.
Explains the meaning of on-screen indicators during operation.
Methods to find specific points in recorded footage.
How to use the included remote control for operations.
Feature to locate footage by recording date.
Guide for connecting and viewing content on a television.
General guide on navigating and using the camcorder's menu system.
Overview of the different menu categories and their contents.
Adjusts camera settings for optimal recording conditions.
Manages settings related to the “Memory Stick Duo” media.
Accesses picture effects and additional functions.
Options for editing and various playback modes.
Basic settings for recording and device operation.
Settings for date, time, and language preferences.
Allows users to create custom menu shortcuts.
Instructions for connecting to external video devices.
Steps to copy recorded content to other media.
Recording external video sources onto the camcorder.
Transferring video from tape to Memory Stick.
Adding audio to already recorded tapes.
How to remove unwanted images from the Memory Stick.
Protecting images and selecting them for printing.
Printing photos directly from the camcorder.
Identifies all external connection ports on the camcorder.
Introduction to using the camcorder with computer software.
Step-by-step guide for installing camcorder software.
How to access the software's help documentation.
Process for burning video content to a DVD.
Converting analog signals for computer transfer.
General guide to resolving common problems with the camcorder.
Troubleshooting issues related to power and battery performance.
Resolving display and viewfinder related problems.
Troubleshooting issues concerning cassette tape usage.
Troubleshooting problems with Memory Stick Duo media.
Resolving issues with protecting images on Memory Stick.
Troubleshooting problems encountered during the recording process.
Specific error during interval recording.
Troubleshooting image quality issues during recording.
Resolving problems encountered during playback of recorded content.
Troubleshooting issues with audio output.
Troubleshooting problems with the remote control.
Troubleshooting issues related to menu operations and settings.
Resolving conflicts with specific recording functions.
Troubleshooting issues with external device display.
Troubleshooting computer connection and recognition problems.
Issues with computer recognizing Memory Stick.
Explains various warning codes and messages displayed by the camcorder.
Specific warning indicators related to tape media.
Warning related to camera shake during recording.
Advice for using the camcorder in different countries.
Information on compatible cassette tape formats.
Details on compatible Memory Stick formats and usage.
Information about the camcorder's battery system.
Explains the i.LINK interface and its capabilities.
Guidelines for proper care and handling of the camcorder.
Explains and advises on preventing moisture buildup.
Maintenance and adjustment procedures for the LCD screen.
How to attach and use the strap as a wrist strap.
Instructions for attaching the shoulder strap.
Technical details and performance characteristics of the camcorder.
Details on all input and output ports for connectivity.
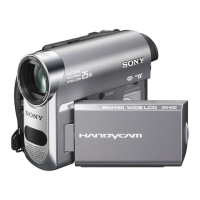
Specifications and details of the Handycam Station accessory.
| Type | MiniDV |
|---|---|
| Optical Zoom | 20x |
| Digital Zoom | 800x |
| LCD Screen Size | 2.5 inches |
| Image Stabilizer | Electronic SteadyShot |
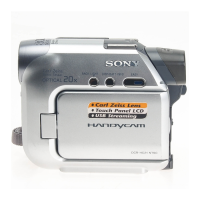
| Lens | Carl Zeiss Vario-Tessar |
| Viewfinder | Color |
| Focus | Auto/Manual |
| Recording Media | Mini DV Tape |
| USB Interface | Yes |
| i.LINK (IEEE 1394) | Yes |
| Image Sensor | 1/6 inch CCD |
| Video Resolution | 720 x 576 pixels |
| Exposure | Auto |
| White Balance | Auto/Indoor/Outdoor/One Push |
| Microphone | Stereo |
| Battery | InfoLithium |
| Effective Pixels (Video) | 680, 000 pixels |