Do you have a question about the Sony Handycam DCR-SR47 and is the answer not in the manual?
Handle battery packs safely, avoid damage, and follow recycling guidelines.
Notes on FCC compliance and general warnings for safe operation.
Steps for capturing video and still images with the camcorder.
How to view recorded content on the camcorder itself.
Procedures for backing up content to optical discs.
Steps to free up storage space by removing unwanted files.
Tips for adjusting settings to suit various environmental and subject challenges.
How to select between internal hard disk and Memory Stick media.
Using menus to adjust various camcorder functions and preferences.
Instructions for installing and accessing the digital Handycam Handbook.
Connect AC adapter and power cord to charge the camcorder's battery.
Power on the camcorder and configure initial date, time, and location settings.
Detailed steps for starting and stopping movie recording.
Procedures for capturing still images using the camcorder.
How to select and play back recorded movie files on the device.
Steps to browse and view still images stored on the camcorder.
Connect camcorder to TV for external playback using A/V or S VIDEO cables.
System requirements for Windows PCs to use the camcorder software.
Guide to installing the Picture Motion Browser software from the supplied CD-ROM.
Save movies and photos to disc using the camcorder's One Touch Disc Burn function.
Use Easy PC Back-up to transfer media from camcorder to computer.
Connect camcorder to DVDirect Express to save movies onto DVD discs.
Method for saving movies using compatible DVD writers other than DVDirect Express.
Free up storage space by removing unwanted video clips and images.
Erase all content from the recording media to recover free space.
Adjust exposure and use a tripod for optimal shooting in various scenarios.
Select internal hard disk or Memory Stick PRO Duo as the recording medium.
Modify camcorder settings using the HOME MENU and OPTION MENU.
Access and change camcorder settings via the main HOME MENU.
Access context-sensitive options via the OPTION MENU.
Solutions for problems like no power, no operation, or abrupt power off.
Addresses issues like recording stops, full media, or media errors.
Solutions for PMB installation, recognition, and operation errors.
Guidelines on operating conditions, handling, and avoiding damage.
Instructions for cleaning and protecting the LCD screen and camcorder casing.
Recommendations for storing the camcorder and cleaning the lens.
Details on signal format, movie recording, and photo file formats.
Technical data on the camcorder's lens, zoom, and focal length.
Information on input/output connectors and LCD screen dimensions.
Battery specifications and expected recording/charging times.
Estimated recording duration on internal hard disk and Memory Stick media.
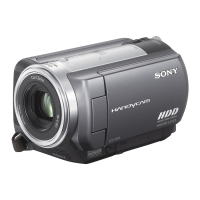
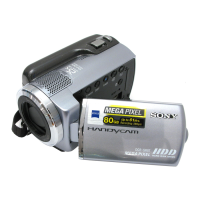
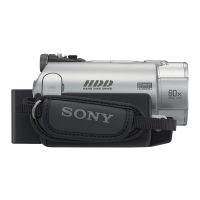
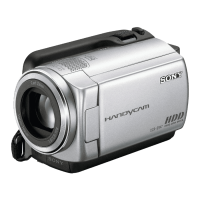
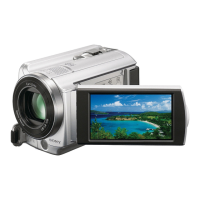
Identification of external buttons, jacks, and components.
Details on the LCD panel, touch screen, and associated control buttons.
| LCD screen size | 2.7 inch |
|---|---|
| LCD screen resolution | 123k pixels |
| video resolution | 720 x 480 |
| optical zoom | 60x |
|---|---|
| digital zoom | 2000x |
| 35mm equivalent | 39-2340 mm (16:9), 44-2640 mm (4:3) |
| power consumption | 2.2 W |
|---|---|
| battery type | InfoLITHIUM NP-FH30 |
| power requirements | 7.2V (battery pack); 8.4V (AC Adaptor) |
| imaging device | 1/8 inch Advanced HAD CCD sensor |
|---|---|
| pixel gross | 680K |
| video actual pixels | 410K pixels (16:9), 340K pixels (4:3) |
| weight with battery | 340 g |
|---|---|
| weight without battery | 300 g |
| dimensions | 60 x 68 x 112 mm |