
D
David SimmonsJul 29, 2025
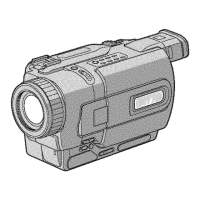
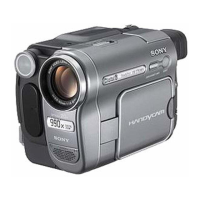
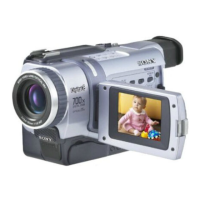
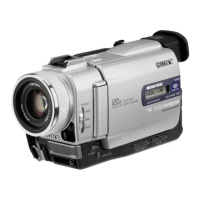
Why is the autofocusing function not working on my Sony Handycam DCR-TRV320E Camcorder?
- PparkercrystalJul 30, 2025
If the autofocusing on your Sony Camcorder isn't working, first ensure that the FOCUS setting is set to AUTO, not MANUAL. If it is already on AUTO, the shooting conditions may not be suitable for autofocus. In that case, switch FOCUS to MANUAL and adjust the focus manually.