Do you have a question about the Sony HDR-PJ10 and is the answer not in the manual?
DANGER - TO REDUCE THE RISK OF FIRE OR ELECTRIC SHOCK, CAREFULLY FOLLOW THESE INSTRUCTIONS.
Includes instructions on not using near water, cleaning with dry cloth, ventilation, and heat sources.
Charge the InfoLITHIUM battery pack (V series) by attaching it to the camcorder.
Open the LCD screen, press POWER, select language, area, date, and time.
Select the recording medium (internal memory or memory card) for recording, playback, and editing.
Press MODE to turn on the (Movie) lamp, then press START/STOP to begin recording.
Press MODE to turn on the (Photo) lamp, then press PHOTO lightly to focus and fully to shoot.
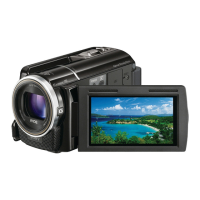
Open LCD, press (View Images), touch navigation controls to select and play events.
Magnify images using the power zoom lever or LCD screen buttons for closer views.
Automatically adjusts focus, color, and exposure using Face, Scene, and Camera-shake detection.
The supplied PMB software allows viewing, editing, saving to disc, and uploading of recorded images.
Choose the method based on the external device used, such as external media devices or DVD writers.
Navigate through menu categories like Shooting Mode, Camera/Mic, Image Quality/Size, and Setup.
Follow steps to resolve common camcorder issues like power not turning on or device not recognized.
Understand the meaning of icons and indicators displayed on the LCD screen for various functions.
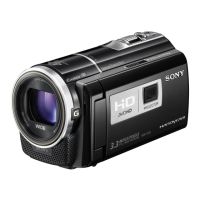
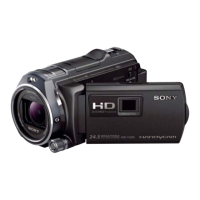
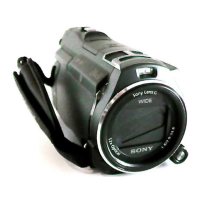
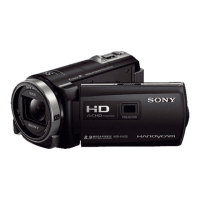
Identify and locate the various buttons, jacks, and features on the camcorder body.
| Camera Type | Handycam |
|---|---|
| Sensor Type | CMOS |
| Optical Zoom | 30x |
| Lens Type | Sony G Lens |
| Image Stabilization | Optical SteadyShot |
| Video Format | AVCHD, MP4 |
| Maximum Video Resolution | 1920 x 1080 |
| Built-in Projector | Yes |
| Projector Resolution | 640 x 360 |
| Screen Resolution | 230, 000 dots |
| Battery Type | Lithium-ion |
| Internal Memory | 16 GB |
| Effective Pixels | 2.29 MP |
| Maximum Aperture | f/1.8 - f/3.4 |
| Recording Media | Memory Stick PRO Duo |
| Frame Rate | 60 fps |
| Screen Size | 2.7 inch |
| Microphone | Built-in stereo |
| Speaker | Built-in Speaker |
| Interface | HDMI, USB |