Precautions
• Choose
the
installation location carefully so that the
unit
w
ill
not
interfere with normal driving operations.
• Avoid installing the unit in areas subject to
du
st, dirt,
excessive vibration,
or
high temperatures, such as in
direct sunlight
or
near
heater ducts.
• Use only the supplied
mount
ing hardware for a safe and
secure installation.
Mounting angle
adjustment
Adjust the
mounting
ang
le
to less than 45°.
Removing
the
protection
collar
and
the
bracket
@]
Before Installing
the
unit.
remove
the
protection
collar 0
and
the
bracket
CD
from
the
unit.
1 Remove the protection collar@.
Pinch both edges
of
the protection coUar
@,t
hen
pull
it
out.
2
Remove
the bracket
(D
.
0 Insert both release k
eys®
together between
the unit and
th
e bracket
CD
unt
il
th
ey
dick.
fJ
Pull
down
the
bracket
CD.
then
pull
up
the
unit
to
separate.
Mounting example
[[]
Installation in
the
dashboard
Not~s
• Bend thesedaws
outward
for a
tight
fi
t.
if
necessary{
I!J-2
).
• Make sure that the 4 catches on the protection
collar@
are properly
engaged
int
h
esla
tsoftheun
i
t(
i!l
·3
).
Mounting
the
unit in a
Japanese
car
[§]
You
may not be able to install this unit in
some
makes
of
Japanese c
ar
s.
In such a case, consult
your
Sony dealer.
..
,.
To
prevent malfunction, insta
ll
only
with
the supplied screws@.
How
to
detach
and
attach
the
front panel
[I]
Before installing
the
unit. detach
the
front panel.
6-A
To
detach
Before detach in the front panel, be sure to press
and
hold SOURCE/OFF . Press the fro nt p
ane
l release
button, and pu
ll
it
off
towards you.
6-B
To
attach
Engage
part@
of
the
front panel with
part
@of
the uni
t,
as
illustrated, and push the left side into
pos
ition until it
clicks.
Installing
the
microphone
[§]
To capture
your
voice
dur
ing handsfree c
al
ling, you need
to insta
ll
the microphone (supplied).
Cautions
• Keep
the
microphone
away from extremely high
temperatures
and
humidity.
•
It
is
ex
tremely dangerous
if
the cord becomes wound
around
the
steering
column
or
gearstick.
Be
sure to
keep
it
and
other
parts from
obstructing
your
d riving.
• If
ai
rbags
or
any
other
shock-absorbing e
quipm
ent
is
in
your car, contact
the
store where you
pur
chased this
unit,
or
the car dealer, before installation.
ll)-A Installing
on
the
sun visor
1 Install
the
microphone 0 on
the
clip
e.
2 Install
the
clip
eon
the
sun visor.
3
Install clips (not supplied)
and
adjust
the
length
and
position
of
the
cord so
that
it does
not
obstruct
your driving.
ll)-B Installing
on
the
dashboard
1 Install
the
microphone 0 on
the
clip
e.
then
place
the
cord along
the
groove
of
the
clip
Q.
2 Attach
the
clip Q
to
the
dashboard with
the
double-sided
tape
G.
3 Install a clip (not supplied)
and
adjust
the
length
and
position
of
the
cord so
that
it
does
not
obstruct
your driving.
Not
~$
• Before attaching the double-sided rape G ,
dean
the
5Urface
of
the
dashboard
with
a dry cloth
• Adjust the microphone angle to the proper position.
•
The
microphoneO can be
iMta/ledwithout
using
thedip
O .
In this
cose,
directly attach
thtmicrophone
to the dashboard with the
double-sidtd tape
G.
Ktep the unused clipO for
fururt
u
se.
Warning if your car's ignition
has no
ACC
position
Be
sure to set
the
Auto
Off
function. For details, see
the
supplied
Operating
Instructions.
The unit will s
hut
off complet
el
y and automatically in
the
set time after the unit is
turned
off, which prevents
battery drain.
If ou do not set
th
e
Auto
Off
fu
nc
tion, pre
ss
and
ho
ld
SOURCE/OFF until the display disappears each time
you
turn
the ignition off.
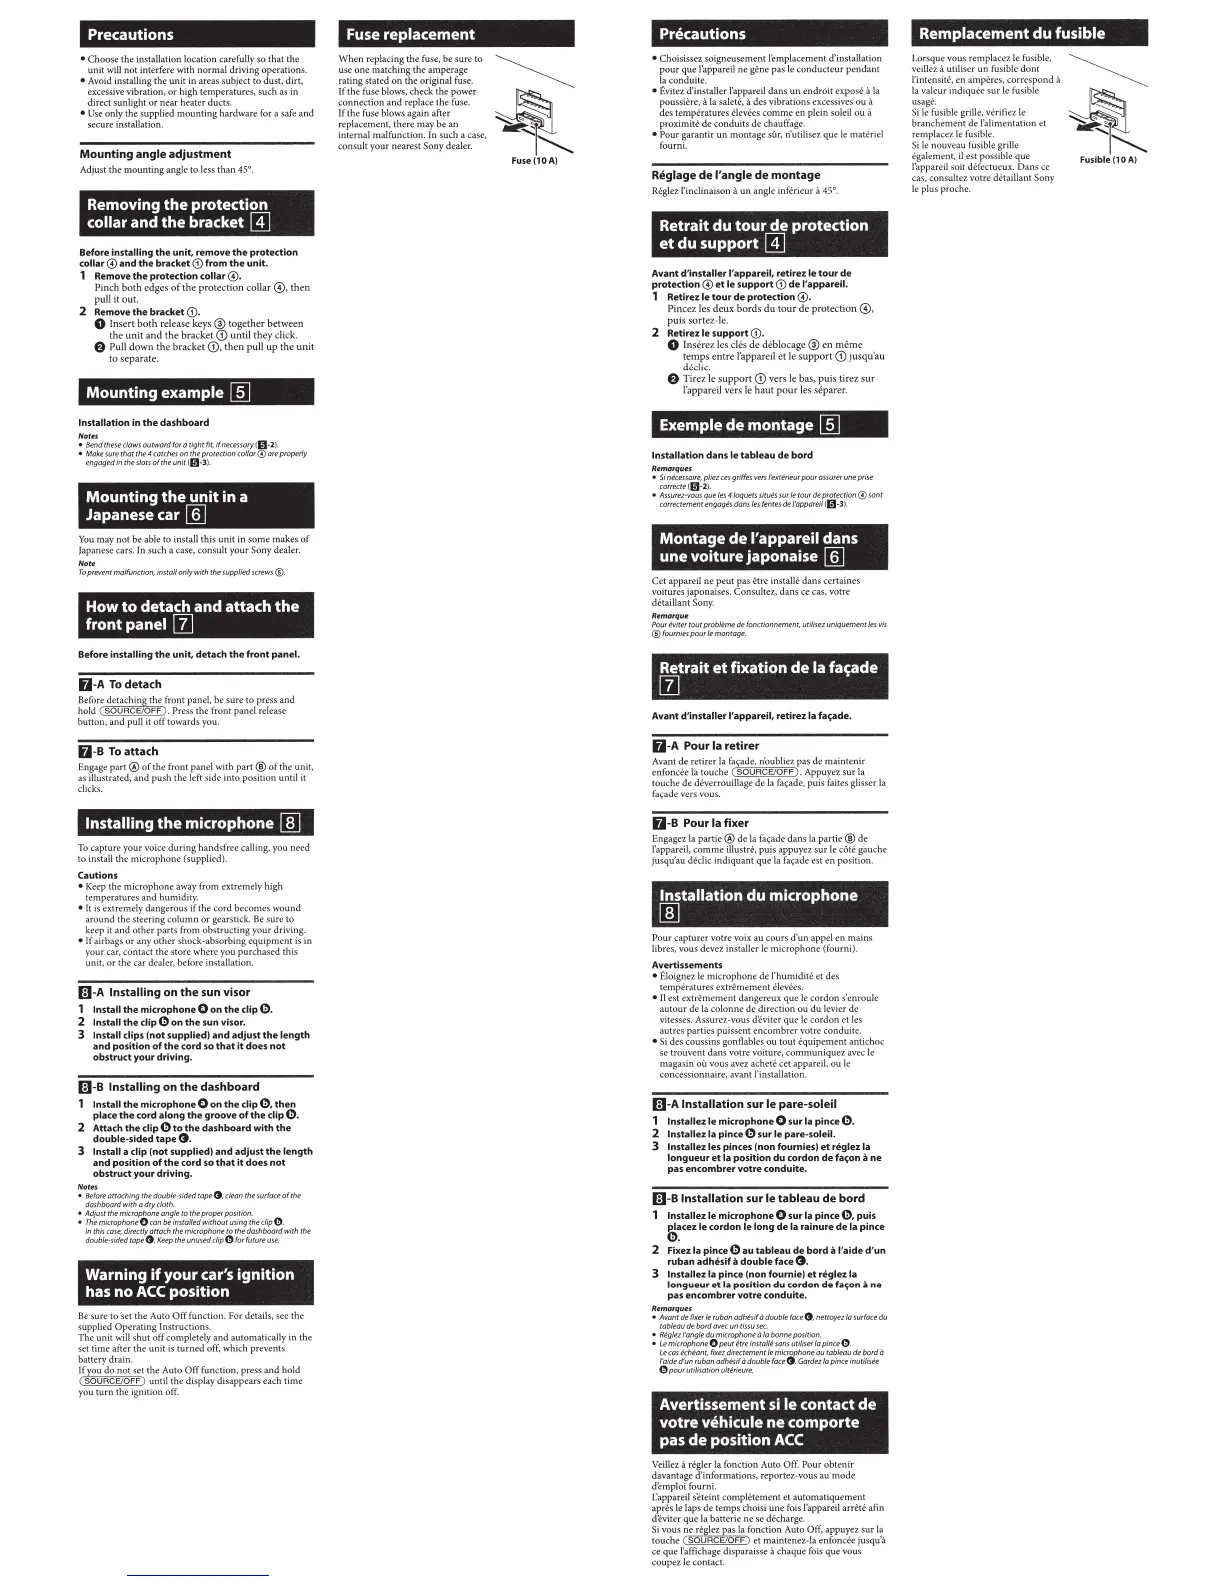
Fuse replacement
When
replacing
the
fuse, be
su
re to
usc
one
matching the amperage
rating stated on
the
original fuse.
If
the
fuse blows, check
the
power
connection
and
replace the fuse.
If
the fuse blows again after
replacement,
there
may
be an
internal malfunction. In such a case,
consu
lt
yo
ur
nearest Sony dealer.
~
~
Fuse{10A)
Precautions
• Choisissez
so
igneusemcnt ICmplacement d'installation
pour
que \'appare
il
nc
gCne
pas le con
ducteur
pendant
Ia
cond
uit
e.
• t:vitez d'insta
ll
er l'appareil
dans
un
endroit
expose
it
Ia
poussiere, a
Ia
salete, a des vibralions excess
iv
es ou a
des
temp
era
tur
es
€:levees
comme
en plcin soleil
ou
a
proximitE:
de
conduits
de chauffage.
• Pour garantir un montage s
Ur
, n'utilisez que Je materiel
fourni.
Reglage
de
I'
angle
de
montage
R
E:glez
l'inclinaison a
un
angle in
fE:r
i
eur
a 45°.
Retrait
du
tour
de
protection
et
du
support
@]
Avant d'installer l'appareil, retirez le
tour
de
protection @
et
le
support
G)
de
l'appareil.
1 Retirez le
tour
de
protedion
@.
Pinc
ez
l
es
de ux
bords
du
tour
de
prote
c
tion@,
puis
sortez-le.
2 Retlrez le
support
G).
0
Inser
ez
l
es
cles de
deblocage
®en
meme
temps
entre
J'appareil
et
le
support
G)
ju
s
qu'au
declic.
e T
irez
le s
up
port
CD
vers
le
bas,
puis
ti
rez
su
r
l'appareil vers le
ha
ut
pour
les
se
par
er.
Exemple
de
montage
[[]
Installation
dans
le tableau
de
bord
R~morqu
u
•
Si
nkessaire. p/iezces griffes
vers
/'exterH!urpour assurerune prise
correcte(
I!J·l
).
• Assurez-vous que
les
4/oquets situ€s
sur
le
tour de
protection@
sont
correctemenr engagts dans ll's fentes
de
/'appareil !
1!1
·3
).
Montage
de
l'appareil
dans
une
voiture
japonaise
[§]
Cct
appareil ne peut pas
Ctre
instal
le
dans certaines
voitures japonaises. Consultez,
dans
ce cas, votre
dCtai
ll
ant
Sony.
R~matqu~
Pour~iter
tou
t prob/emede fonctionnement. uti/isez uniquement
/es
vis
® fournies
pour
le
montage.
Retrait
et
fixation
de
Ia
fat;ade
[I]
Avant d'installer l'appareil, retirez
Ia
fa~ade.
6-A Pour
Ia
retirer
Avant de retir
er
Ia
fa~ade,
n'oubliez pas de
maintenir
e
nf
oncCe Ia touche <
SOURCE/OFF).
Appuyez s
ur
Ia
touche de dCverrouillage de
Ia
fa!fade, puis faites glisser
Ia
fa.;ade vers vous.
61-B Pour
Ia
fixer
Engagez Ia
partie®
de
Ia
fa!fade
dans
Ia
parti
e@
de
l'appare
il
, com
me
illustre, puis appuyez
sur
le
cOtC
gauche
jusqu'au ded ic indiquant que la fa!fadc est en
pos
it
ion.
Installation
du
microphone
[§]
Pour
capturer votre voix
au
cours
d'un
appel en
mains
libre
s,
vous devez installer
1c
m
ic
rophone (
fo
urni).
Avertissements
• t:loignez
le
microphone de l'humidite et des
temper
at
ur
es extrCmement
ClevCes.
•
II
est ex
tr
ememe
nt dangereu.x que
le
c
ordon
s'enroule
autour
de
Ia
colonne de direction
ou
du
levier de
vitesses. Assurez-vous d'Cviter que
le
cor
don
et les
autres parties puissent
encom
br
er
votre conduite.
• S
ides
coussins gontlablcs ou tout E:quipement
ant
ic
hoc
se trouvent
dans
votre voiture,
commun
iqu
ez
avec
Je
magasin
oU
vous avez achetC cet apparcil,
ou
le
c
onc
essionna
ir
e, avant !'installation.
li)-A Installation
sur
le pare-soleil
1 lnstallez le microphone 0 sur
Ia
pince
G.
2 lnstallez
Ia
pince e sur le pare·soleil.
3 lnstallez les pinces (non
fo
urnle
s)
et
reglez
Ia
longueur
et
Ia
position du cordon
de
fa~on
a
ne
pas encombrer votre conduite.
ll)-B Installation sur le
tableau
debord
1 lnstallez
le
microphone 0 sur
Ia
plnce
e.
puis
~~cez
le cordon le long
de
Ia
ralnure
de
Ia
pince
2
Flxez
Ia
pince Q au tableau
de
borda
l'aide
d'un
ruban adhesif a
double
face
G.
3 lnstallez
Ia
pince (non fournle)
et
reglez
Ia
longueur
et
Ia
position du cordon
de
fa~on
a
ne
pas encombrer votre conduite.
R1
morqu
H
• Avant de fixerle ruban adhesif 0 double faceG ,
nett
oyez Ia surface du
tableaudebordavecuntissusec
.
• Rt!glez
l'ongledu
microphone a Ia bonne position.
•
Le
microphoneO peut i!tre install€ sans utiliser Ia pinceO .
Lecas
khtiant,
fixez directement
/e
microphone au tableau
debord
0
/'aide d'un ruban odhesif a double
face
G. Gatdez Ia pince
inutilisie
O pourutilisationulrerieure.
Avertissement si le contact
de
votre
vehicule
ne
comporte
pas
de
position
ACC
Veillez a
r€:g
l
er
Ia fonction Auto Off. Pour
obtenir
davantage d'informations,
report
ez
-vous au
mode
d'emploi fourni.
Lappareil
se
teint
comp
l
etemen
t et
automatiquement
apres
le
laps
de
temp
s choisi
un
c fois l'ap
par
eil arrete afin
d'eviter
que Ia batterie ne
se
decharge.
Si
vous ne rC lez as Ia fon
ct
ion Auto
Of
f,
appuyez
sur
Ia
t
ouche
SOURCE/OFF et maintenez-la enfoncee jusqu'a
ce que l'affichage disparaisse
a chaque
foi
s que vous
coup
ez
le
con
tac
t.
Remplacement
du
fusible
Lorsque vous remplaccz
le
fusible,
veillez
a utiliser un fusible
dont
l'intensitt\ en
amper
es, corre
spo
nd a
Ia vale
ur
indiquee
su
r
lc
fusible
usage.
Si
lefusiblegrille,
vCr
ifiezle
branchcment de !'alimentation et
remplacez l
ef
usib
le
.
Si
le nouveau fusi ble
gr
ill
e
Cgalement,
il
est possible
que
l'appareil soit defectueux.
Dans
ce
cas, consuhez vo
tr
e detaillant Sony
leplu
sproc
he.
~
~
Fusible
(10
AI
 Loading...