Do you have a question about the Sony Xplod CDX-MP40 and is the answer not in the manual?
| CD Playback | Yes |
|---|---|
| MP3 Playback | Yes |
| Radio Tuner | AM/FM |
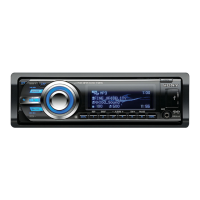
| Display Type | LCD |
| WMA Playback | Yes |
| Detachable Faceplate | Yes |
| Remote Control | Yes |
| Subwoofer Output | Yes |
| Bluetooth | No |
| USB Port | No |
| Auxiliary Input | Yes |
| Power Output | 52 watts x 4 |
| Preamp Outputs | 2-channel |
| Equalizer | Yes |
| Peak Power Output | 52 watts x 4 |
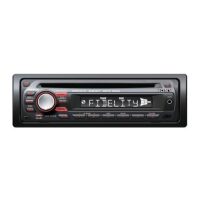
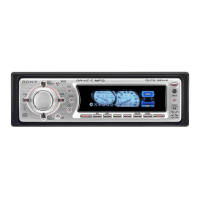
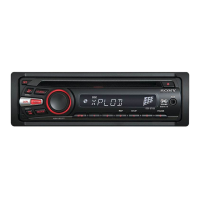
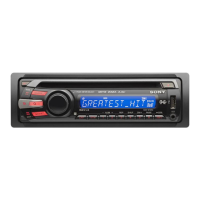
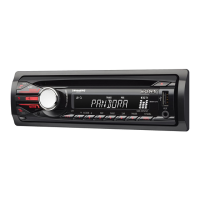
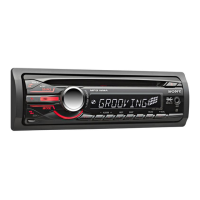
Identify and understand the function of each button and indicator on the main unit's control panel.
Use DISC/ALBUM buttons on the remote commander to skip discs or albums.
Press SEEK (+/-) on the remote, then press and hold to skip tracks continuously.
Handle the unit with care, avoid direct sunlight, and protect from moisture and liquids.
Handle discs by the edge, store in cases, and avoid heat or sticky labels.
MP3 is a standard audio compression technology, reducing file size significantly.
Some copy-protected discs may not conform to CD standards and may not play.
Unit supports CD-R/CD-RW playback, but compatibility may vary based on recording.
Use ISO 9660 format, correct file extensions (.MP3), and be mindful of naming conventions.
Playback order and compatibility may vary for Multi Session discs depending on session content.
Defines the playback order for MP3 files based on folder structure and naming conventions.
Reset the unit for first-time operation or after battery replacement using the reset button.
Remove the front panel for security. A caution alarm may sound when the ignition is off.
Place the front panel onto the unit and push lightly until it clicks into place.
Set the clock using the DSPL, volume, and SEL buttons to adjust hours and minutes.
Insert disc, close panel. Unit reads track info. Playback may take time.
Connect and select optional CD/MD units using SOURCE and MODE buttons. Notes on MGS-X1 and MD units provided.
View track number, time, disc/artist/album names, and ID3 tag information using the DSPL button.
Select REP-TRACK, REP-ALBM, or REP-DISC modes to repeat specific tracks or the entire disc.
Select SHUF-ALBM, SHUF-DISC, SHUF-CHGR, or SHUF-ALL for random playback.
Label discs with custom names (Disc Memo) up to 8 characters for easy location.
View stored Disc Memos or erase them using SOURCE, MODE, PTY/LIST, and DSPL buttons.
Use PTY/LIST and SEEK buttons to find discs by their assigned custom names or CD TEXT information.
Best Tuning Memory (BTM) automatically selects and stores the strongest stations in each band.
Select a band and press the number button to recall a stored station.
Use Automatic tuning to scan stations or Local Seek to prioritize stronger signals.
Switch to monaural mode (MONO-ON) to improve reception in poor stereo signal conditions.
Manually store desired stations on number buttons by pressing and holding the button.
Radio Data System (RDS) provides digital information like station name, clock, and RDS data.
RDS offers features like automatic retuning, traffic announcements, and programme type selection.
AF automatically tunes to the strongest signal for the selected station network.
Restrict reception to a specific region by activating REG-OFF when AF is on.
Selects other local stations in the area, even if not stored on number buttons.
Activate TA to automatically tune into FM stations broadcasting traffic announcements.
Set a preferred volume level for traffic announcements so they are not missed.
Store stations with their AF/TA settings. Settings can be uniform or individual per preset.
Select a programme type (e.g., NEWS, SPORTS) to tune into stations broadcasting that category.
Set the clock automatically using CT data from RDS transmission when 'CT-ON' is selected.
Control unit functions, including source, playback, and settings, using the optional rotary commander.
Rotate control to skip tracks, fast-forward/reverse, or find stations.
Push and rotate to receive presets, change discs, or change albums.
Reverse the operative direction of the rotary commander controls for mounting preference.
Adjust the audio balance (left-right) and fader (front-rear) for speaker output.
Press ATT to temporarily reduce volume, useful for phone calls or reducing sound quickly.
Access menu settings for Clock Time, Auto Scroll, Motion Display, and Beep sounds.
Select from 7 music types for equalizer curves or adjust settings for different tone ranges.
Enhance soundstage for clearer audio, creating an ambient sound effect with virtual speakers.
Replace blown fuses with the correct amperage rating. Check connections if fuse blows repeatedly.
Clean unit and front panel connectors with alcohol-dipped cotton swabs to ensure proper function.
Replace remote commander battery (CR2025) when weak. Handle with care to avoid short circuits or explosion.
Follow steps to remove release keys and slide the unit out of its mounting after detaching the front panel.
Check connections, volume, ATT, fader, and basic setup for common problems like no sound or display issues.
Address issues like disc loading errors, playback failures, MP3 compatibility, and skipping due to vibration.
Diagnose issues like poor tuning, noise interference, and weak signals for radio reception.
Troubleshoot problems with RDS data, traffic announcements (TA), and PTY display.
Understand flashing indicators like BLANK, ERROR, HI TEMP, NO DISC, NO MUSIC, and RESET for unit status.
Interpret messages like L.SEEK, NO AF, and end-of-disc indicators for operational feedback.
Notes on how ID3 tag version 2 affects MP3 playback, including potential sound output issues and inaccurate time displays.
Fill out the Device Pass with model and serial number for ownership proof and theft identification.