Do you have a question about the Sony XR-CA320X and is the answer not in the manual?
Handle the bracket carefully to avoid injuring your fingers.
Remove the protection collar ⑤ before installation.
Choose the installation location carefully and avoid areas subject to dust, dirt, vibration, or high temperatures.
Adjust the mounting angle to less than 20 degrees for optimal performance.
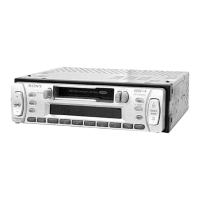
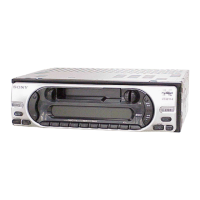
Detailed steps for removing and reinstalling the front panel of the unit.
Instructions for fitting the unit into a standard car dashboard.
Guidance for installing the unit in Japanese cars, with a note for consultation if installation is not possible.
Important safety warnings for connecting the unit to the car's electrical system.
Instructions for cars lacking an accessory (ACC) position on the ignition key switch.
How to adjust the AM/FM tuning interval to match country-specific frequency allocations.
Instructions on how to press the reset button after installation and connections are complete.
Information regarding power aerial, aerial booster, and memory hold connections.
Important considerations for connecting speakers, including impedance and type.
Explanation of how the yellow power input lead maintains memory circuit power.
| Brand | Sony |
|---|---|
| Model | XR-CA320X |
| Category | Car Receiver |
| Language | English |