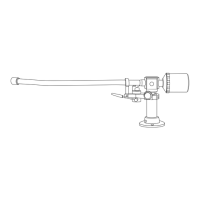
Mounting the tonearm base to
turntable plinth
1-a Determine where the arm base should be placed by using
the arm template supplied.
1-b Put the hole of the template over the spindle. Use the
supplied steel pin (as illustrated) and push it through the
tonearm pivot hole on the opposite end of the template. Using
the supplied plastic bushing, keep the needle perpendicular to
the template and mark the position of center on the turntable.
1-c At the same time, 3 holes for fixing screws should also be
marked.
1-d Having marked the center, check that if the tone arm is
placed in this position, that it will clear the dust cover.
1-e Drill a 22mm hole and three 3.5mm hole.
* Drilling a hole: 22mm diameter (For tonearm shaft)
* Drilling 3 x 3.5mm diameter (For tonearm base fixing screws)
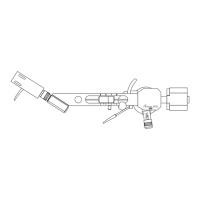
Attach the cartridge to headshell
2-a Connect the leads to the cartridge and attach the cartridge to
the correct position of headshell with screws, as in the gure .
•Screws are not included in this tone arm kit
•Mounting distance, from collet ring, to stylus tip, is 50mm for the
TA1.
•Mounting distance, from collet ring, to stylus tip, is 46mm for the
TA1L.
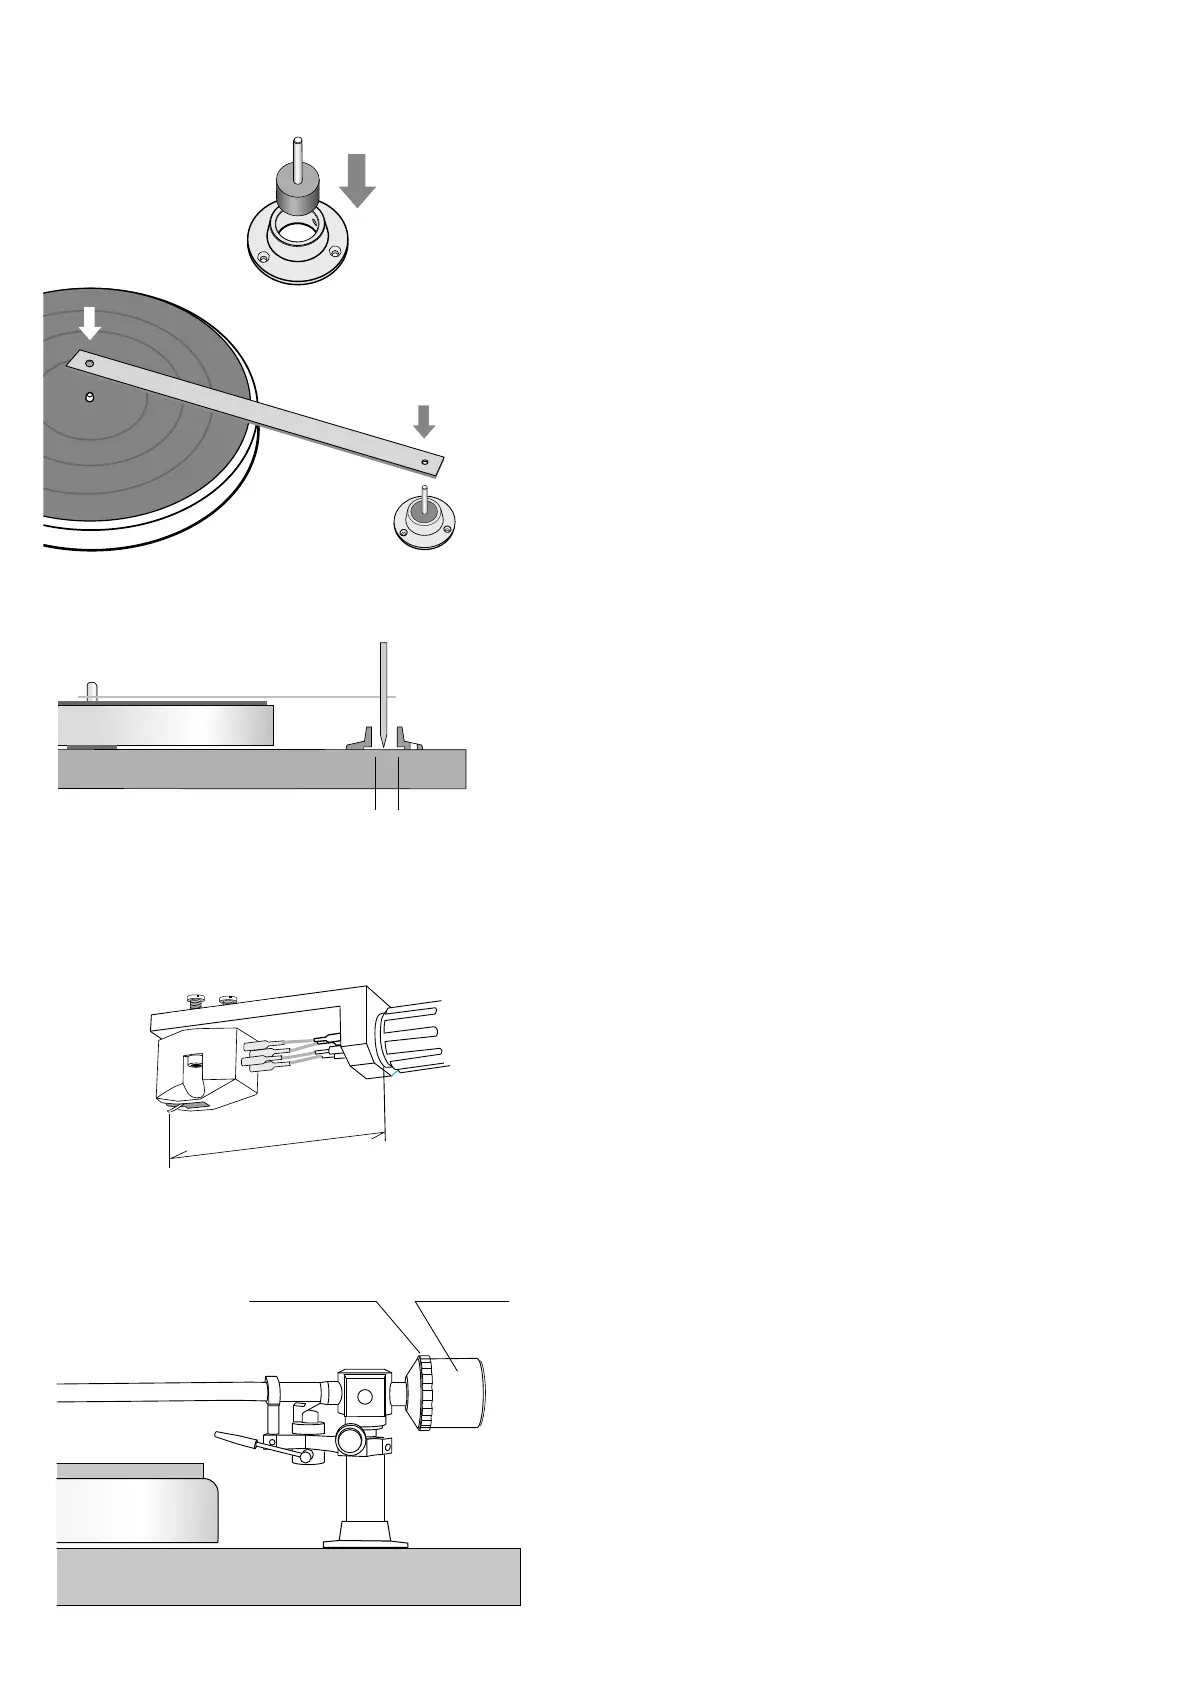
Mount TA-1 shaft through the Base hole
3-a Locate the tonearm shaft through the hole in the arm base
and then fasten the screw with hex key.
3-b Adjust the arm height as turntable plinth surface and tonearm
wand should be level.
* Cueing platform has already been set at the correct height but
can be adjusted by using the wrench supplied.
Arm base
Marking steel pin
Plastic cylinder bushing
Arm base
Template
see text
Template
φ 22mm
φ 3.5mm X3
Marking pin
Tracking forse ring Counterweight
 Loading...