Introduction
These instructions are for the Parrotplus units with the firmware Revision
P+ 3.02 and speech file version 300.
Setup for earlier Parrotplus units
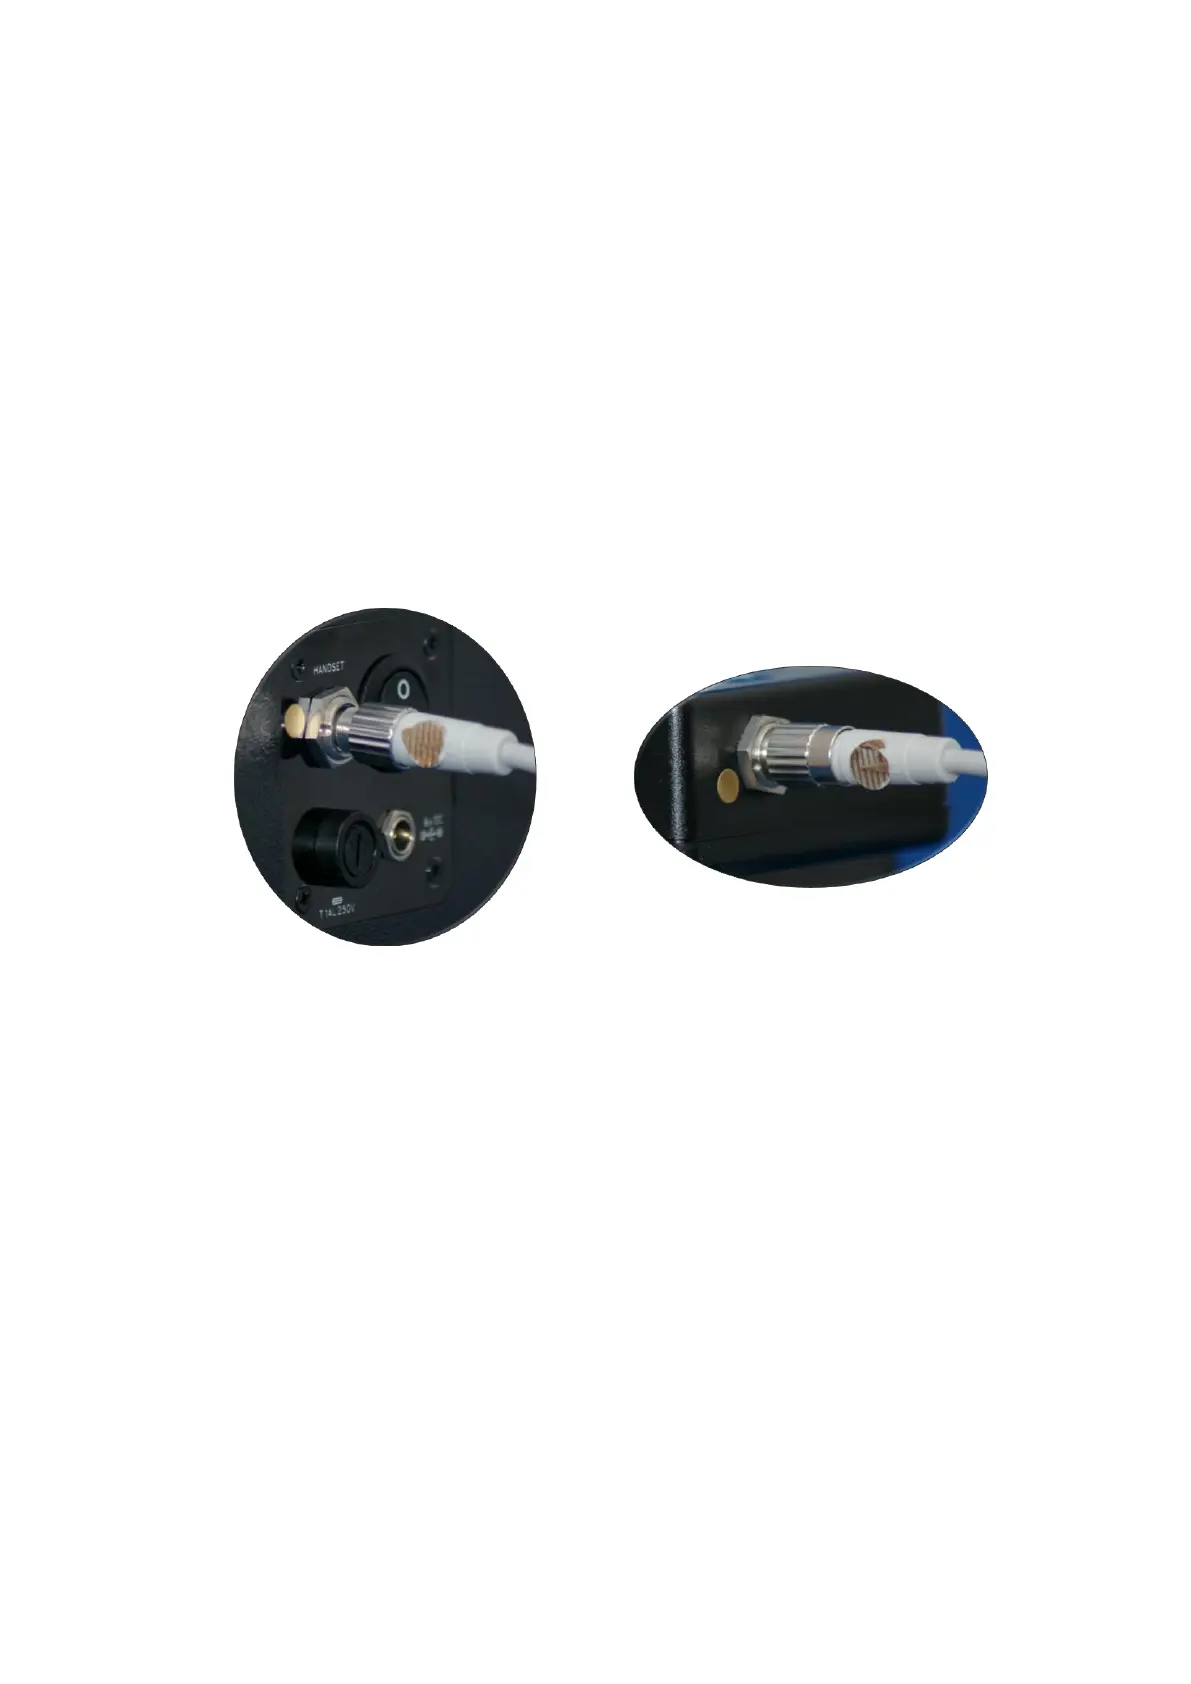
The main connecting lead between speaker and handset has a male and
female end. The male end connects to the speaker and the female end
connects to the handset. The connectors have a keyway to prevent
incorrect alignment, but it important that you do not try to force the
connector if not aligned correctly. To help with this, we have added some
gold markers to the cable and the equipment to aid in aligning them
correctly. When the connectors are inserted correctly, you must then use
the locking ring to secure then at each end.
The connecting lead has a pair of markers to act as a calibration distance
guide..
The rechargeable battery is housed inside the speaker and is charged by
connecting the battery charger into the charging socket at the back of the
speaker. This allows the Parrot to be used whilst charging the battery.
The calibration distance for speaker (speech and noise) is 75cms.
 Loading...