Setup for Parrotplus and Parrotplus 2
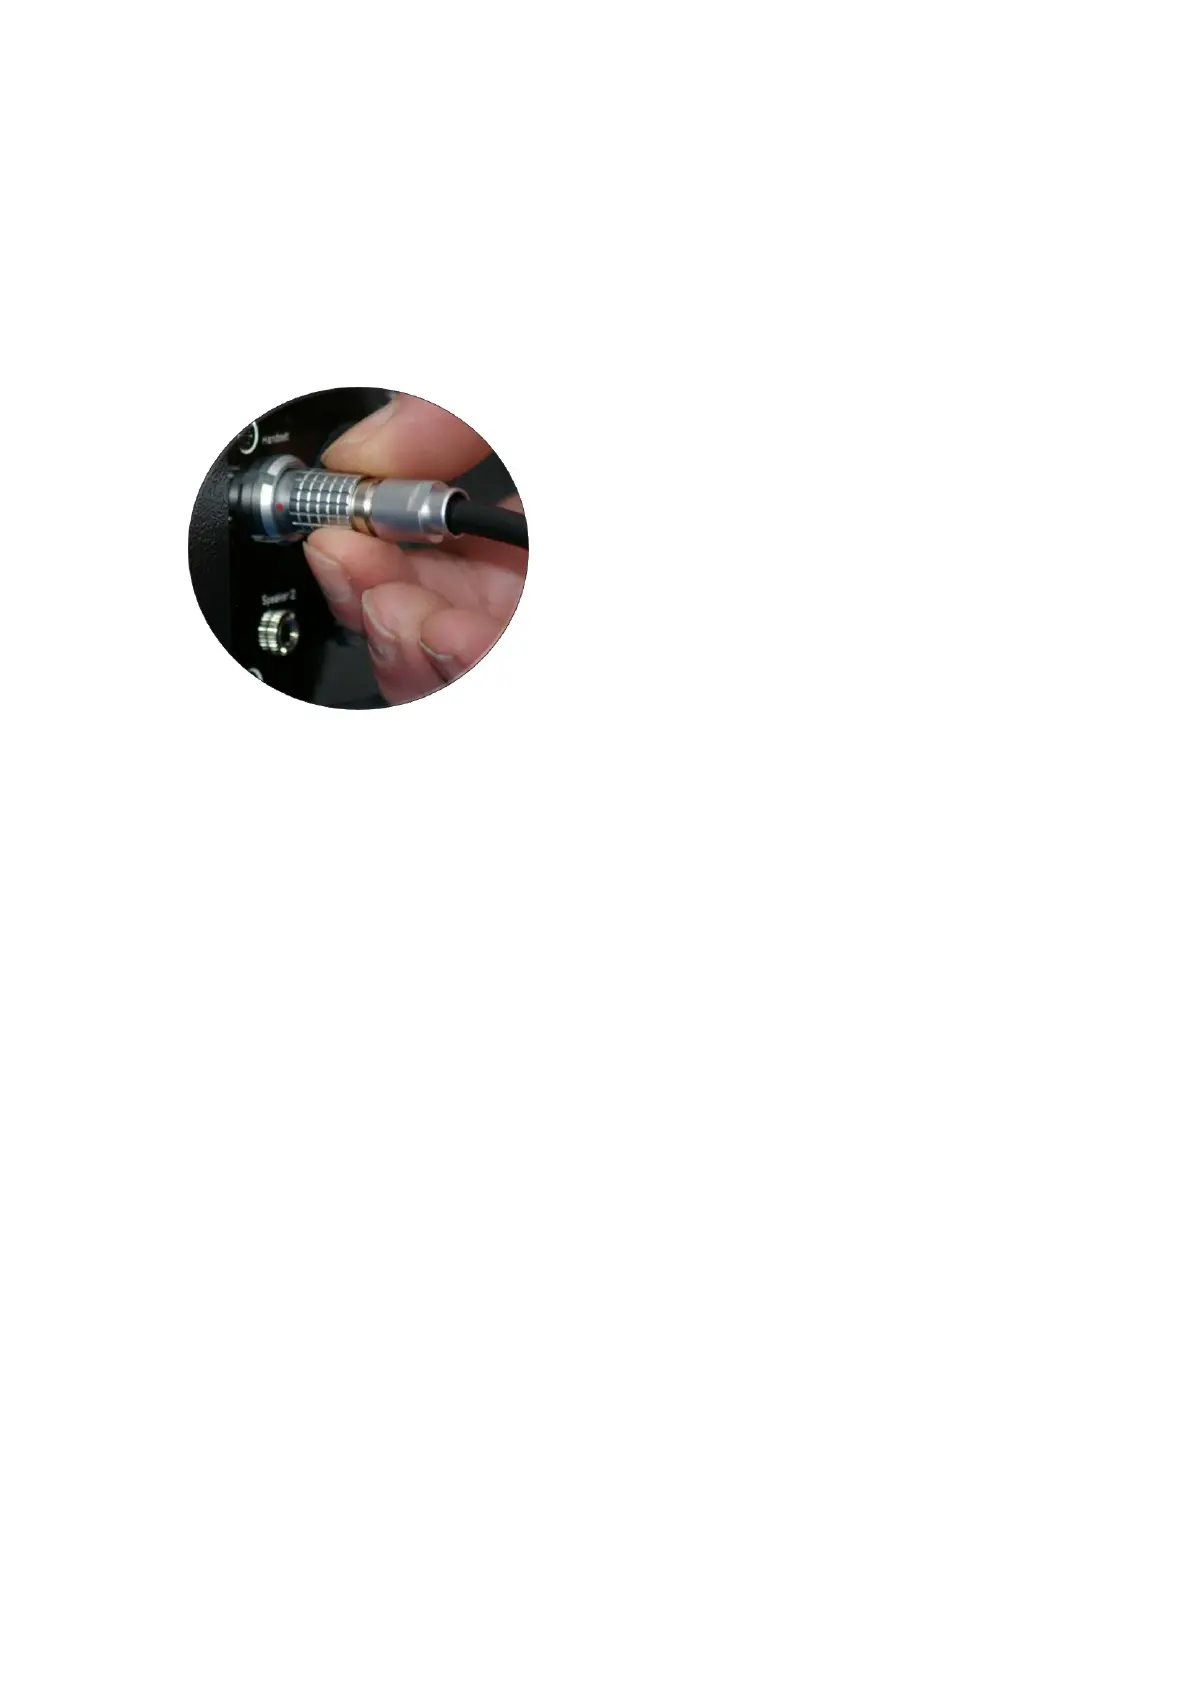
The latest Parrotplus version uses a push in latching connector which is
much easier to align than the previous cable type. Three are red dots on
the connectors to indicate alignment, To insert the connector, hold it by
the knurled ring, and insert it into the socket, rotate until you feel the
alignment lock into place and then push it fully in. To remove the plug,
simply hold the outer knurled ring and pull it out.
The connecting lead has a pair of markers to act as a calibration distance
guide..
A second cable is provided to connect the main speaker to speaker 2. This
uses 3.5mm jack connectors and simply pushes in to the connection
sockets.
In use, the speech output will always be presented from the main
speaker, and the noise output (if required) will be presented from speaker
2.
The rechargeable battery is housed inside the main speaker and is
charged by connecting the battery charger into the charging socket at the
back of the speaker. This allows the Parrot to be used whilst charging the
battery.
The calibration distance for both the both the main speaker (speech) and
speaker 2(noise) is 75cms by default. Users can now select an option to
set the noise calibration distance to 100 cm using the test option menu.
 Loading...