Do you have a question about the SoundCraft Series 200 and is the answer not in the manual?
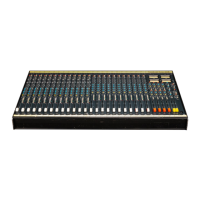
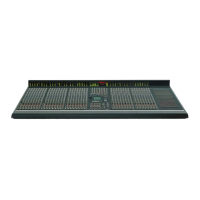
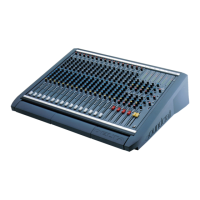
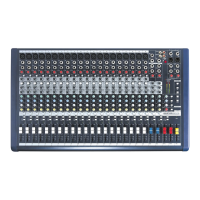
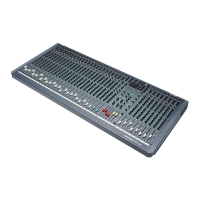
Overview of the Soundcraft Series 200 Console's features, applications, and technical advantages like low noise and electronic balancing.
Details the Mic and Line inputs, the LI switch, and the INPUT GAIN control for setting optimal signal levels and avoiding distortion.
Describes the four-band fixed frequency equalizer with HF, HI MID, LO MID, and LF controls, each providing 15dB boost or cut.
Explains how each module sends to the 4 auxiliary buses with PRE and POST options affecting signal level control.
Covers fader and Pan pot control of module level and routing to groups 1-2 or 3-4, including routing button functionality.
Explains the 4 VU meters that monitor main group outputs, with meters 3 & 4 switchable to monitor headphones or PFL/AFL signals.
Describes the master level controls and solo facility (AFL) for each of the 4 auxiliary buses.
Details the PHONES LEVEL pot for headphone output and the REP button for feeding mixdown machine output to headphones.
Explains the 1Khz tone generator button, which feeds a test tone to group and mix outputs for line-up purposes.
Discusses connecting the console's headphone output to a Hi-Fi system for a control room environment and earthing best practices.
Guides on routing microphones to the 8-track machine, using auxiliary buses or insert points for more than 4 tracks.
Explains the process of listening back to recorded tracks and adding new ones using rotary controls and group faders.
Advises using the multitrack's own controls for monitor status during complex sessions like overdubbing or track-bouncing.
Details the sockets and switch on the input panel for each of the 8 input modules, including INS, LINE, MIC, and PWR.
Describes connections to the master machine, echo plates, mix inserts, and the 8-track machine via the output connector assembly.
Emphasizes the importance of a single "Star Point" for the entire audio installation and proper earthing practices to avoid hum.
Recommends using a separate mains feed exclusively for the audio installation to prevent interference from other electrical loads.
Explains the rule for connecting audio cable screens at only one end, with a note on using a capacitor for RF issues.
Explains how to modify group outputs and monitor returns to operate with different levels, like semi-professional tape machines (-10dBV).
Specifies the correct fuse types and ratings (1.6A or 3.15A) for different AC voltage ranges (220-240V or 100-120V).
Details the regulated supply rails (±17V Audio, +48V Phantom Power) and troubleshooting steps for power supply faults.
Provides definitions for technical terms used in the manual, covering audio concepts, connectors, and operations.
| Type | Analog Mixer |
|---|---|
| EQ | 3-band |
| Phantom Power | Yes |
| Routing | Flexible |
| Metering | LED |
| Channels | 8, 16, or 24 (depending on frame size) |
| Dimensions | Varies depending on frame size (8, 16, or 24 channel version) |
| Weight | Varies depending on frame size (8, 16, or 24 channel version) |