Do you have a question about the Spacelabs Healthcare Eclipse MINI and is the answer not in the manual?
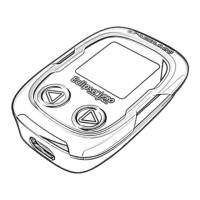
Prepare skin by cleaning, drying, and optionally abrading. Connect recorder and check indicator light.
Carefully peel sensor backing, position it on the chest, and apply slight tension to avoid creases.
Gently pat sensor adhesive onto chest, peel remaining backing, and apply pressure for 30 seconds.
The recorder will light up and show a green flashing heartbeat light if worn correctly.
Advice on showering, potential itching, bra wear, and avoiding lotions near the sensor.
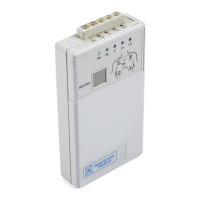
Instructions for removing the recorder, removing the sensor safely, and reconnecting.
Covers battery disposal, single-use nature, biohazard, contra-indications, and potential skin reactions.
Advises against connecting other equipment, using near defibrillators, MRI, or high-frequency surgical equipment.
| Battery | Rechargeable Lithium-ion |
|---|---|
| Power Supply | 100-240 VAC, 50/60 Hz |
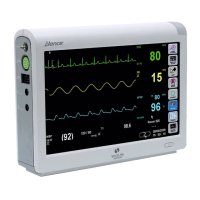
| Type | Vital Signs Monitor |
| Display | Color LCD |
| Parameters Monitored | ECG, SpO2, NIBP, Temperature |
| ECG | 3/5-lead with arrhythmia detection |
| SpO2 Technology | Masimo |
| NIBP Technology | Oscillometric |
| Connectivity | Ethernet |
| Alarms | Audible and Visual Alarms |
| Data Storage | Internal Memory |