What makes the WS2812B really special is the way its controlled. The IC embedded into the LED communicates
via a very unique one-wire interface. With the help of some libraries, they're really very easy to control. Plus
they're chain-able -- the output of one LED can be connected to the input of another to create strips of hundreds of
LEDs. The more boards you have linked together, the fancier your animations can be!
In this tutorial we're going to get you familiar with the workings of the WS2812 and WS2812B. We'll go over some
of the ways you might want to hook up to the breakout board, LilyPad, or strips. And we'll close the tutorial out with
some example Arduino code.
Required Materials
WS2812-Based LED Board or Strip
Stating the obvious: you'll need a WS2812-based board or strip. The more the merrier! In the example hookup,
we'll be linking together five breakout boards, but the example should be adaptable to the other WS2812-based
products. Grab however many you think you'll need for your project, regardless of how many you have, it's not
enough.
Microcontroller
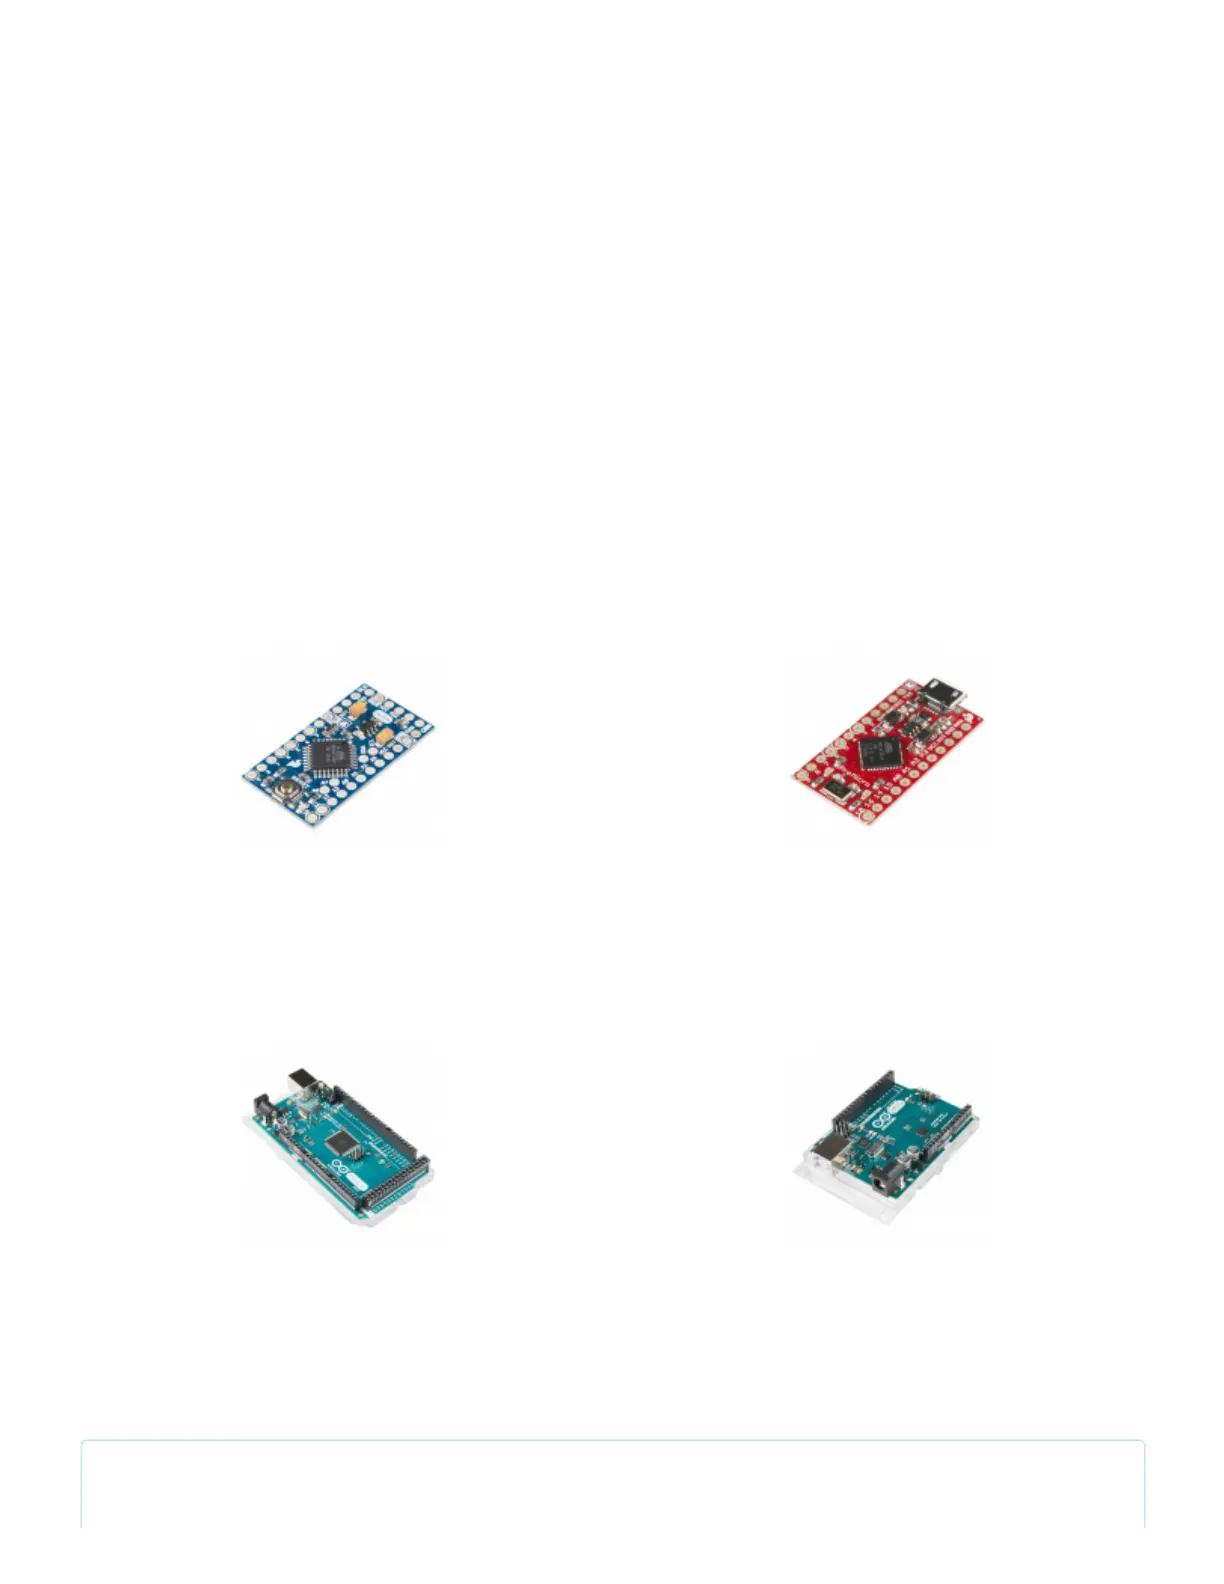
Aside from the star of the show, you'll also need a microcontroller. Something that can send the series of 1's and
0's used to control the LEDs. Our go-to is the classic Arduino Uno, but any Arduino board should do.
Limitation on AVR-based Microcontrollers : If you are using an AVR-based microcontroller for large LED
installations, there is a limitation with the number of WS2812s LEDs used. This is dependent on the
Arduino Pro Mini 328 - 5V/16MHz
DEV-11113
Pro Micro - 5V/16MHz
DEV-12640
Arduino Mega 2560 R3
DEV-11061
Arduino Uno - R3 SMD
DEV-11224
 Loading...