Covered in this Tutorial
This tutorial will familiarize you with all things SparkFun Thing. It’s split into sections, which
cover:
• Hardware Overview – A quick rundown of the Thing’s components and pinout.
• Powering the Thing – The Thing can be powered through either USB or a LiPo battery.
• Programming the Thing – Interface a 3.3V FTDI Basic with the Thing to program it.
• Hardware Assembly – Tips and recommendations on what to solder to the Thing’s I/O
pins.
• Installing the ESP8266 Arduino Addon – The Thing can be programmed using Arduino!
Just follow the instructions here to install the board definitions.
• Example Sketch: Posting to Phant – Our first example shows how you can use the
Thing to post data to data.sparkfun.com.
• Example Sketch: AP Web Server – Set the Thing up as an access point and use it to
serve web pages.
• Example Sketch: Goodnight Thing (Sleep Mode) – Put the Thing to sleep to save that
sweet battery juice.
• Using the Arduino Addon – There are a few key differences between programming the
Thing and any other Arduino board.
Required Materials
To follow along with this tutorial, and get up-and-running with the Thing, you may need a few
extra tools and materials. This wishlist includes everything we use in this tutorial to program
and use the Thing:
ESP8266 Thing Hookup Guide SparkFun Wish List
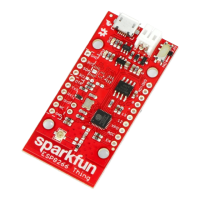
SparkFun ESP8266 Thing WRL-13231 The SparkFun ESP8266 Thing is a breakout and development board for
the ESP8266 WiFi SoC – a leading platform for Internet of Things (IoT) or WiFi-re…