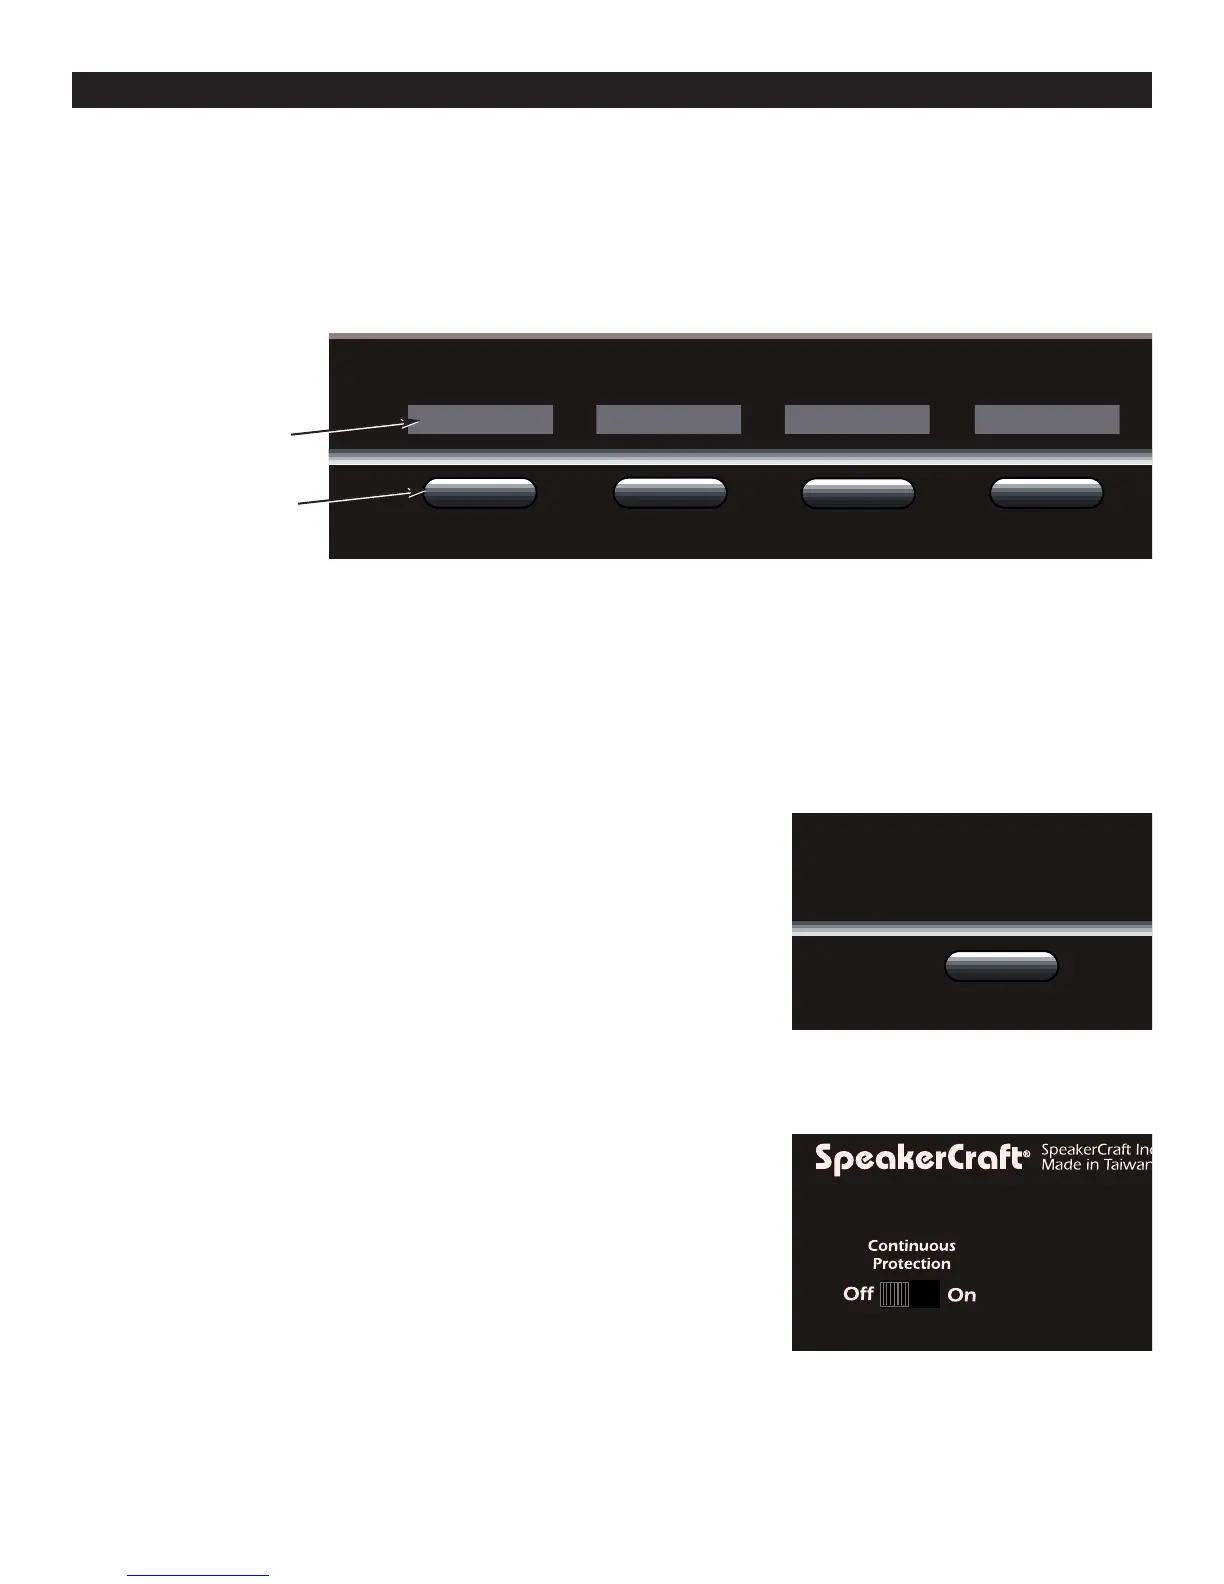
Labeling the front of the Speaker Selector (Figure #4)
There is one set of adhesive labels included to be used on the front of the Speaker Selector. These labels make it easy to
identify which area has been selected when the button is depressed. There are indentations above each button on the front
of the Selector. Place the appropriate area label into each of these locations. If you can't find the label you need, you can
create your own by writing on one of the blank labels using a pen or small marker.
.
OPERATION
Understanding the Protection Circuit
To prevent damage to your amplifier or receiver, the S4dc and S8dc feature protection circuitry.
When engaged, the protection features prevent damage from occurring to your amplifier or receiver.
When to Use the Front Mounted Protection Switch
The front Protection switch (Figure #5) should be engaged under the following
circumstances to best protect your amplifier or receiver. The switch is "ON" when
depressed:
Speakers Selected Front Protection Button
1 or 2 pair of 8 ohm speakers OFF
3 or more pairs of 8 ohm speakers ON
1 pair of 4 ohm speakers OFF
2 or more pairs of 4 ohm speakers ON
A combination of 4 and 8 ohm speakers ON
When to Use the Rear Mounted Protection Switch
On the back of the selector there is a slide switch labeled "Continuous
Protection" (Figure #6). When this button is in the "ON" position, it will override
the front Protection button and assure that the protection circuitry is always on,
no matter what the position of the front button.
This switch should be placed in the "ON" position if you are concerned that
someone unfamiliar with the system may fail to properly use the front protection
button.
Selecting Speakers
To turn on a pair of speakers, simply depress the button associated with that pair. Please take precautions to make sure that
the amplifier volume is not set at a high level before you depress the button.

 Loading...