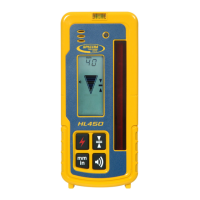
Acon Display Remarks
Initialization:
1. Test of LCD and beeper
2. CAL: Calibration (3 sec.)
3. Unit is ready for use.
(Do not power up the unit in a laser
beam or strobe. If detected, the unit
will display “E200” and revert to the
previous calibration.)
Accuracy in mm:
1.0 5.0
1
2
3
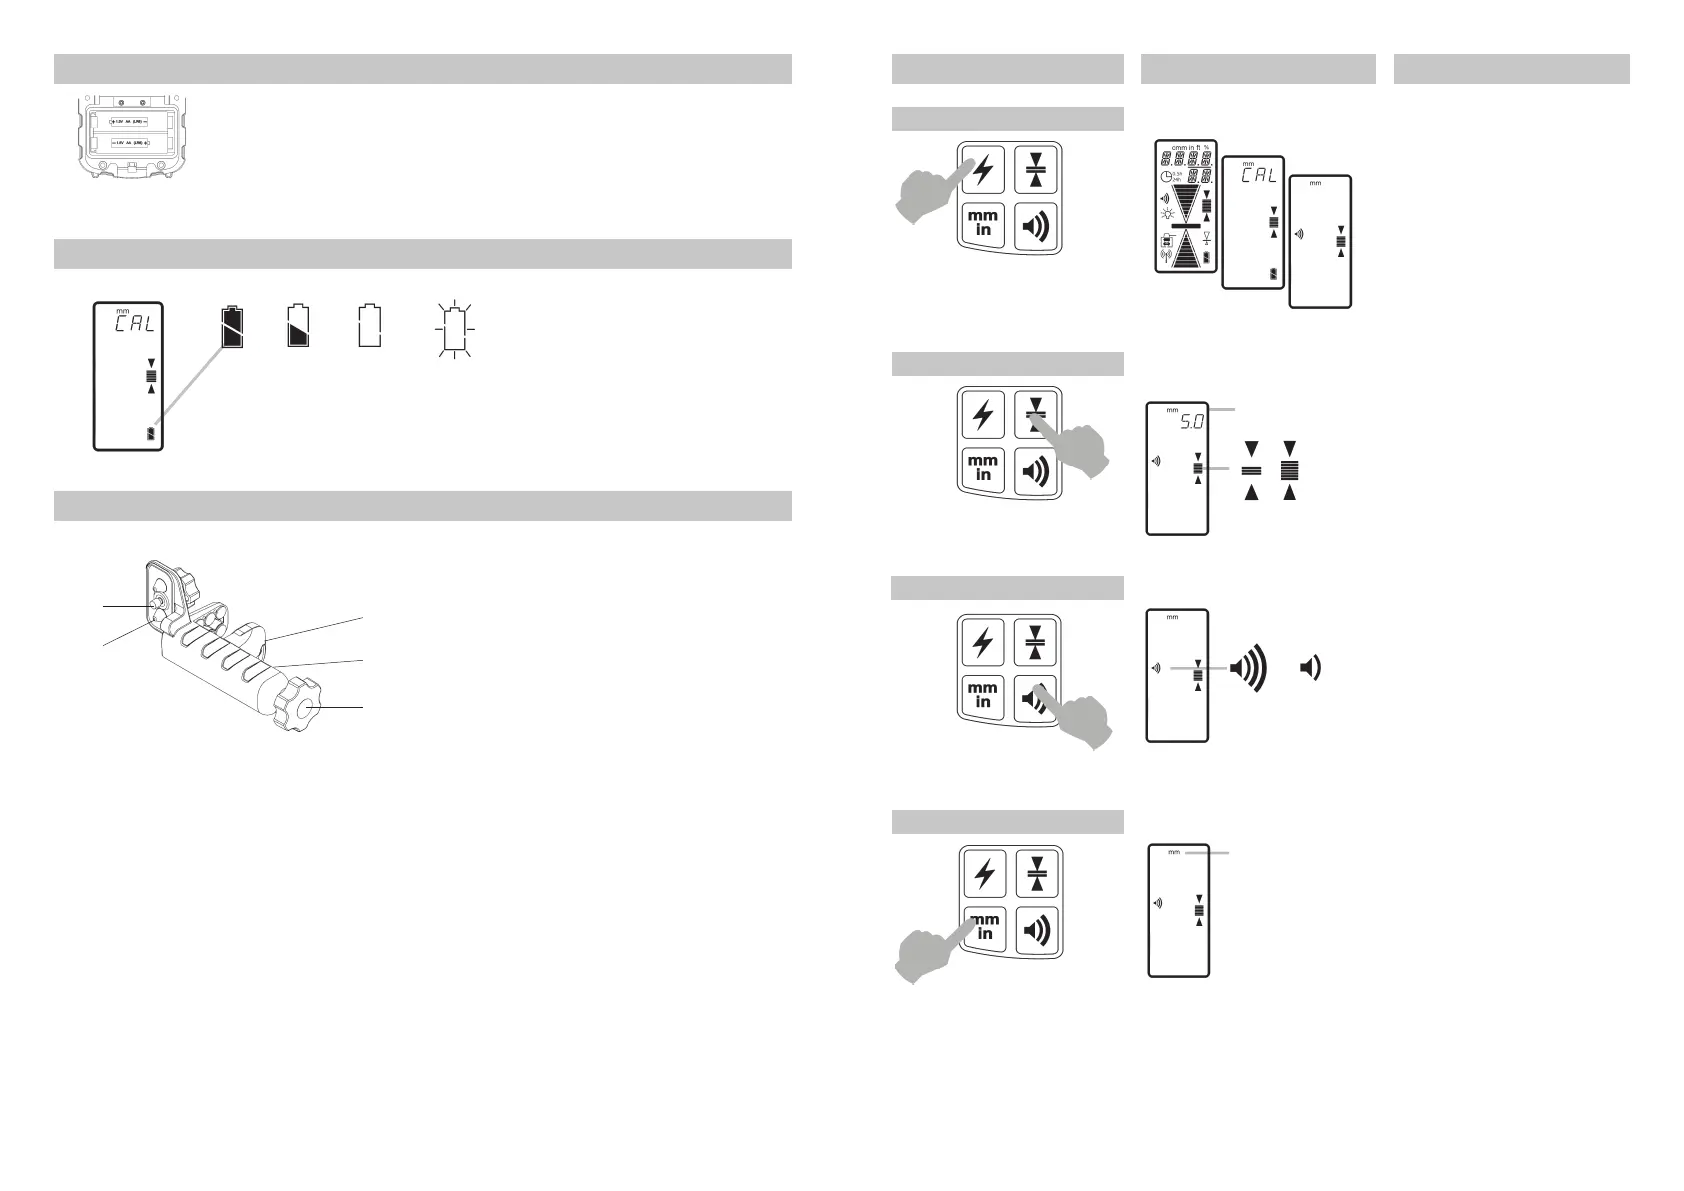
Turn power ON/OFF
Press to turn power ON. Press and
hold for 2 seconds to turn power OFF.
The selected unit of measure de-
termines the displayed deadband
(accuracy).
The current accuracy is stored in
memory and will be retained when the
unit is turned off or when batteries are
replaced.
Press once to display current setting;
push again to scroll through options.
Select accuracy
The current unit of measure is stored
in memory and will be retained when
the unit is turned off or when batteries
are replaced.
mm - in - frac -
Press once to display current setting,
additional pushes to scroll through
options.
Select units of measure
The current beeper
volume is stored in
memory and will be
retained when the
unit is turned off or
when batteries are
replaced.
Beeper
Loud
Beeper
Low
(No symbol)
Select beeper volume
Press once to change current setting
(A beep confirms the selected volume.)
Beeper
O
Baery Status
Flashing -
Change
Batteries
Outline -
Approx.
30 Minutes
Remaining
Full -
Batteries
OK
Half -
Initial
Warning
1. Open the baery door using a coin or similar pry device to release the baery door tab.
2. Insert two AA baeries nong the plus (+) and minus (-) diagrams inside the baery housing.
3. Close the baery door. Push down unl it “clicks” into the locked posion.
Installing the Baeries
1. Captive Rod Clamp Screw - attaches to the back of detector.
2. Alignment Points (2) - help secure and align rod clamp.
3. Clamping Screw Knob - secures clamp to rods by moving the traveling jaw.
Clockwise tightens; Counterclockwise loosens.
4. Reference Bar - top of bar is aligned with on-grade.
5. Traveling Jaw - moving jaw grips tightly to rods.
Rod Clamp
4
3
2
1
5
 Loading...