§ƊȲɈXƮƵȁɈǞ˛ƧƊɈǞȌȁ
On each page, you will find the
parts and quantities required to
complete the assembly step
illustrated on that page.
Throughout these instructions symbols are provided as important reminders for proper and safe assembly
§ƊȲɈXƮƵȁɈǞ˛ƧƊɈǞȌȁ
Each part has the Part
Number printed on the end of
the part for ease of
identification.
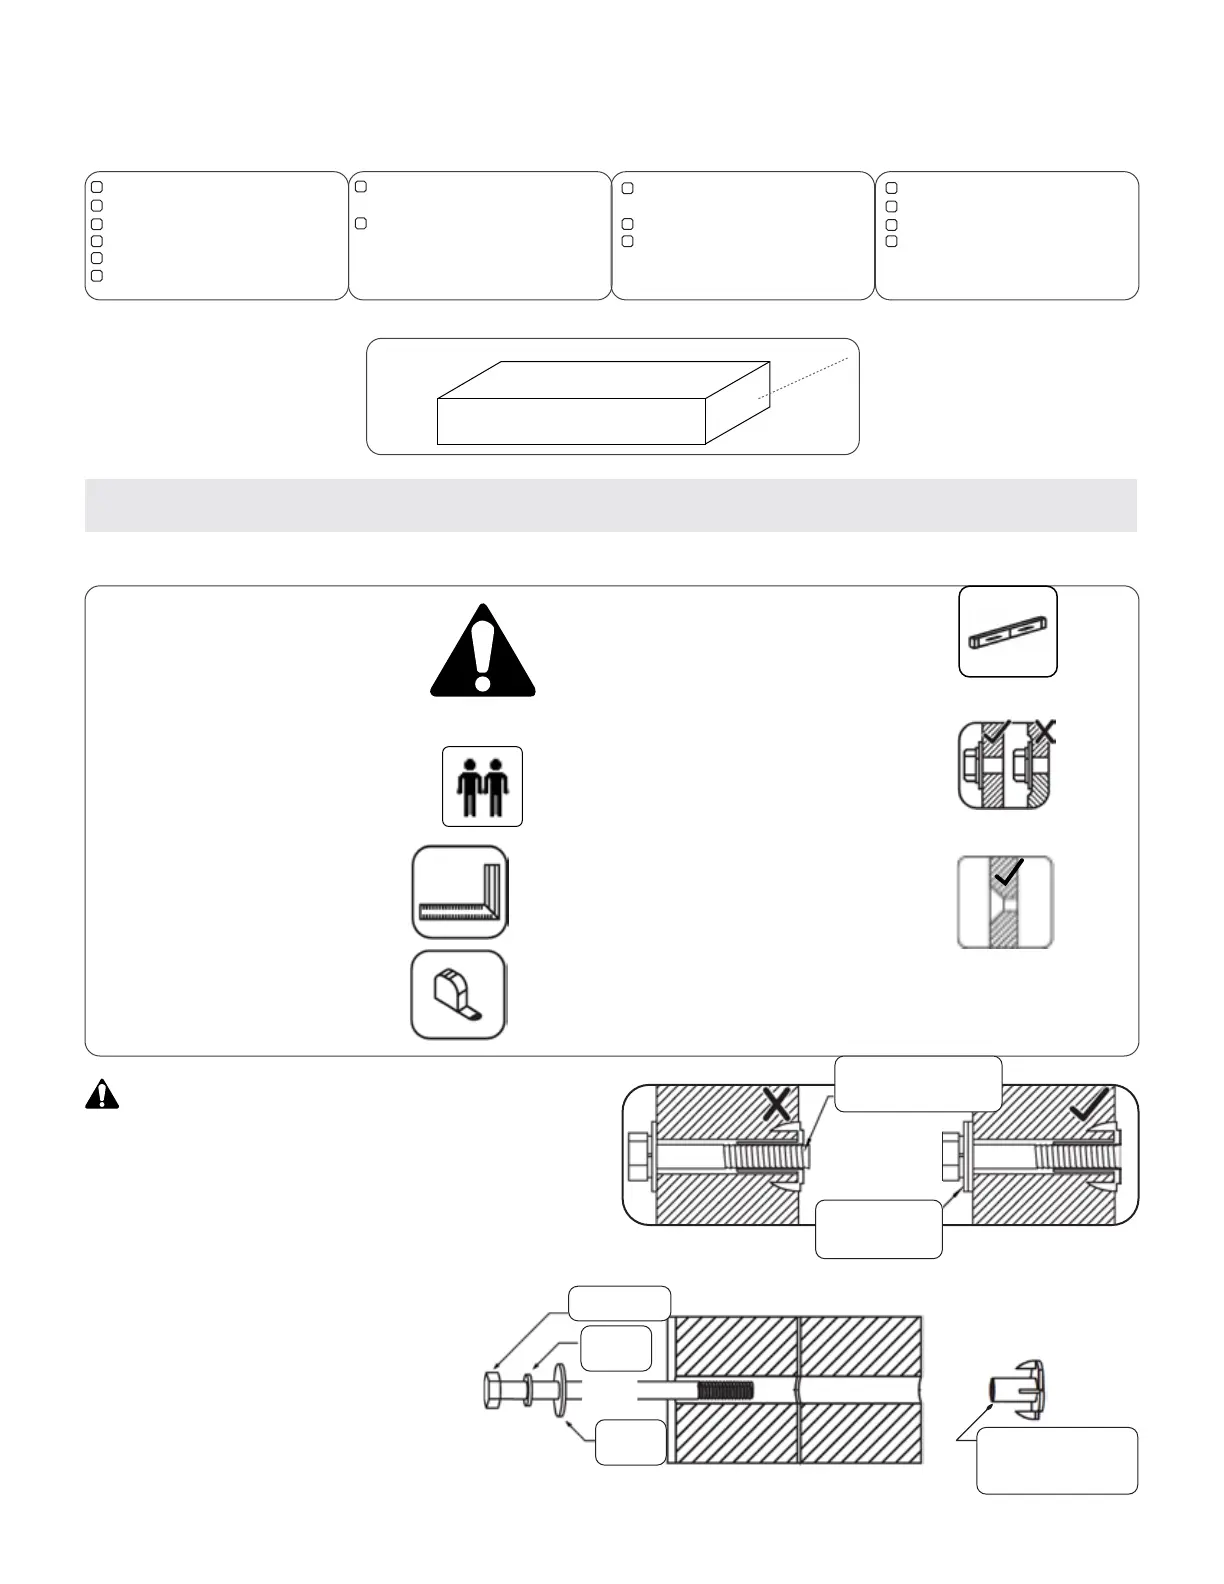
Assembly Information
CAUTION - Protrusion Hazard
Symbols
Tools Required
Tape Measure
Carpenters Level
Carpenters Square
Claw Hammer
Standard or Cordless Drill
Rubber Mallet
#2 Robertson Drive Bit
(Included)
Ratchet with extension
7/16" (11mm) & 1/2" (13mm)
sockets
Open End Wrench
7/16" (11mm) & 1/2" (13mm)
Adjustable Wrench
Drill Bits (up to 3/8” (10mm)
sizes.
8’ (2.4m) Step Ladder
Safety Glasses
Adult Helpers
Pencil
This identifies infomation that
requires special attention.
Improper assembly could lead to
an unsafe or dangerous condition.
Check that assembly is square
before tightening bolts.
Check that set or assembly is
properly level before proceeding.
This indicates DO NOT over-drive
wood screws to avoid screw
protrusions.
This indicates time to tighten
bolts, but not too tight! Do not
crush the wood. This may create
splinters and cause structural
damage.
Use a measuring tape to assure
proper location.
Once the assembly is tightened, watch for exposed threads.
If a thread protrudes from the T-Nut, remove the bolt and
add washers to eliminate this condition. Extra washers have
been provided for this purpose.
Proper Hardware Assembly:
For bolts, tap T-Nut into hole with hammer.
Insert the hex bolt through lock washer first
then flat washer then hole.
Because the assemblies need to be squared
do not completely tighten until instructed.
To avoid injury or damage to the
assembly make sure to get help!
Use
Help
Measure
distance
Tighten
Bolts
Flush
Square
assembly
Use
Level
If Bolt protrudes
beyond T-Nut
Use an extra
flat washer
Hex Bolt
Lock
Washer
Flat
Washer
T-Nut
(Hammer into place)
Do not crush wood!
Bolt Assembly
10
0