Do you have a question about the SPORTSPOWER SM-010 and is the answer not in the manual?
Provides essential advice before starting product assembly and use, including retaining instructions.
Details critical warnings for safe use, including age, weight, supervision, and environmental factors.
Advises on safe assembly practices, checking parts, and tightening fasteners to prevent injury.
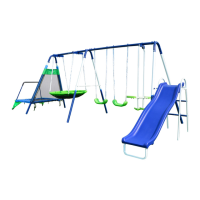
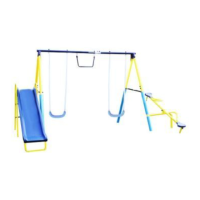
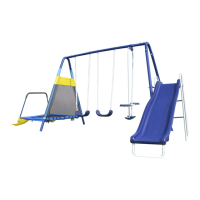
Attaches the handle arches (1A, 1B) to the main structure using specified hardware (A, E, G, H).
Connects the ladder steppers (4) to the main frame using hardware (A, E, G, H) and slide support (3).
Joins the slide tubes (2) to the upper structure using plastic connectors (11) and hardware (B, E).
Fastens the slide tubes (2) to the main support structure using plastic connectors (11) and hardware (B, E).
Connects the arc base tube (5) to the main frame using hardware (D1, D).
Joins the base connecting tube (6) and straight base tube (7) to the frame using hardware (D1, D).
Secures the base structure components (5, 6, 7) using hardware (B, E, G, H).
Attaches the slide (10) to the ladder support (3) on the main frame.
Fastens the slide (10) to the handle arches (1A, 1B) using hardware (C, E, G, H).
Installs triangle braces (8, 9) to the frame using hardware (B, E, G, H).
Performs a final check of all assembled parts for safety and stability before use.
Outlines the importance of regular checks for damage, wear, and loose fittings for continued safety.
Provides guidance on proper tightening of fasteners during assembly and maintenance to ensure stability.
Details what the warranty covers, proof of purchase requirements, and the process for claims.
Lists conditions under which the warranty is void, including misuse, damage, and unauthorized parts.
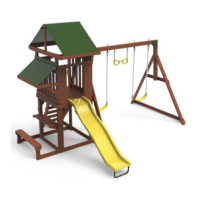
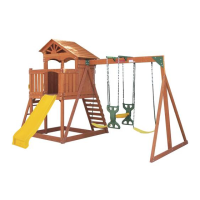
| Product Name | SPORTSPOWER SM-010 |
|---|---|
| Category | Play Sets & Playground Equipment |
| Type | Swing Set |
| Material | Metal |
| Assembly Required | Yes |
| Recommended Age | 3-8 years |