17Springfree™ Trampoline Model SF90E Trampoline and Enclosure Assembly, Installation, Care, Maintenance and Use Instructions Version 6.4
Lift, bend and insert rod into socket
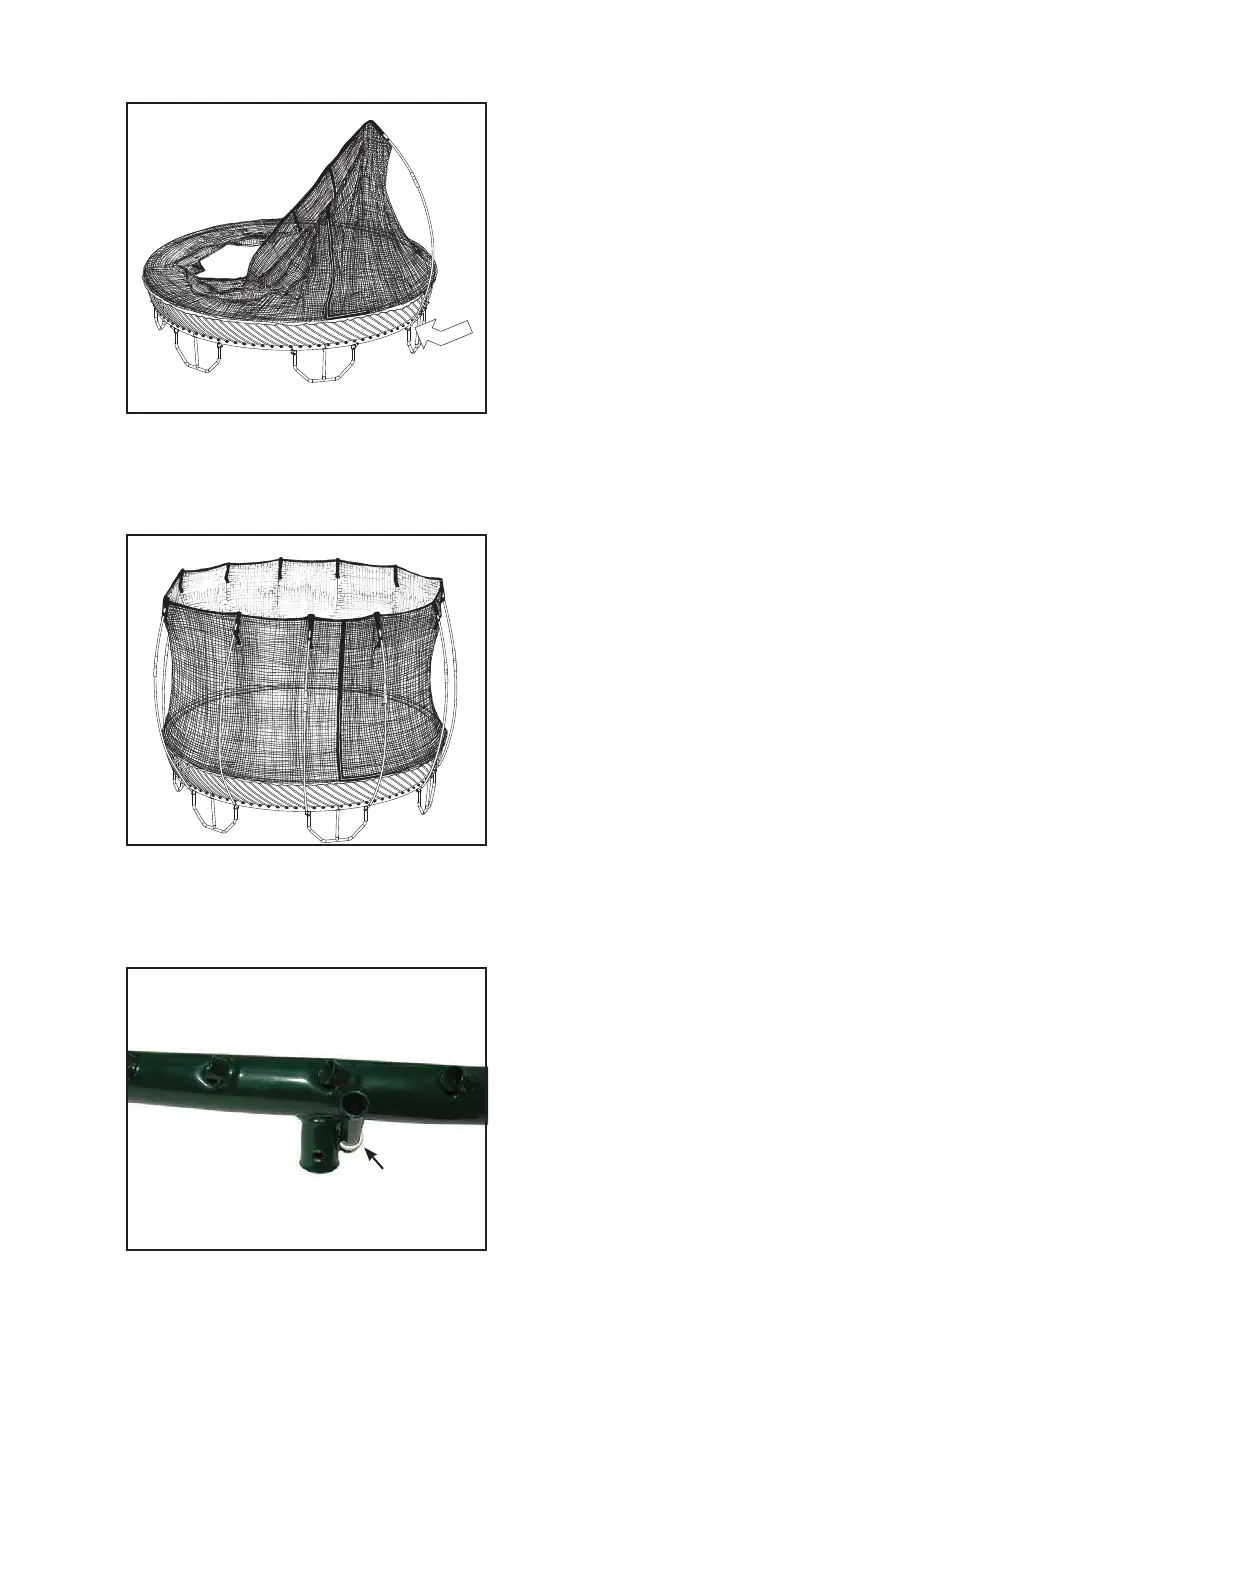
Step 20: Completing the enclosure
Insert remaining enclosure support rods by the
same process: put the top ball through the loop
into the pocket, hoist the rod, then insert the
bottom end of the rod into the socket by the
leg.
Ensure the joiner-lock is engaged, holding
the short and long pieces of the enclosure rod.
Also, ensure that the rod is pushed right down
into its socket and locked in place by the C-Clip.
Again, ensure rods are pushed right to the
ends of the pockets so the internal catches will
prevent them from coming out.
Step 21: Checking C-Clips are secure
in sockets
C-clips should be pre-installed onto the sockets.
Check and ensure the 12 C-clips are on the
sockets. Ensure these clips capture the rods and
prevent them from being pulled out.
Congratulations! You have successfully
completed the assembly of your Springfree™
Trampoline!
Be sure to review all warnings and precau-
tions with your family before using. Happy
jumping—the Springfree™ Trampoline way!
Figure 19: Inserting an enclosure rod into a socket
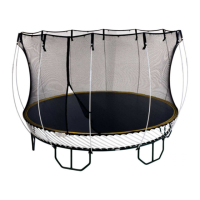
Step 19: Bending the enclosure rod
into its socket
Bend the rod and insert the bottom end into
the socket near the leg. Ensure that the rod is
pushed right down into its socket locked into
place by the C-clip. Next, insert the enclosure
rod on the opposite side of the trampoline.
Figure 20: The completed trampoline with erected
enclosure
Figure 21: C-clip attached to socket on frame
C-clip