ENGLISH
12
12
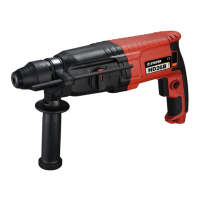
Set the direction of rotation for hammer drilling, drilling
and chiselling always to right rotation.
Switching On and O
To start the machine, press the On/O switch 7.
To lock the On/O switch, keep it pressed and additionally
push the lock-on button 6.
To switch o the machine, release the On/O switch 7.
When the On/O switch 7 is locked, press it rst and then
release it.
Setting the Speed/Impact Rate
The speed/impact rate of the switched on power tool can
be variably adjusted, depending on how far the On/O
switch 7/10 is pressed.
Light pressure on the On/O switch 7/10results in low
speed/impact rate. Further pressure on the switch
increases the speed/impact rate.
Safety Clutch
If the tool insert becomes caught or jammed, the
drive to the drill spindle is interrupted. Because of the
forces that occur, always hold the power tool rmly
with both hands and provide for a secure stance.
If the power tool jams, switch the machine o and
loosen the tool insert. When switching the machine
on with the drilling tool jammed, high reaction torques
can occur.
4.2 Working Advice
Changing the Chiselling Position
The chisel SDS can be locked in dierent positions.
In this manner, the optimum working position can be set
for each application.
Insert the chisel into the tool holder.
Turn the mode selector switch 8
Turn the tool holder to the desired chiselling position.
Turn the mode selector switch 8 to the “chiseling” position.
The tool holder is now locked.
For chiselling, set the rotation direction to right rotation.
Switching On/O: A
To start the machine, press the On/O switch 6 and keep
it depressed.
To switch o the machine, release the On/O switch 6.
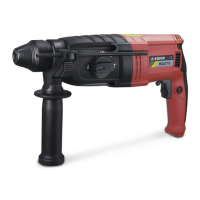
Switching On/O: B (g. 19).
To start the machine, press the On/O switch 6/7 at the
top ( I ) until it locks.
To switch o the machine, press the On/O switch 6/7 at
the bottom (O) and release it.
For low temperatures, the power tool reaches the full
hammer/impact capacity only after a certain time.
Setting the Speed/Impact Rate
The electronic control 10 enables stepless speed and
impact preselection in accordance with the material to be
worked.
The maximum hammering capacity is achieved when the
thumbwheel 10 is set to position “6”.
For lower speed settings, the hammering capacity is lower
due to technical reasons.
Setting the Impact Rate HD3BE K
You can set the impact rate of the switched on power tool
continuously, depending on how far you press down the
On/O switch 7.Slight pressure on the On/O switch 7
causes a low impact rate. Stronger pressure increases
the impact rate.
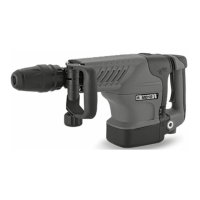
OPERATION MD15K
4.3 Starting Operation
Observe correct mains voltage! The voltage of
the power source must agree with the voltage
specied on the nameplate of the machine.
Power tools marked with 230V can also be
operated with 220V.
Switching On and O
To start the machine, push the On/O switch 6/7 to the “I”
position.
To switch o the machine, push the On/O switch 6/7 to
the “O” position.
For low temperatures, the machine reaches the full impact
rate only after a certain time.
This start-up time can be shortened by striking the chisel
in the machine against the oor one time.
4.4 Operating Instructions
While working, hold the power tool with both hands by the
handle 1.
For the highest possible impact damping, work only with
moderate pressure.
5. Maintenance and Service
5.1 Maintenance and Cleaning
Before any work on the machine itself, pull the mains
plug.
For safe and proper working, always keep the machine
and ventilation slots clean.
A damaged dust protection cap should be changed
immediately. We recommend having this carried out
by an after-sales service.
Clean the tool holder 2 each time after using.
WARNING! Important instructions for
connecting a new 3-pin plug to the 2-wire
cable.
The wires in the cable are coloured according to the
following code:
 Loading...