6 7
PHASE 1: UNPACKING AND INVENTORY
Carefully unpack the contents of the boxes. One box will include the Sterisil
®
System G5. The second box will
contain the installation manual, warranty registration card, and assorted bags containing other needed items for
installation, including mounting system for static, slides, and articulating mount. Each water storage tank will be
shipped separately.
VERIFY THERE WAS NO DAMAGE DURING SHIPMENT. IF DAMAGE IS EVIDENT, CONTACT THE SHIPPING
COMPANY IMMEDIATELY.
TOOLS
Tools required for installation:
• Phillips head screwdriver
• Standard open end/box end wrenches ranging from ½” to ¾”
• Small to medium size adjustable wrench
• Standard hex key set
• Box knife
• Hand drill
• Phillips driver bits
• Universal drill bits: sizes 1/8” to ½” standard
• Level
• Schrader valved pressure gauge
• Low volume air pump
INVENTORY ITEMS MAY VARY DEPENDING ON SYSTEM SELECTION AND SPECIFIC PARAMETERS.
BOX 1: UNIT
Sterisil
®
System G5
BOX 2: ACCESSORIES
10 ft 3/8” tubing
20 ft 1/4” tubing
System power supply
Autoclave faucet
Dental faucet
Cartridges (Stage 1, 2, 3, 4 [x2], 5)
Blank Cartridge and clip
System mount (Static, Sliding or Articulating)
Bag A
Bag B.1
Bag B.2
Bag B.3
Bag C
Bag D
Bag E
BOX 3
Dental Water Storage Tank
BOX 4:
RO Water Storage Tank
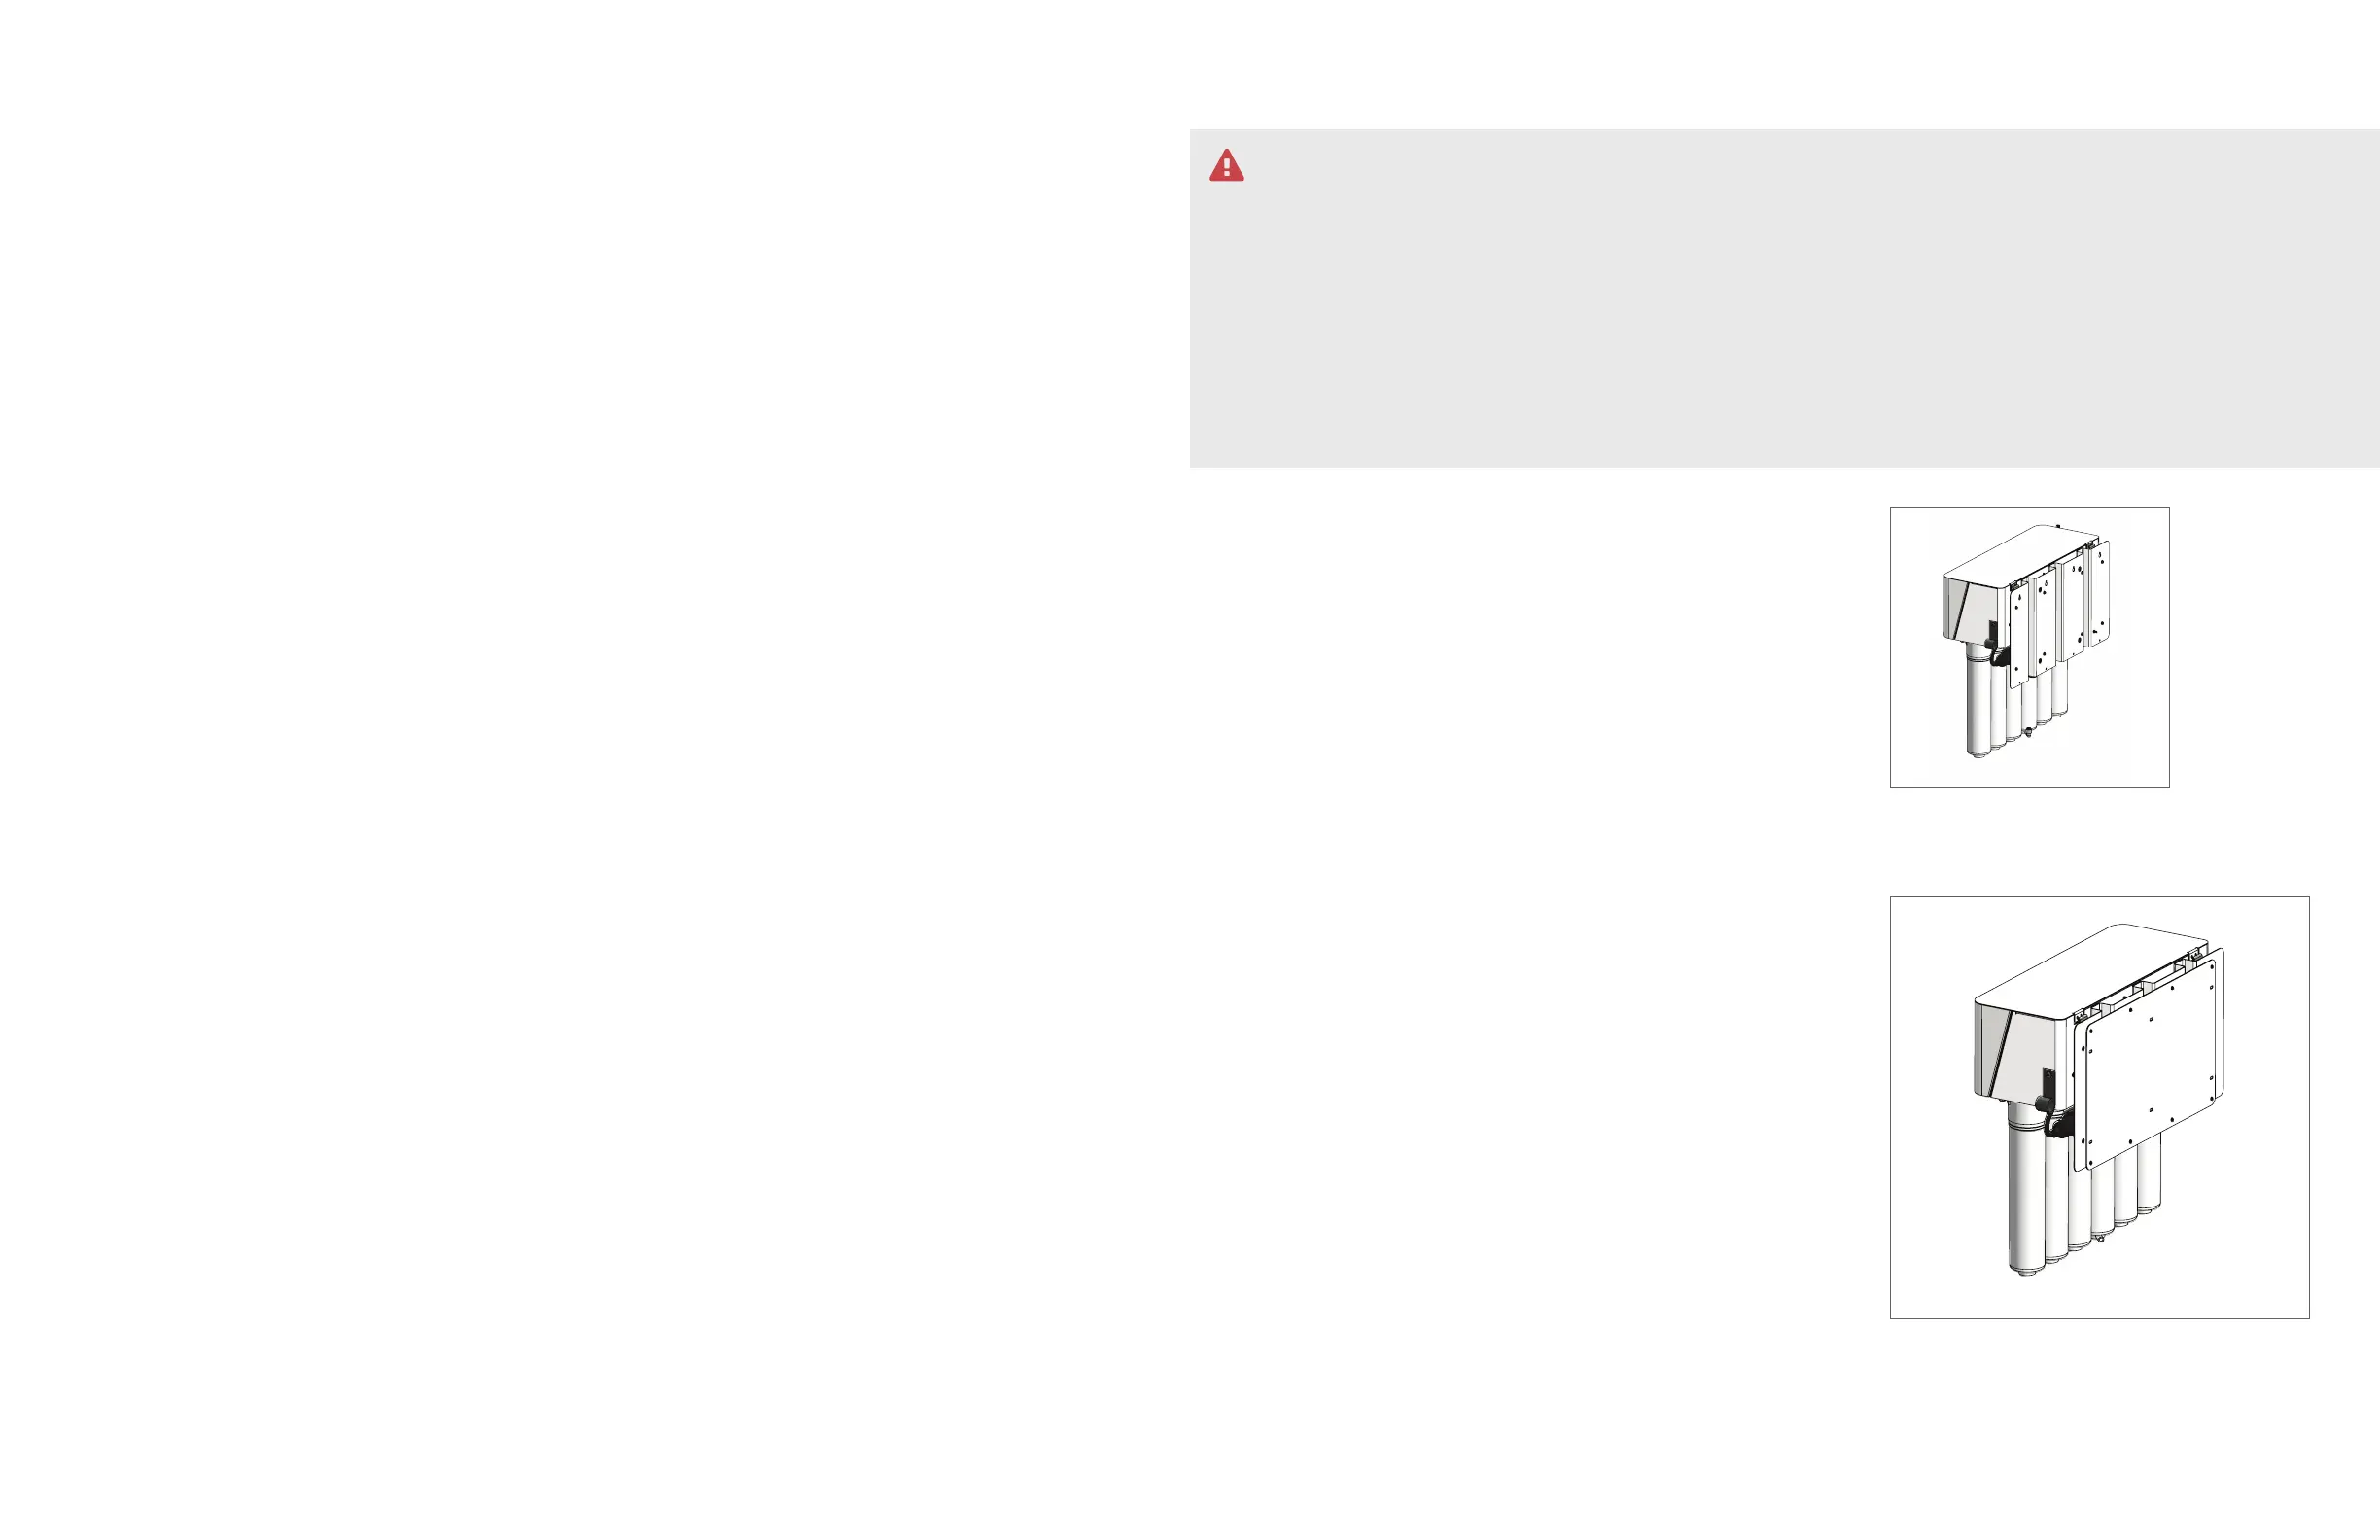
The G5 can be mounted in 1 of 3 ways; a static wall mount, a
slide mount inside a cabinet, or an articulating wall mount. The
rear waffle mounting plate affixed to the unit itself will serve
as a mounting point for all 3 methods of mounting the system.
Sterisil recommends anchoring the system into a wall stud.
The EZ-toggle anchors should only be used when drilling into
drywall.
STATIC MOUNT - (BAG B.1)
Affixing the Static Plate to the Wall
• Identify the slotted holes on the plate. These slots will be used
to mount the plate to the wall.
• The static plate is symmetrical so any side can be up.
• Mock up your static mounting plate in the desired location.
Ensure the plate is level and mark your holes.
• Drill and affix the plate to the wall.
• Verify the static plate is level.
Securing the G5 to the Static Mounting Plate
• Take 4 socket cap screws and screw them into the top row of
the static mount. Do not fully tighten these screws.
• Take the unit (waffle plate already affixed) and line the key
slots on the back of the waffle plate up with the socket cap
screws. Slot the system downward so the unit hangs on the
screws.
• Screw the remaining socket cap screws into the bottom row
of threaded holes.
• Use your provided 5/32” Allen wrench provided to tighten the
top and bottom rows.
• Verify the unit is level.
CONSIDERATIONS PRIOR TO MOUNTING
The location of your Sterisil
®
System G5 needs the following considerations:
• Distance to the water supply
• Leave enough slack in tubing to account for mounting configurations
• Accessibility to touchscreen
• UV light replacement, allow for 12” for clearance
• Cartridge clearance
• Distance to the 2 electrical outlets
• Drain location for the line
• Placement location for the bladder tanks
• Type of system mounting device: Static, Sliding or Accordion mount
• Strength of wall or cabinet for installation
PHASE 2: MOUNTING AND PERIPHERAL COMPONENTS
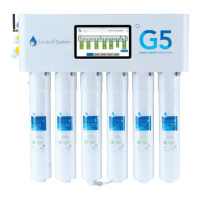
Waffle plate
Static mounting plate
 Loading...