OPERATION
Cleaning, care and maintenance
16 | LWZ304-404 SOL www.stiebel-eltron.com
FAULT SEARCH
If the appliance registers a fault, this is clearly displayed with the
message shown below.
!
FAULT
CODE NO. 001
PLS INFORM CUST SERVICE
WEDNESDAY 10 SEPT 14 16:27 TIME
26�04�01�0303
If more than one fault occurs, the most recent fault is always
shown. Please inform your qualified contractor.
To see the usual default display, first enable the programming
unit by pressing “MENU” for 5seconds. The fault message is then
extended with a note requesting that you acknowledge the fault
by pressing OK for five seconds.
!
FAULT
CODE NO. 001
PLS INFORM CUST SERVICE
TO ACCEPT PLS PRESS OK
FOR 5 SECONDS.
WEDNESDAY 10 SEPT 14 16:27 TIME
26�04�01�0303
For qualified contractors, chapter “Fault messages” in the instal-
lation instructions provides an overview of possible faults.
FAULT LIST
The fault list is also accessible to you as a customer. There, you
receive an overview of the faults most recently registered by the
appliance. The fault list contains the ten most recent fault mes-
sages. The display, however, can show only six fault messages at
a time. Scroll with the scroll wheel to access the other entries in
the fault list.
26�04�01�0300
MAIN MENU
CONTRACTORFAULT SEARCH
FAULT LIST
01. FAU LT N O. 20 11: 0 0 TIME 10. SEPT 14
02. FAU LT N O. 06 11: 01 TIME 10. SEPT 14
03. FAU LT N O. 20 12:23 TIME 10. SEPT 14
04. FAU LT N O. 06 12:24 TIME 10. SEPT 14
05. FAU LT N O. 20 12:34 TIME 10. SEPT 14
06. FAU LT N O. 06 12:35 TIME 10. SEPT 14
PROCESS VALUES
The displayed values are used for analysis in the event of a fault.
PROCESS STATUS
The displayed values are used for analysis in the event of a fault.
ANALYSIS
In the “ANALYSIS” submenu actual values are displayed that may
be useful to the service department when troubleshooting.
5. Cleaning, care and maintenance
Note
Keep the air intake and discharge apertures on the exte-
rior wall free from snow and leaves.
Regularly activate the safety valve to prevent it from becom-
ing blocked, e.g. by limescale deposits.
5.1 Replacing supply air and extract air filters
Hold down “MENU” button for three seconds.
If you have already navigated through the menu tree, press-
ing MENU will return you to the default display. If necessary
you may have to press menu several times.
Use the scroll wheel to navigate to the “VENTILATION STAG-
ES” entry.
Press “OK”.
Press “OK” again to set the “UNSCHEDULED VENT.”
parameter.
Set the “UNSCHEDULED VENT.” parameter to 0.
Confirm with OK.
Set the “UNSCHED. VENT TIMESTAGE 0” parameter to a suit-
able value, e.g. 30minutes.
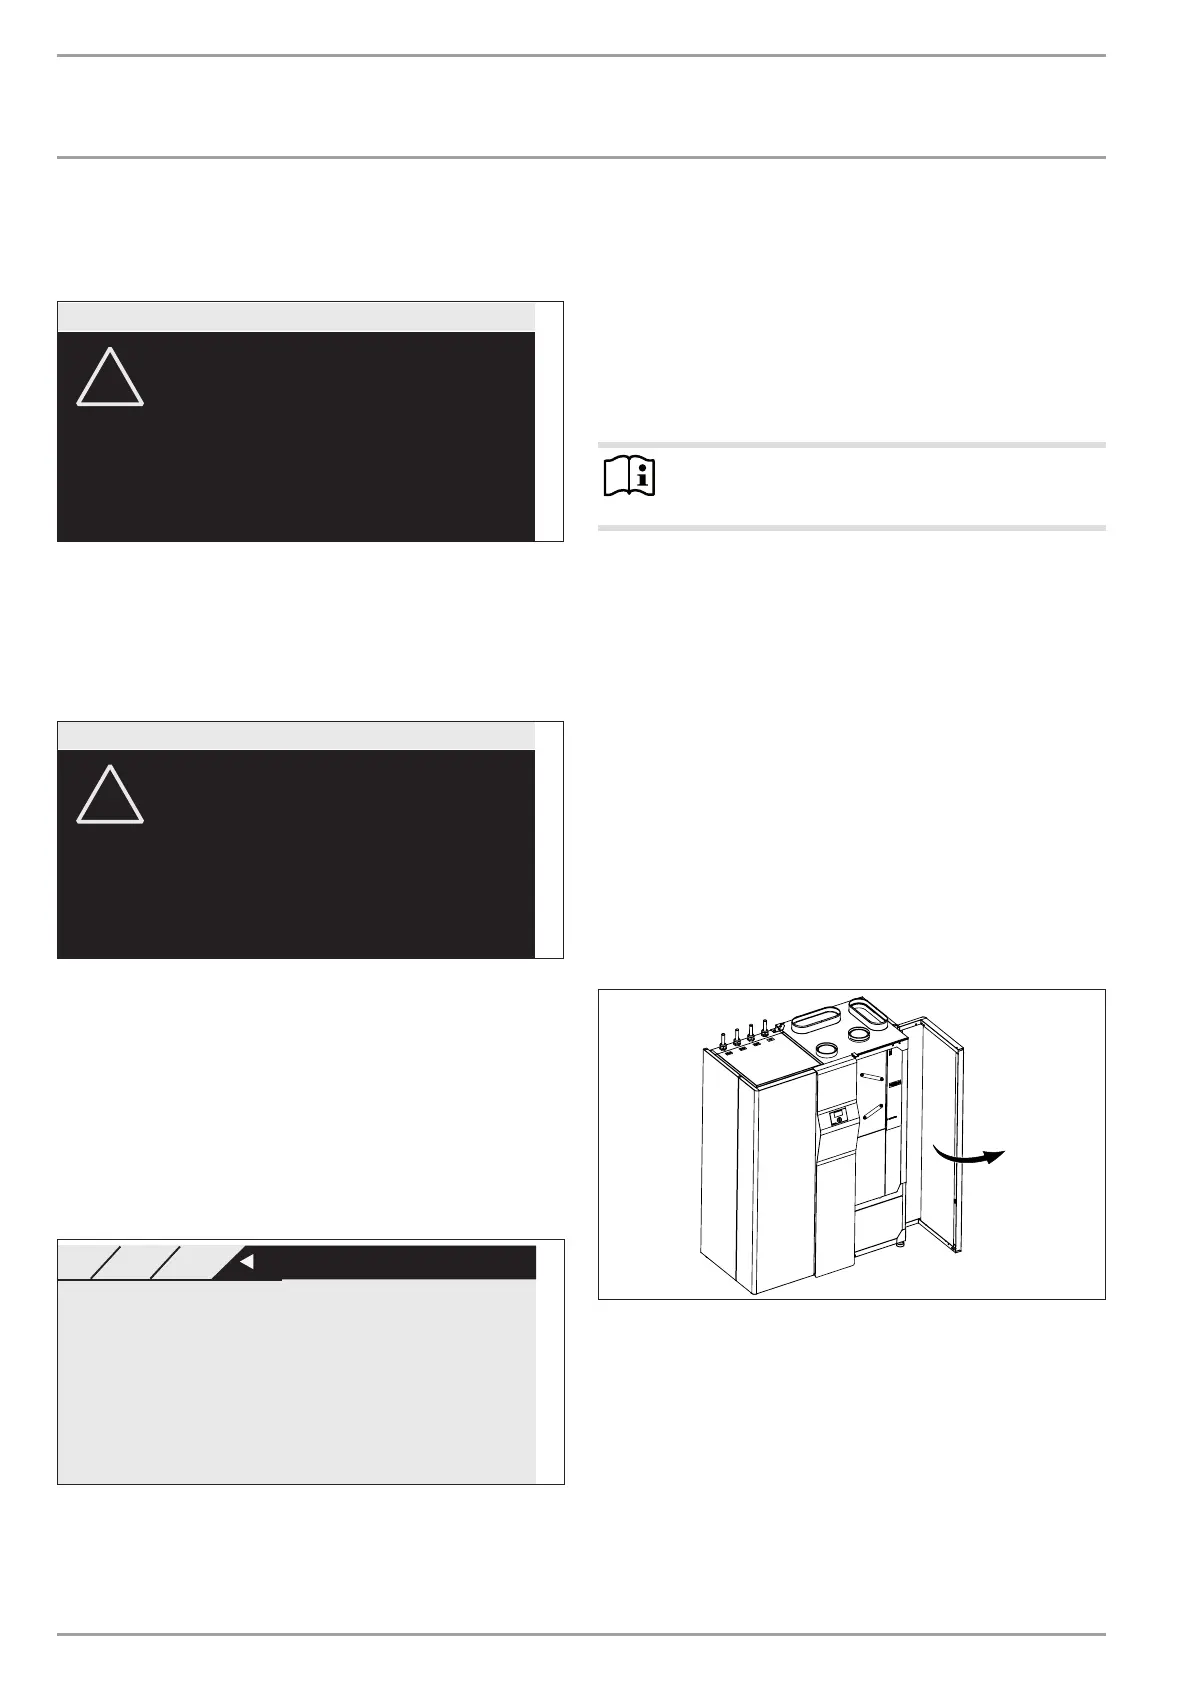
26�04�01�0545
Open the function module door.
 Loading...