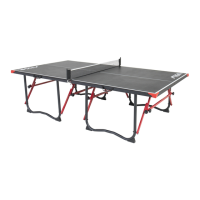
2
AT LEAST TWO ADULTS ARE NEEDED TO COMPLETE THE ASSEMBLY!
DO NOT LEAVE TABLE UNATTENDED UNTIL ASSEMBLY IS
COMPLETE!
CAUTION
1. Open the hardware kit and sort all the hardware. For your help
in identifying hardware, see the hardware identifier on page 7.
2. Insert one Caster without Brake #11 and one Caster with Brake
#12 into Caster Beam #14. Be sure casters are inserted all the
way into caster beam. Assemble both caster beams and casters
the same way. See Figure 1.
3. Attach two Upright Tubes #15 to each Caster Beam #14 using
two Carriage Bolts #28, two washers #29 and two locknuts
#26 in each tube. See Figure 2. Tighten nuts but do not
overtighten, cracking the plastic.
4. Attach one Safety Latch #19 in the right hand hole of a Name
Panel #17 as shown in Figures 3 and 3A. Attach with one screw
#24, one washer #25 and one locknut #23. NOTE: Safety
latch must be installed exactly as shown, with flange
on safety latch over top of name panel.
IMPORTANT: Do not overtighten locknuts. Latches #19 must
pivot freely. When latch is pivoted, it must freely fall back
to original position when released.
Assemble the other safety latch #19 to the other name
panel #17 in exactly the same way.
INSTALL SAFETY LATCHES EXACTLY AS
SHOWN. DO NOT SKIP THIS STEP. DO NOT
OPERATE TABLE WITHOUT SAFETY LATCHES
INSTALLED.
CAUTION
Figure 1
Figure 2
Figure 3
Figure 3A