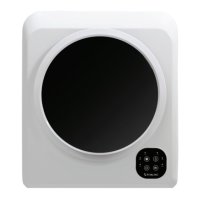
15
AFTER SALES SUPPORT
1300 886 649
info@tempo.org
AUS
MODEL: STR-CD50 PRODUCT CODE: 700688 04/2020
Installation (Cont.)
Freestanding, floor level installation
The dryer can also be installed on the floor; small feet are fitted to the bottom of the
appliance for floor level use.
• Make sure the floor surface is firm, flat, dry and stable, and there is an appropriate
wall outlet nearby. Do not place the appliance on soft material such as foam, plastic
or carpet, as this may block the air intake.
• Carefully stand the dryer on its feet and slide it into position, leaving a space of at
least 13cm between the dryer and any wall.
• The appliance must be installed level, otherwise its operation will be impaired. When
you have placed the dryer in its permanent position, use a spirit level to ensure the
appliance is level. If your floor is slightly uneven, adjust the appliance feet. Never
remove the feet of the appliance, which would restrict the floor clearance required.
Electrical connection
• This is a Category I electrical product.
• Once the clothes dryer is properly installed, plug the electrical cord into an
appropriately earthed three pin wall socket, switch on the power at the socket and
try the machine (refer to the page 19, “Trial run” section for instructions).
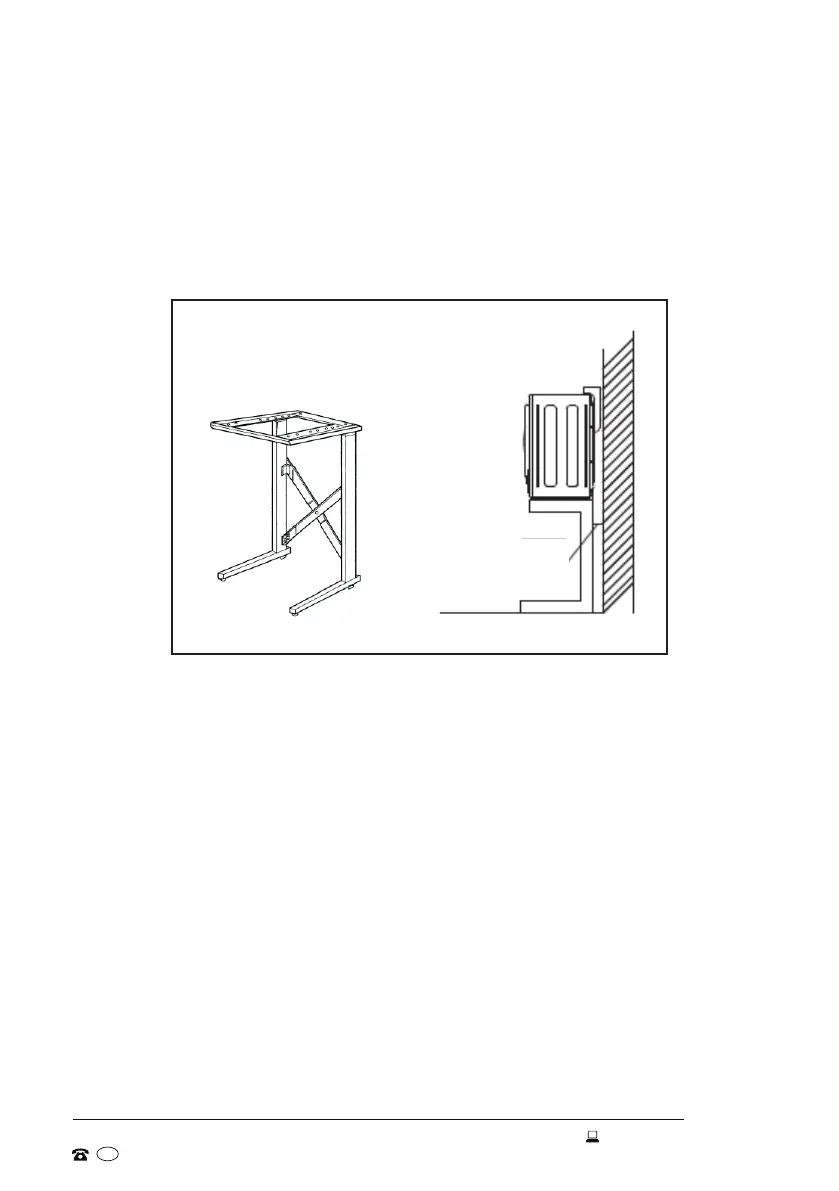
Rack-mounted installation
• If the clothes dryer is to be rack-mounted, you will need a secure bracket (not
supplied) to ensure stability and prevent vibration (Fig. 6).
• Make sure to leave at least 13cm space between the dryer and any wall(s).
• You will need at least 5cm space between the top of the dryer and the ceiling for
ease of installation.
Fig. 6
13cm
Rack