FUNCTION INTRODUCTION
6
1. Micro TF card slot: supports up to 128GB Micro TF card, Only supports TF cards with class 10 or
higher FAT32 format ( TF card which are not in FAT32 format, will be automatically formatted into
FAT32 after being inserted into the device) .
2. Micro USB: 5V power supply.
3. Switch button: long press “OK” for 3 seconds.
4. Photo button: short press to take a photo, long press the start the video, then short press once
to stop.
5. Menu button: Short press to enter the menu page: Photo/ Video/ Resolution / Language /
Brightness / Rotate / Date Tag / Time Setting / Format / Reset system / Space / Version. In the
menu interface, short press the “ menu” button to enter the image interface.
6. Up button: the “up” button is “move up”in the menu interface, and “light down” in the image
interface.
7. Down button:the “down” button is “move down”in the menu interface, and “light up” in the image
interface.
8. OK button: Long press to power on,and short press to conrm.
9. Indicator light: The charging indicator on the left is always red when charging, and automatically
turns o when fully charged.
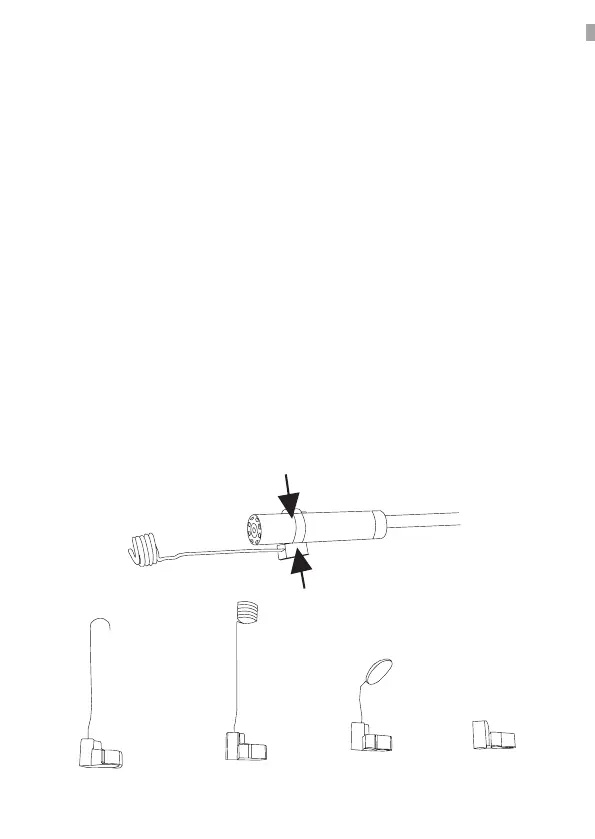
INSTALLATION NOTES
Installation accessories
How to install the three accessories – the hook, the side mirror and the magnet are the same
Hook Magnet
Mirror Replacement
device