7
Section 1
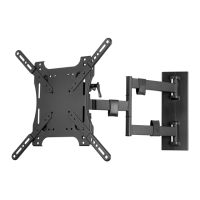
Ceiling Mount
Install Ceiling Plates
These instructions apply for square, circular, and vibration reduction plates alike.
Warning: Tighten screws or bolts only until the ceiling plate is firmly attached. Do not overtighten.
Overtightening can damage the hardware, greatly reducing its holding strength.
Mounting with Wood Joists or Beams
Using Square, Ceiling Mount, Dual Joist
Studs and joists must be a minimum of 2” × 4” and covered with no more than ½" of plasterboard.
Ceiling plates include ST8×90 lag bolts for wood joist installation.
Align the drill template to the center of the joist. Drill pilot holes into the joist using a
3
/16” drill bit.
Insert four lag screws through each ceiling plate and tighten securely.
Using a Vibration Reduction Plate
Beams must be a minimum of 8" in width. Ceiling plates include ST8×90 lag bolts for wood beam
installation.
Align the drill template to the center of the beam. Drill pilot holes into the joist using a
3
/16" drill bit.
Insert six lag screws through each ceiling plate and tighten securely.
 Loading...