5
this process with the other rear leg and leg extension, see Photo 12. Be sure to set both leg
extensions at the same height.
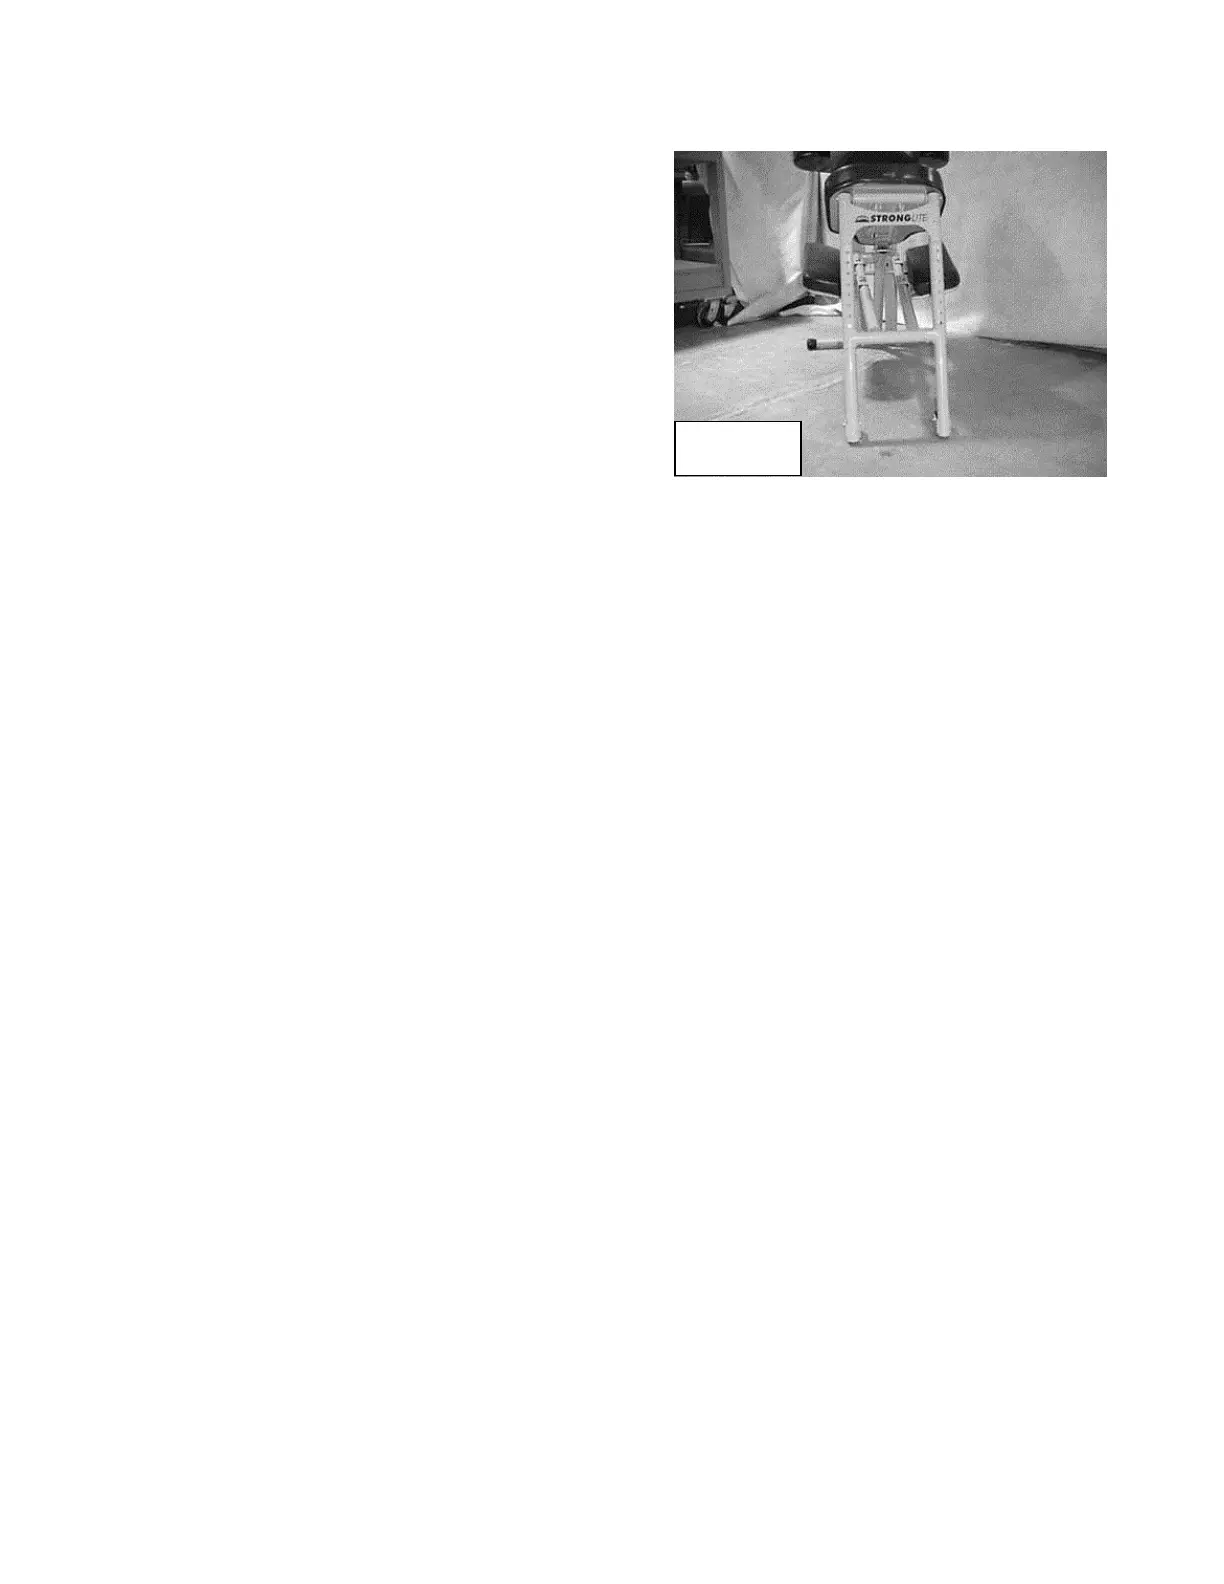
Photo 13
Photo 13 shows the legs fully extended in the
tallest position.
WARNING: BE SURE THE TWO BUTTONS ARE
PROTRUDING THROUGH THE REAR LEGS AND
FULLY ENGAGED BEFORE USING THE CHAIR.
LEG EXTENSIONS SET AT TWO DIFFERENT
HEIGHTS OR NOT PROPERLY INSTALLED CAN
CAUSE THE CHAIR TO BE UNSTABLE, POSSIBLY
RESULTING IN PERSONAL INJURY.
STEP 5: SITTING ON THE CHAIR
Verify that the chair is fully opened by insuring that the locking buttons are protruding from their
designated holes beneath the seat on the center rail, see Photo 9.
The proper way of sitting on the chair is to first sit on the seat and then fold your legs and rest them
on the knee supports. Sitting in this manner will prevent damage that might be caused by clients
putting their entire weight on a single knee support. Knee supports are not designed for this use.
It is a good practice to sit on the chair yourself the first time after you set it up to be sure that it is set
up correctly. Practice getting on and off the chair so you can better assist clients. Remember, some
people have never sat on a chair like this before and might need assistance.
WARNING: ALWAYS STAND NEARBY SO YOU CAN STABILIZE THE CHAIR OR, IF NEEDED,
ASSIST THE PERSON GETTING ON OR OFF THE CHAIR. IT IS POSSIBLE FOR YOUR CLIENT
TO STUMBLE OR FALL, RESULTING IN PERSONAL INJURY.
STEP 6: ADJUSTING THE CHEST SUPPORT, THE FACE REST AND THE ARM REST
NOTE: The two chest support adjustments and the three face adjustments are interrelated. It is
possible to find a number of different combinations of adjustments that will allow the client to sit
comfortably. The client’s position on the seat will also affect his or her comfort. It will take some
experimenting to find the right combination of adjustments to optimize client comfort, therapist comfort
and ease of set up. One way to do this is to leave the chest support at the same angle and height all
the time and adjust the face rest height to accommodate different sized clients. It is also possible to
leave the face rest at a lower height and change the chest support angle and/or height to
accommodate different sized clients. You will need to find the settings that work best for you and your
client.
A. To adjust the chest support position, have the client sitting on the chair but not leaning against the
chest support. Raise the chest support cam lever to the unlocked position, see Photo 7. Using
your experience and a visual image of how the client fits the chair; adjust the chest support to the
appropriate angle, raise the chest support to the desired height and lower the cam lever to the
locked position, see Photo 7.
 Loading...