ABS-18
ABS (DIAGNOSTICS)
SUBARU SELECT MONITOR
6. Subaru Select Monitor
A: OPERATION
1. READ DIAGNOSTIC TROUBLE CODE
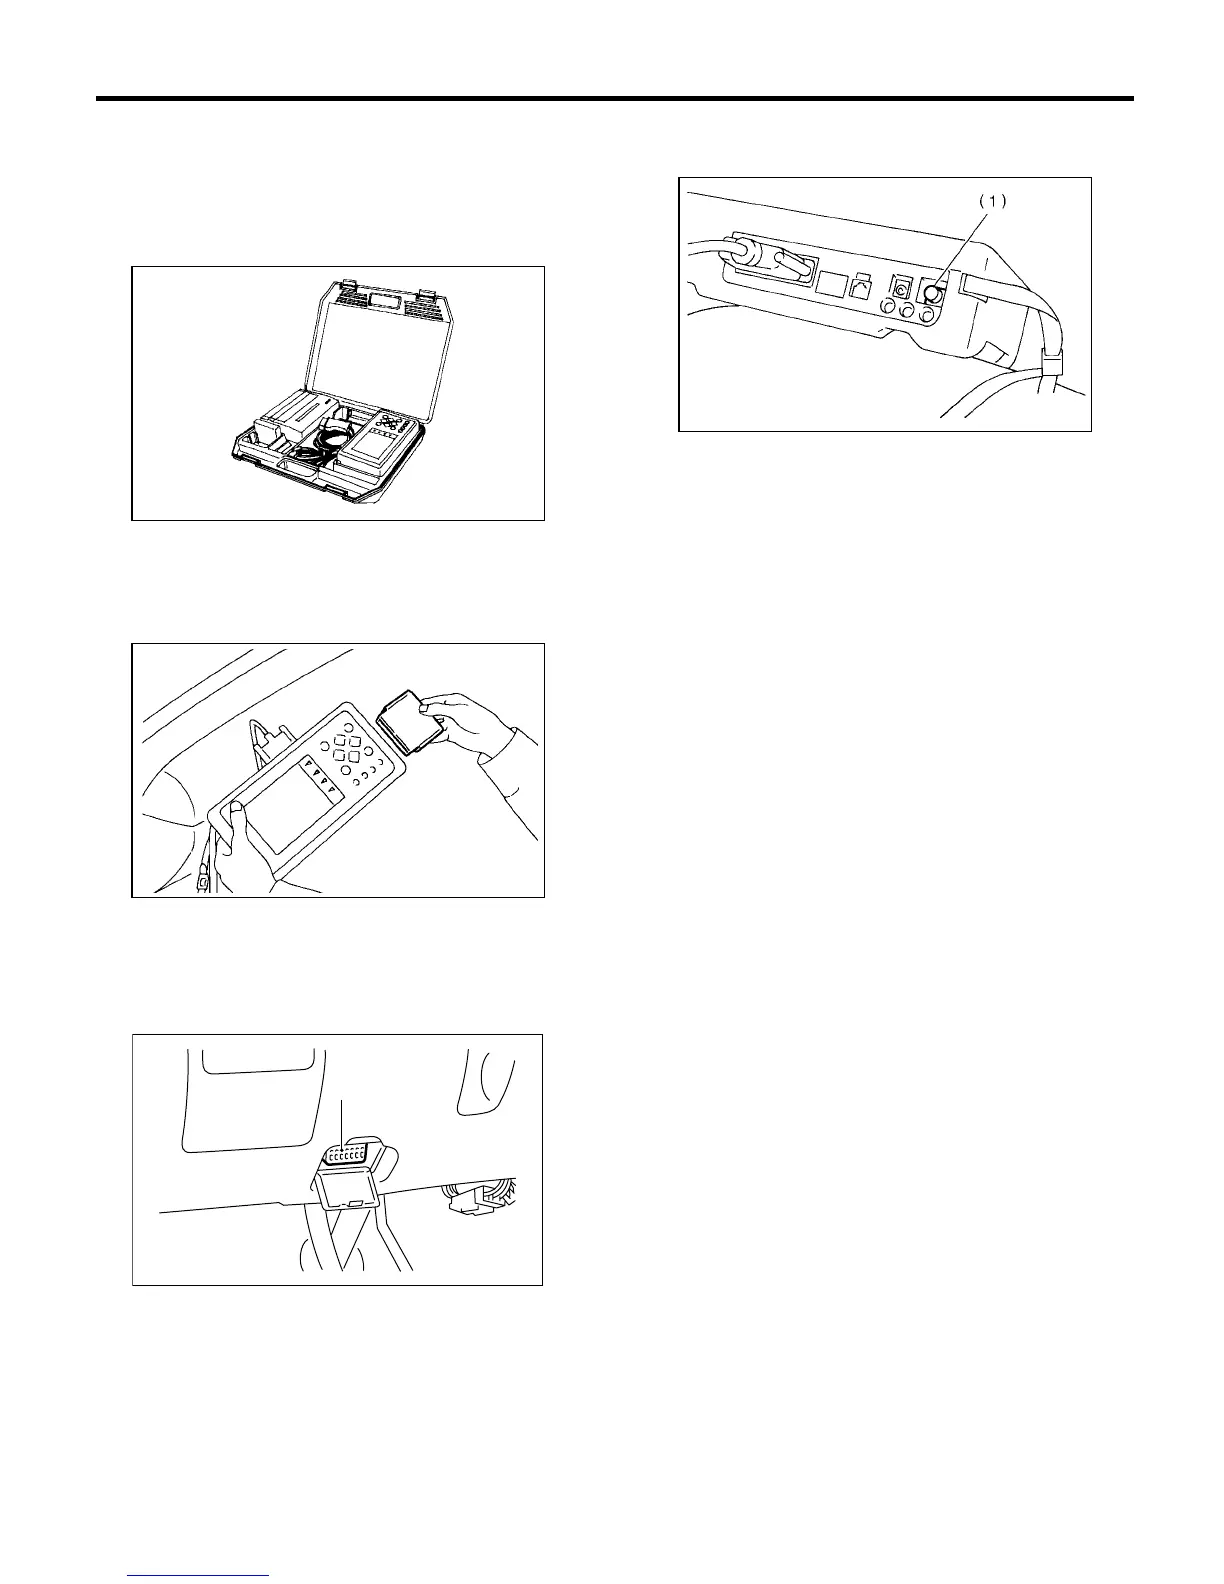
1) Prepare Subaru Select Monitor kit.
2) Connect diagnosis cable to Subaru Select Mon-
itor.
3) Insert cartridge into Subaru Select Monitor.
<Ref. to ABS-10, SPECIAL TOOLS, PREPARA-
TION TOOL, General Description.>
4) Connect Subaru Select Monitor to data link con-
nector.
(1) Data link connector located in the lower por-
tion of the instrument panel (on the driver's
side).
(2) Connect diagnosis cable to data link con-
nector.
5) Turn ignition switch to ON (engine OFF) and
Subaru Select Monitor switch to ON.
6) On the «Main Menu» display screen, select the
{Each System Check} and press the [YES] key.
7) On the «System Selection Menu» display
screen, select the {Brake Control System} and
press the [YES] key.
8) Press the [YES] key after displayed the informa-
tion of engine type.
9) On the «ABS Diagnosis» display screen, select
the {Diagnostic Code(s) Display} and press the
[YES] key.
10) On the «Diagnostic Code(s) Display» display
screen, select the {Current Diagnostic Code(s)} or
{History Diagnostic Code(s)} and press the [YES]
key.
NOTE:
• For detailed operation procedure, refer to the
SUBARU SELECT MONITOR OPERATION MAN-
UAL.
• For detailed concerning diagnostic trouble
codes, refer to the LIST OF DIAGNOSTICS TROU-
BLE CODE. <Ref. to ABS-24, List of Diagnostics
Trouble Code.>
(1) Data link connector
S2M0285
S2M0286
(1)
BR0034
(1) Power switch
S2M0288D
 Loading...