5
4
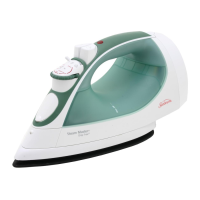
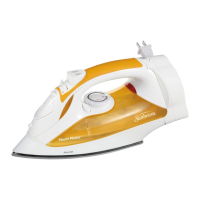
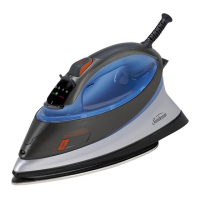
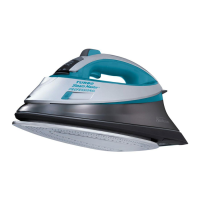
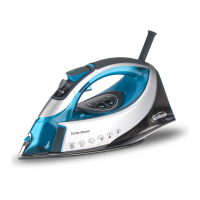
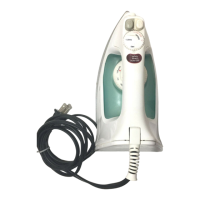
FEATURES
A. Variable Steam Dial – Adjusts steam level for different ironing needs. For dry ironing,
turn dial to DRY. For steam ironing, turn dial to the . For additional steam, turn dial to
the or . (Refer to Ironing Guide for recommended settings).
B. Steam Valve (connected to the variable steam dial) – Removable to prevent scale build up.
C. Steam Indicator Mark
D. Auto-Off Indicator (Some Models Only)
E. Temperature Dial – Controls heat output of iron. Adjust dial according to ironing needs.
For low temperatures, turn dial to first dot. For medium temperatures, turn dial to second set
of dots. For high temperatures, turn dial to third set of dots. (Refer to Ironing Guide for
recommended settings).
F. Swivel Cord – Pivots up and down and is supported to prevent dragging on fabric.
Flexible grommet protects the cord from fraying.
G. Temperature Indicator Mark
H. Cord Wrap – Provides quick, convenient cord storage.
I. Soleplate – Has full length button grooves for added convenience when ironing shirts
and blouses; some models have non-stick coating.
J. Sliding Water Reservoir Cover – Prevents dust and foreign matter from entering
the water tank; resists water splashing during ironing.
K.
SPRAY MIST
®
Feature
L.
S
PRAY
M
IST
®
Button – Provides a fine spray mist for spot dampening.
M.
SHOT OF STEAM
®
Button – Provides a powerful burst of steam for maximum steam power.
•
S
AFETY
S
MART
®
Automatic Shut-Off (Some Models Only) – Shuts off if iron is unmoved
for 15 minutes in the upright position or 30 seconds in the ironing position.
A
I
J
K
L
M BCD E
F
G
H
BEFORE THE FIRST USE
• When turned on for the first time, your new iron may give off a slight odor for up to ten minutes.
This is due to the initial heating of the materials used. It is safe, not detrimental to the
performance of the product, and will not recur.
• Prior to first use, clean steam vents using the SHOT OF STEAM
®
feature.
After cleaning vents, run iron over an all-cotton cloth to remove any residue.
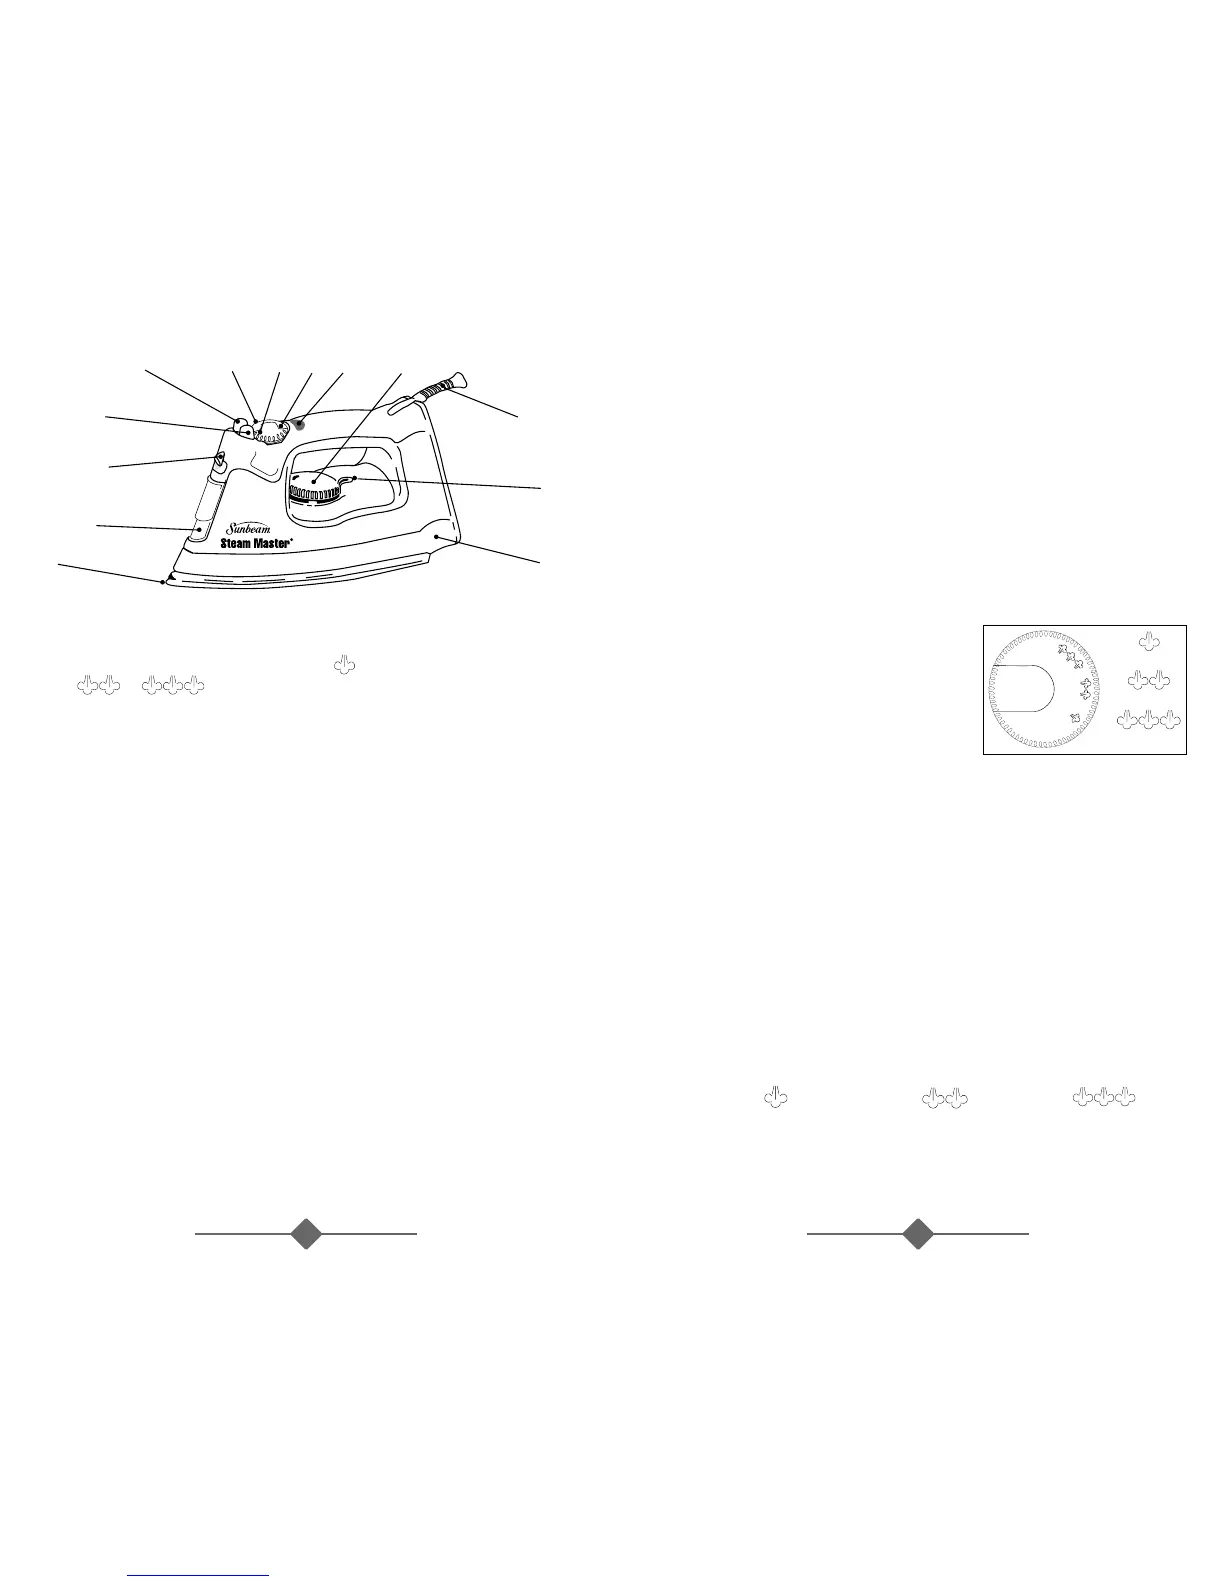
• When not ironing, always have steam dial turned to DRY. (See Diagram)
INSTRUCTIONS FOR USE
DRY IRONING
• Plug the cord into a 120-Volt AC outlet. On units with
automatic shut off, the auto off light will illuminate.
• Turn the temperature dial to the desired setting.
(Refer to Ironing Guide for Recommended Settings)
While iron is heating, place iron on heel rest
on a stable, protected surface.
• Set the steam dial on DRY to prevent steam flow
if water is in the tank.
STEAM IRONING
• Make sure the plug is removed from the wall socket before filling the iron with water.
• Turn the steam dial to DRY.
• Place the iron on its heel and open the water reservoir cover. Pour water slowly into the
water reservoir. Fill up to the maximum water level. To prevent the risk of burns,
use caution when filling a hot iron with water. Burns can occur from touching
hot metal parts, hot water or steam. Push firmly to close the cover. NOTE: Tap water
may be used due to the special design of this iron. However, in areas with very hard water,
distilled or demineralized water is recommended.
• Turn the temperature dial to any of the temperatures within the steam band and allow the iron
to heat for approximately 2 minutes before ironing. While heating, place iron on heel rest on
a stable, protected surface.
• Turn steam dial to for regular steam, or to for extra steam or
for ultra steam. NOTE: When using extra or ultra steam, it may be necessary to fill the tank
more often.