Do you have a question about the Sunjoy L-GG001PST-F and is the answer not in the manual?
| Brand | Sunjoy |
|---|---|
| Model | L-GG001PST-F |
| Category | Outdoor Furnishing |
| Language | English |
Advises on keeping areas clear, adult supervision, storm safety, avoiding climbing, and securing the structure.
Highlights that the tent fabric is flame-resistant per CPAI-84 but not fireproof and can burn.
Introduces the step-by-step instructions and the importance of checking all parts before assembly.
Explains that parts are labeled to correspond with assembly steps for ease of use.
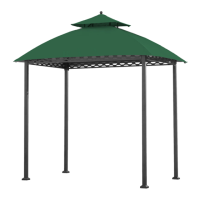
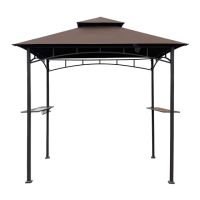
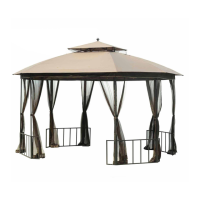
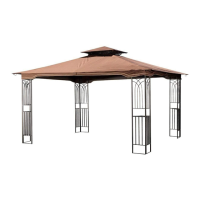
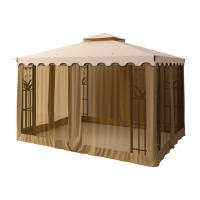
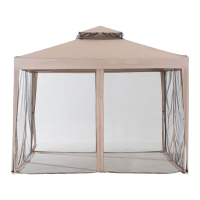
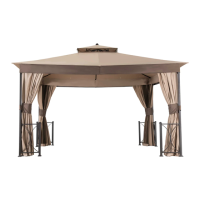
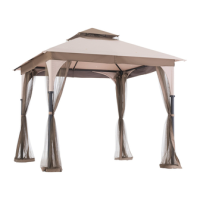
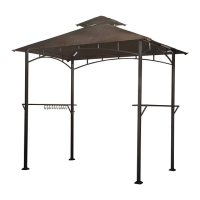
Details all main structural and accessory parts of the gazebo, including their codes and quantities.
Lists the fasteners and tools included in the first hardware pack for assembly.
Attaching screens (E, F) to posts (A1, A2, A3) using bolts (AA) and washers (BB).
Connecting big beams (B) to the big connector (C) and attaching the hook (H).
Inserting beams (B) into posts (A1, A2, A3) and placing the big canopy (J) on the top.
Connecting small beams (D) to big beams (B) and extending the small canopy (K).
Preparing LED lights (M) with batteries and attaching them to the beam holes.
Lists additional hardware including bolts, washers, and floor nails (FF).
Extending the big canopy (J) and attaching glass panels (G1, G2) with hook racks (H).
Securing the assembled gazebo to the ground using floor nails (FF) and stakes.
Guidance on protecting steel components, preventing scratches, and removing surface rust.
Details the warranty period, coverage for defects, and limitations on claims.
Specifies items not covered by warranty, such as damage from misuse or natural events.