Assembly instructions
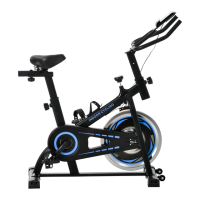
Step 1: Attach the Front Stabilizer (2) and Rear Stabilizer (3) to the Main Frame (1) with the Carriage Bolts
(14), Arc Washers (15) and Acorn Nuts (16). Take note that the front stablizer has wheels for moving the
unit after assembly. After attaching the stabilizer legs the rear end caps can be rotated to level the trainer if
necessary.
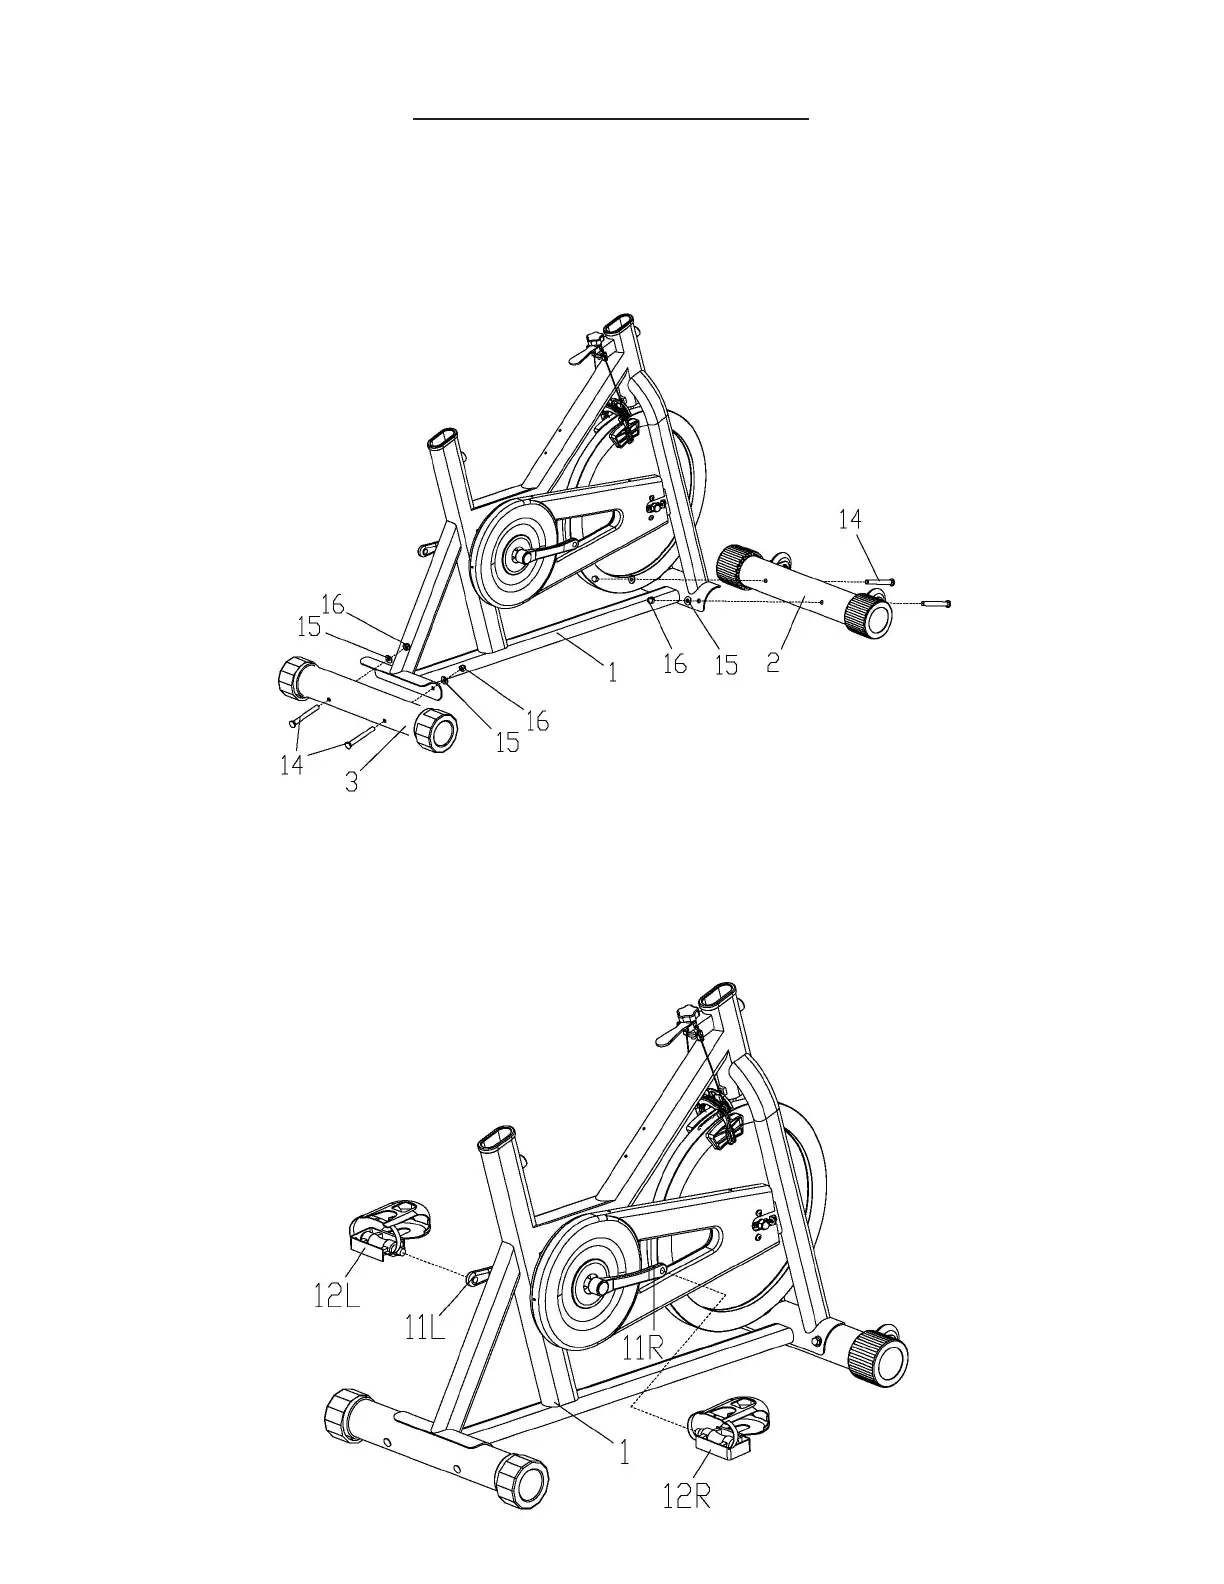
Step 2: Attach the pedals (12) to the crank arms (11) taking note the left pedal threads in
counterclockwise, while the right pedal threads in clockwise or toward the front of the trainer. Pedals are
marked L and R respectively. If a pedal has trouble threading - do not force it. Remove the pedal, check that
it is the correct side and try again.